


Installing Nortel Networks Call Center Reporting
Nortel Networks Call Center Reporting Set Up and Operation Guide Issue 07
18
9. Several progress bars appear as the installation routine prepares itself. Presently the
Nortel Networks Call Center Reporting Client language selection dialog appears.
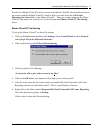
Select the language you wish to install, and then click OK.
10. Double-click on the Setup.exe file, select the language you wish to install, and then click
OK.
11. The Nortel Networks Connects Splash Screen and the Nortel Networks Call Center
Reporting Welcome screens appear.
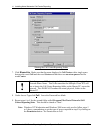
12. The Choose Destination Location window appears.
13. Click Next to accept the default location. To change the folder location, click Browse,
choose another folder location and then click Next.
14. As installation proceeds, a number of status dialog boxes appear, indicating the progress
of the installation. The Setup Complete window appears.
Note: You will be asked for the Network Name of the Master Client PC during the
installation of the Multiple Client software.
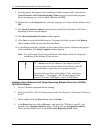
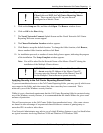
!
YOU MUST enter the Network Name of the Master Client
PC – do not enter the IP Address of the Master Client PC.
You must enter the Network Name of the Master Client PC
for the Multiple Client software to operate correctly.
Enter the Network Name of the Master Client without any
backslashes \\. For example, if the Network name of the
Master Client was \\MISMaster, enter it as MISMaster.
Installing Nortel Networks Call Center Reporting Multiple Client for a CallPilot
100/150 Installation
1. Exit any Windows programs that are running.
2. Insert the CallPilot 100/150 Documentation and Client Software CD into the CD drive of
the PC.
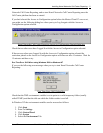
3. On the taskbar, click the Start button, then click Run….
4. In the Run dialog box click on Browse… and select the CD Rom on your PC, and
navigate to the Optional Software folder. Double-click on the Optional Software
folder, and then double-click on the Call Center Reporting Client folder.