


Adjustments
'< .C<61 =<@@6/92 6;7B?F
1
6@0<;;20A =9B4 3?<: =<D2?
@<B?02 /23<?2 =2?3<?:6;4 .;F .@@2:/9F
.17B@A:2;A@<??2=.6?@
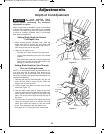
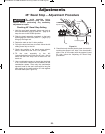
!205.;6@: <08 2C2?
T
he lock lever (item 27 - page 9) is located on the
rear left side of the mechanism.
When engaged, it locks the system (item 35 – page
9) in either the full forward or the full back position
and prevents movement while transporting the saw.
When held in the full back position, the saw is more
compact for lifting and storage. The full back position
is often used while performing chop cuts.
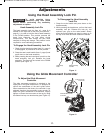
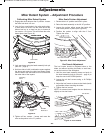
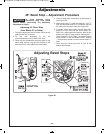
'<;4.42A52 <08 2C2?
*6A5&.D6;A52B99.08$<@6A6<;J
1. Grasp the saw’s main handle (item 3 - page 8)
and push (slide) the head assembly back as far as
it goes. The upper housings will be upright and
closed.
2. Lift the tab on the lock lever to engage its wedge
into the joint area between the two lower
housings. Release the lock lever tab and the main
handle. The head assembly will be locked in the
full back position.
64B?2
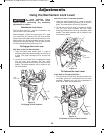
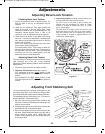
'<;4.426;.08$<@6A6<;
*6A5&.D6;A52B99<?D.?1$<@6A6<;J
1. Grasp the main handle (item 3 - page 8) and pull
(
slide) the head assembly toward you as far as it
goes. The mechanism will be fully extended.
2. Lift the tab on the lock lever to engage its wedge
into the joint area between the two lower
housings. Release the lock lever tab and the main
handle. The head assembly will be locked in the
full forward position.
64B?2
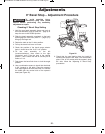
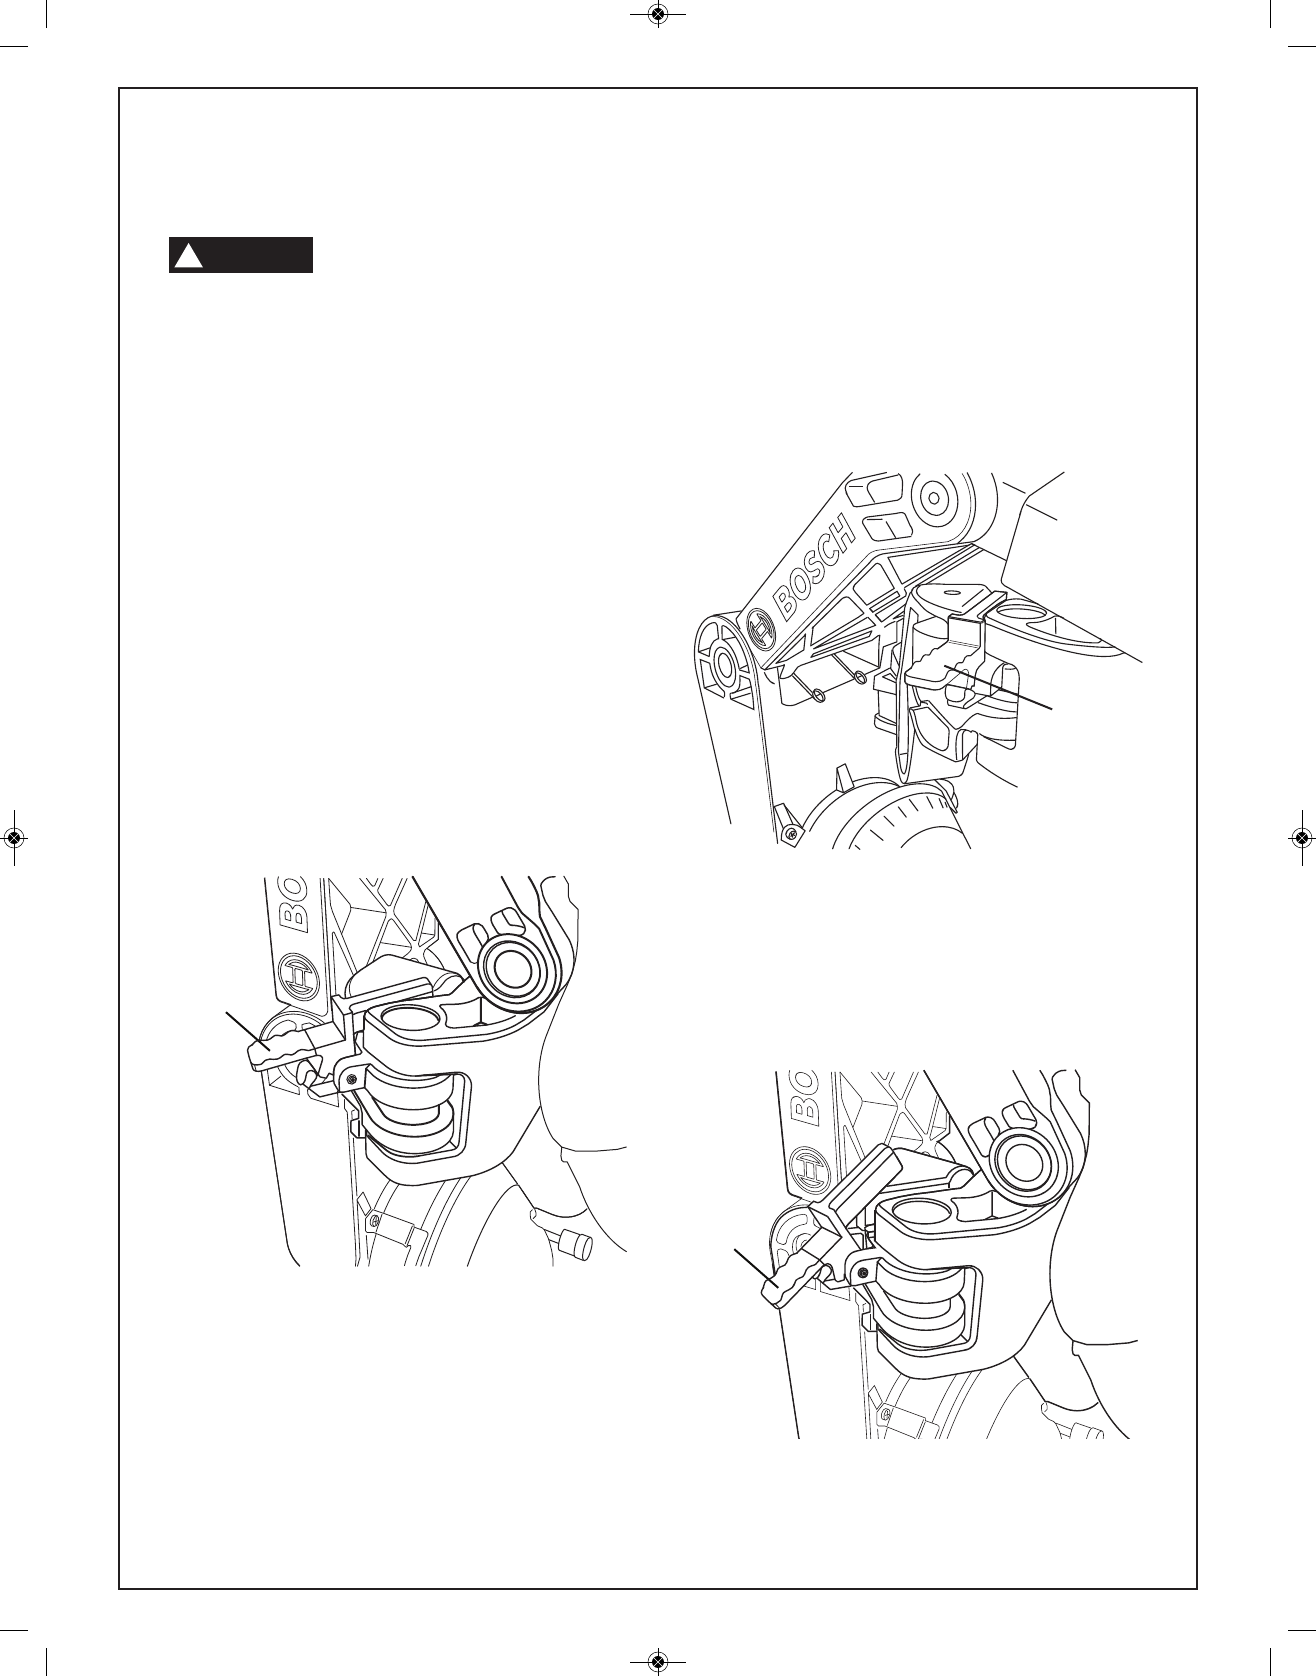
'<%292.@2A52 <08 2C2?
?<:.08<?<?D.?1$<@6A6<;@J
1. Grip the tab on the lock lever and press down until
its wedge comes out from between the two lower
housings. Release your grip; the mechanism is
now free to slide forward and back.
64B?2
'<%292.@26;?<;A<?.08$<@6A6<;
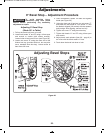
Lock
Lever Tab
Lock
Lever Tab
Lock
Lever Tab
*%""
!
(@6;4A52!205.;6@: <08 2C2?
BM 2610007877 04-10:BM 2610007877 04-10.qxp 4/26/10 8:13 AM Page 18