Transporting and Mounting
'< .C<61 6;7B?F 3<99<D .99
@A.A2:2;A@ 612;A63621 /29<D /F
A52( ' l@F:/<9
l "2C2? 963A A56@ @.D /F 4?.@=6;4 A52 /.@2
2EA2;@6<;@ D52; A52F .?2 6; A52 2EA2;121
=
<@6A6<;
l (
;=9B4 2920A?60 0<?1 .;1 D6;1 B= Use the
hook and loop strap to hold the wrapped cord
together.
l "2C2? 963A A52 @.D /F 4?6==6;4 .;F <3 A52
:205.;6@: =.?A@ The saw may move and
cause severe injuries to your fingers or hands.
l '< .C<61 /.08 6;7B?F 5<91 A52 A<<9 09<@2 A<
F<B? /<1F D52; 963A6;4 Bend your knees so
you can lift with your legs, not your back. Lifting
the saw from the back is the preferred method.
This will tip the tool toward your body.
l "2C2?963AA<<9/F5<916;4@D6A055.;192 This
may cause serious damage.
l "2C2?963AA52:6A2?@.D/FA52=<D2?0<?1<?
A52<=2?.A6<;.95.;192 AA2:=A6;4A<963A<?
0.??FA52A<<9/FA52=<D2?0<?1D6991.:.42
A52 6;@B9.A6<; .;1 A52 D6?2 0<;;20A6<;@
?2@B9A6;46;2920A?60@5<08<?36?2
l $9.02A52@.D<;.36?:92C29@B?3.02D52?2
A52?2 6@ =92;AF <3 ?<<: 3<? 5.;196;4 .;1
=?<=2?9F@B==<?A6;4A52D<?8=6202
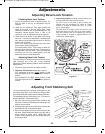
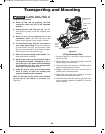
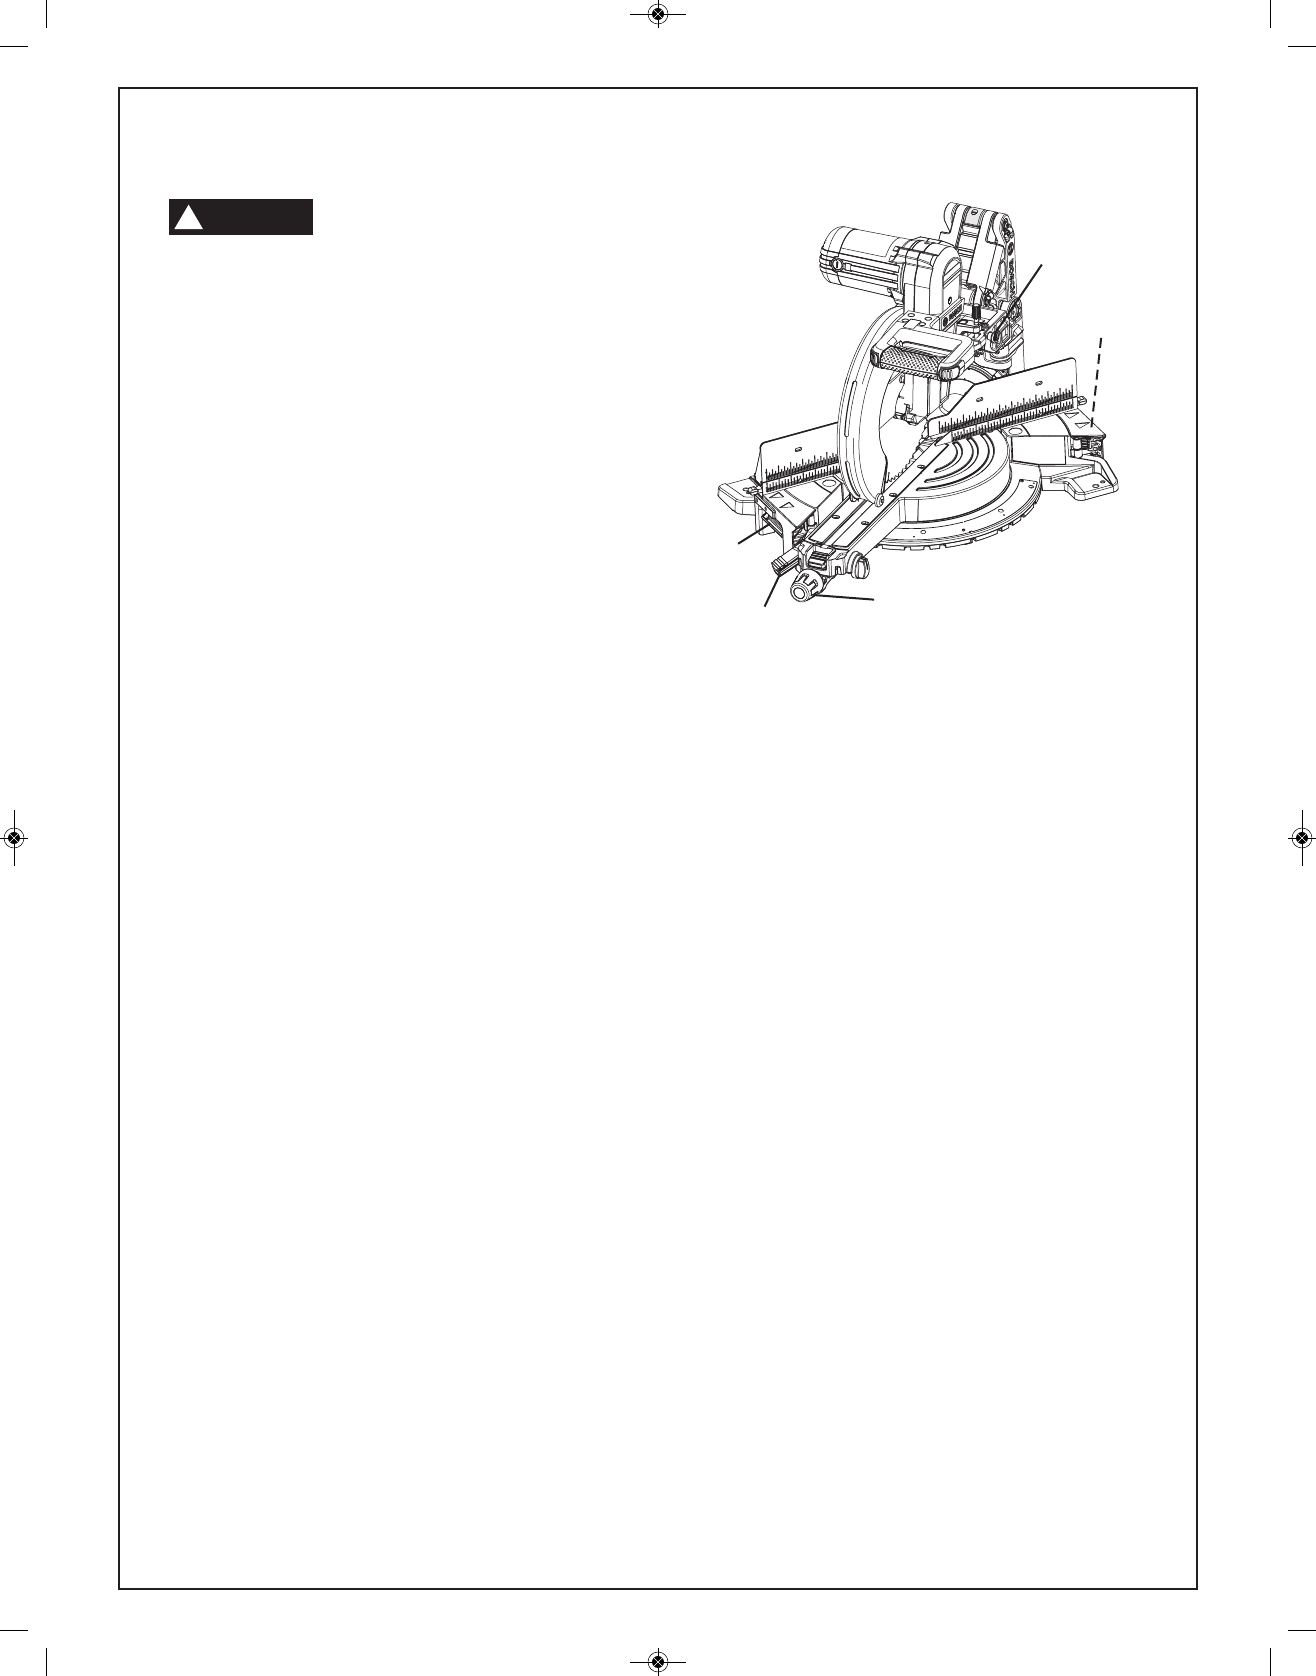
#" , 963A A56@ @.D /F A52 0.@A6; 0.??F 5.;192@
.A 2.05 @612 <3 A52 /<AA<: <3 A52 /.@2 (see
Figure 27).
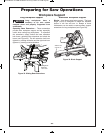
64B?2
63A6;4&.D3?<:%2.?
1. Set bevel angle at 0° and lock in place using the
bevel lock lever.
2. Rotate table to the extreme left position and lock
in place using miter lock knob.
3. Push saw head back and lock in DOWN position
using the head assembly lock pin.
4. Engage mechanism lock lever so the saw is
locked in the retracted position.
5. Check that each base table extension is in the
closed position and locked in place.
6. Use both hands and reach down to grip each cast-
in carry handle. Whenever possible, lift from the
back of the saw.
*%""
!
Cast-In Carry
Handle
Head Assembly
Lock Pin
Cast-In
Carry
Handle
Bevel Lock Lever
Miter Lock Knob
BM 2610007877 04-10:BM 2610007877 04-10.qxp 4/26/10 8:13 AM Page 26


