


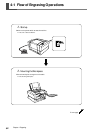
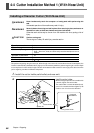
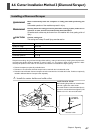
4-4 Cutter Installation Method 1 (With Nose Unit)
60
Chapter 4 Engraving
➌
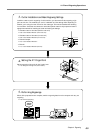
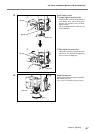
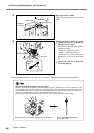
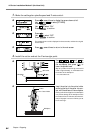
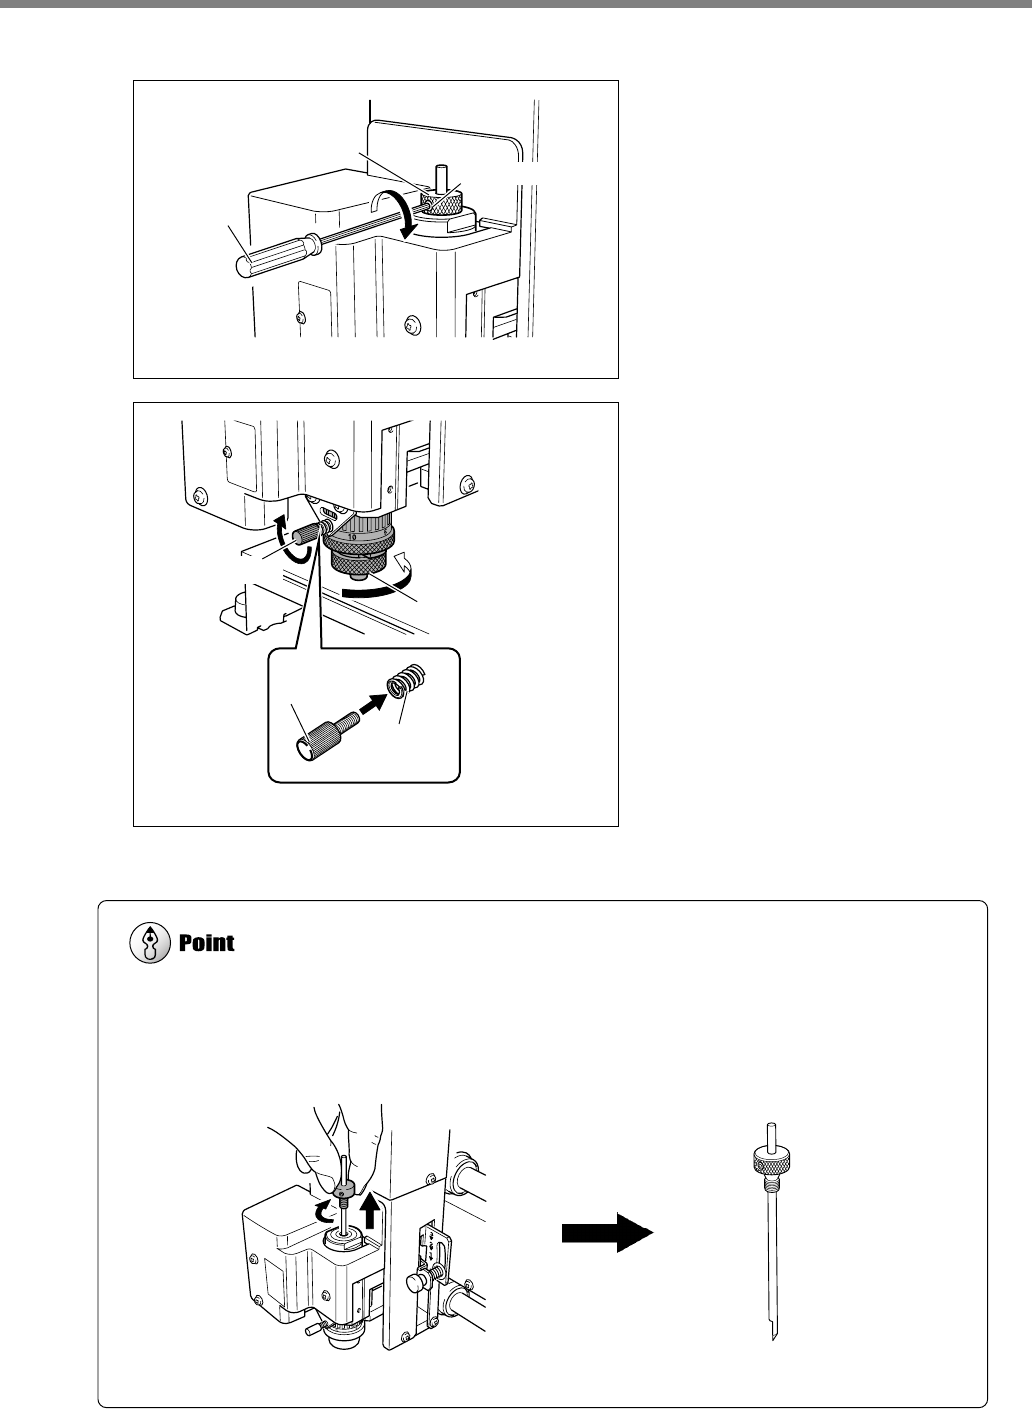
Secure the cutter in place.
Tighten the mounting screw for the cutter
holder.
➍
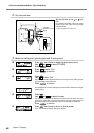
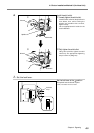
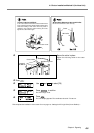
Make the setting for the cutting-in depth.
➀
Tighten the nose unit to match the
desired cutting-in depth.
The amount of extension of the cutter is
the cutting-in depth.
1 scale tick = 0.0254 mm (0.001 in.)
1 full turn = 0.635 mm (0.025 in.)
An amount of 4 to 8 scale ticks corre-
sponds to 0.1 to 0.2 mm (0.004 to 0.008
in.).
➁
Secure the nose unit in place with
the retaining screw.
This completes the installation of the cutter. Go on to page 75, “Setting the XY Origin Point (Home Position)."
➀
Nose unit
➁
Retaining screw
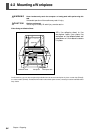
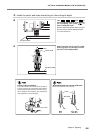
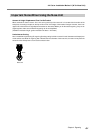
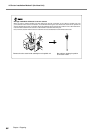
Storage methods for diameter-3.175 mm cutters
When you want to perform repeated use while keeping the amount of extension of the cutter tip constant, then once
you’ve decided on the amount of extension, we recommend removing the cutter holder and cutter from the spindle unit
without separating them from one another. Storing the assembly without changing the position of the cutter holder elimi-
nates the need to determine the amount of cutter extension each time with every use.
Note, however, that this method cannot be used with the included diameter-4.36 millimeter solid collet.
Remove the entire cutter-holder assembly from the spindle unit.
Store without changing the position
of the cutter holder.
Cutter holder
Hexagonal
screwdriver
Mounting screw
Retaining
screw
Spring