


71
Chapter 4 Engraving
4-7 Cutter Installation Method 4 (End mill)
Installing a End Mill
WARNING
Never inadvertently touch the computer or handy panel while performing this
task.
Unintended operation of the machine may result in injury.
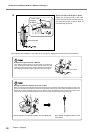
WARNING
Securely fasten the cutting tool and in place. After securing in place, make sure no
wrenches or other articles have inadvertently been left behind.
Otherwise such articles may be thrown from the machine with force, posing a risk of
injury.
CAUTION
Caution: cutting tool.
The cutting tool is sharp. To avoid injury, exercise caution.
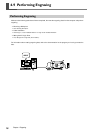
This performs engraving using an end mill. This is suitable for creating reliefs and other examples of three-dimensional
cutting.
➢ End mills and end-mill collets are optionally available items.
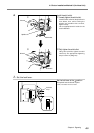
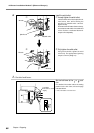
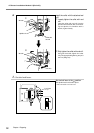
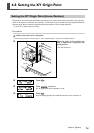
1.
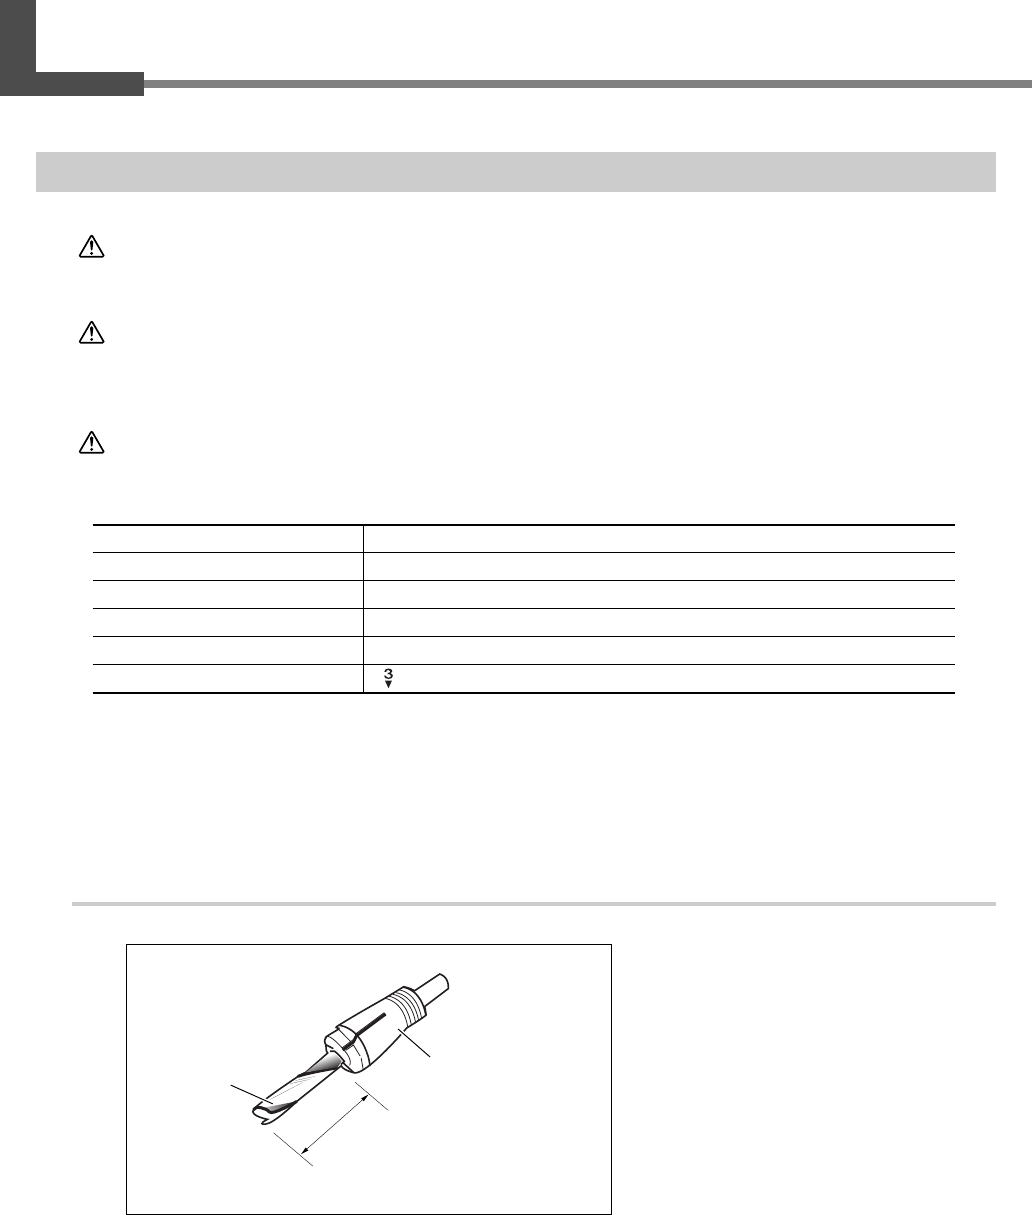
Install the end mill.
➊
Insert the end mill into the end-mill
collet.
The amount of extension of the end-mill tip
differs according to the end mill and the
workpiece type, but as a general guide, an
amount of about 20 to 25 millimeters may
work well.
Endmill
End-mill collet
20 to 25 mm
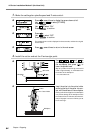
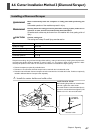
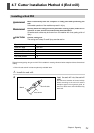
Type of cutter used
Nose-unit usage
Suitable workpiece types
Automatic Z-axis control
Spindle rotation
Lock-lever position
End mill
Not used
Plastic materials
Off
On