MatrixPRO • 8x8 DVI Router • User’s Guide 57
5. GUI Installation and Operation
Running the GUI
oìååáåÖ=íÜÉ=drf
Use the following steps to run the MatrixPRO GUI:
1. Turn on MatrixPRO and wait for a complete system boot up.
2. Ensure that your PC (or laptop) is connected to MatrixPRO either via serial (RS-
232) or via Ethernet.
~ For Serial Connection:
• Connect the MatrixPRO’s Serial port to an available serial (RS-
232) port on your laptop or PC.
• Ensure that MatrixPRO’s baud rate is set to 115200. In
Chapter 4, refer to the “RS-232 Settings Menu
” section on
page 37 for instructions.
~ For Ethernet Connection:
• Connect MatrixPRO’s Ethernet port to a Hub or Switch.
• Connect the Ethernet Hub or Switch to your PC. Remember
that a totally “local” network is recommended, without IP
connections to the outside world.
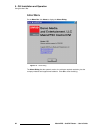
3. On your PC, run the Control GUI application by clicking Start > Programs >
Barco Folsom > MatrixPRO DVI 8x8 Software #.## > MatrixPRO DVI GUI.
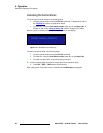
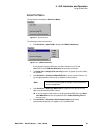
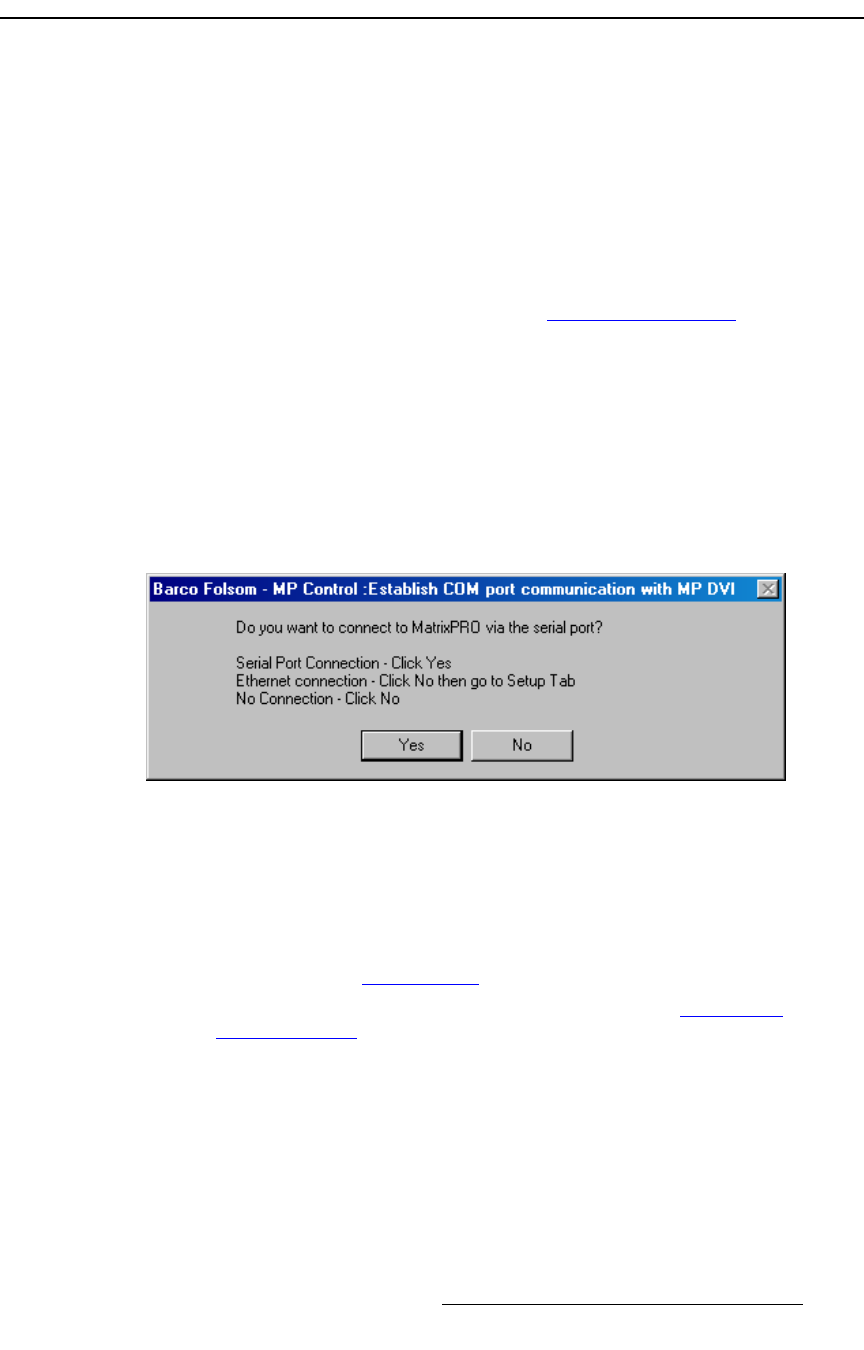
The MP Control Dialog appears:
Figure 5-5. MP Control Dialog
4. Select the desired connection type:
~ Click Yes to connect via serial communications.
~ Click No to connect via Ethernet.
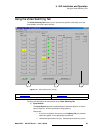
With all conditions for a proper connection met, the GUI will appear. Please
continue with the “GUI Overview” section on page 59.
If you experience trouble with the connection, refer to the “Connection
Troubleshooting” section on page 58 for further instructions.
Please note the following important points regarding control and connection:
• Only one Ethernet socket is available — so only one remote GUI can be
accommodated at one time. However, MatrixPRO can still be controlled via RS-
232 serial commands or the Front Panel while simultaneously being controlled
over Ethernet (by devices such as Encore and remote control panels).
• If the unit is controlled by other sources, press Read from MatrixPRO on the
Video Switching Tab as necessary to find the current status of the MatrixPRO.


