


F-62 F-62
LN-9 Wire Feeder
Return to Section TOC Return to Section TOC Return to Section TOC Return to Section TOC
Return to Master TOC Return to Master TOC Return to Master TOC Return to Master TOC
TROUBLESHOOTING & REPAIR
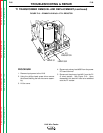
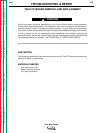
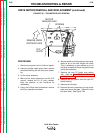
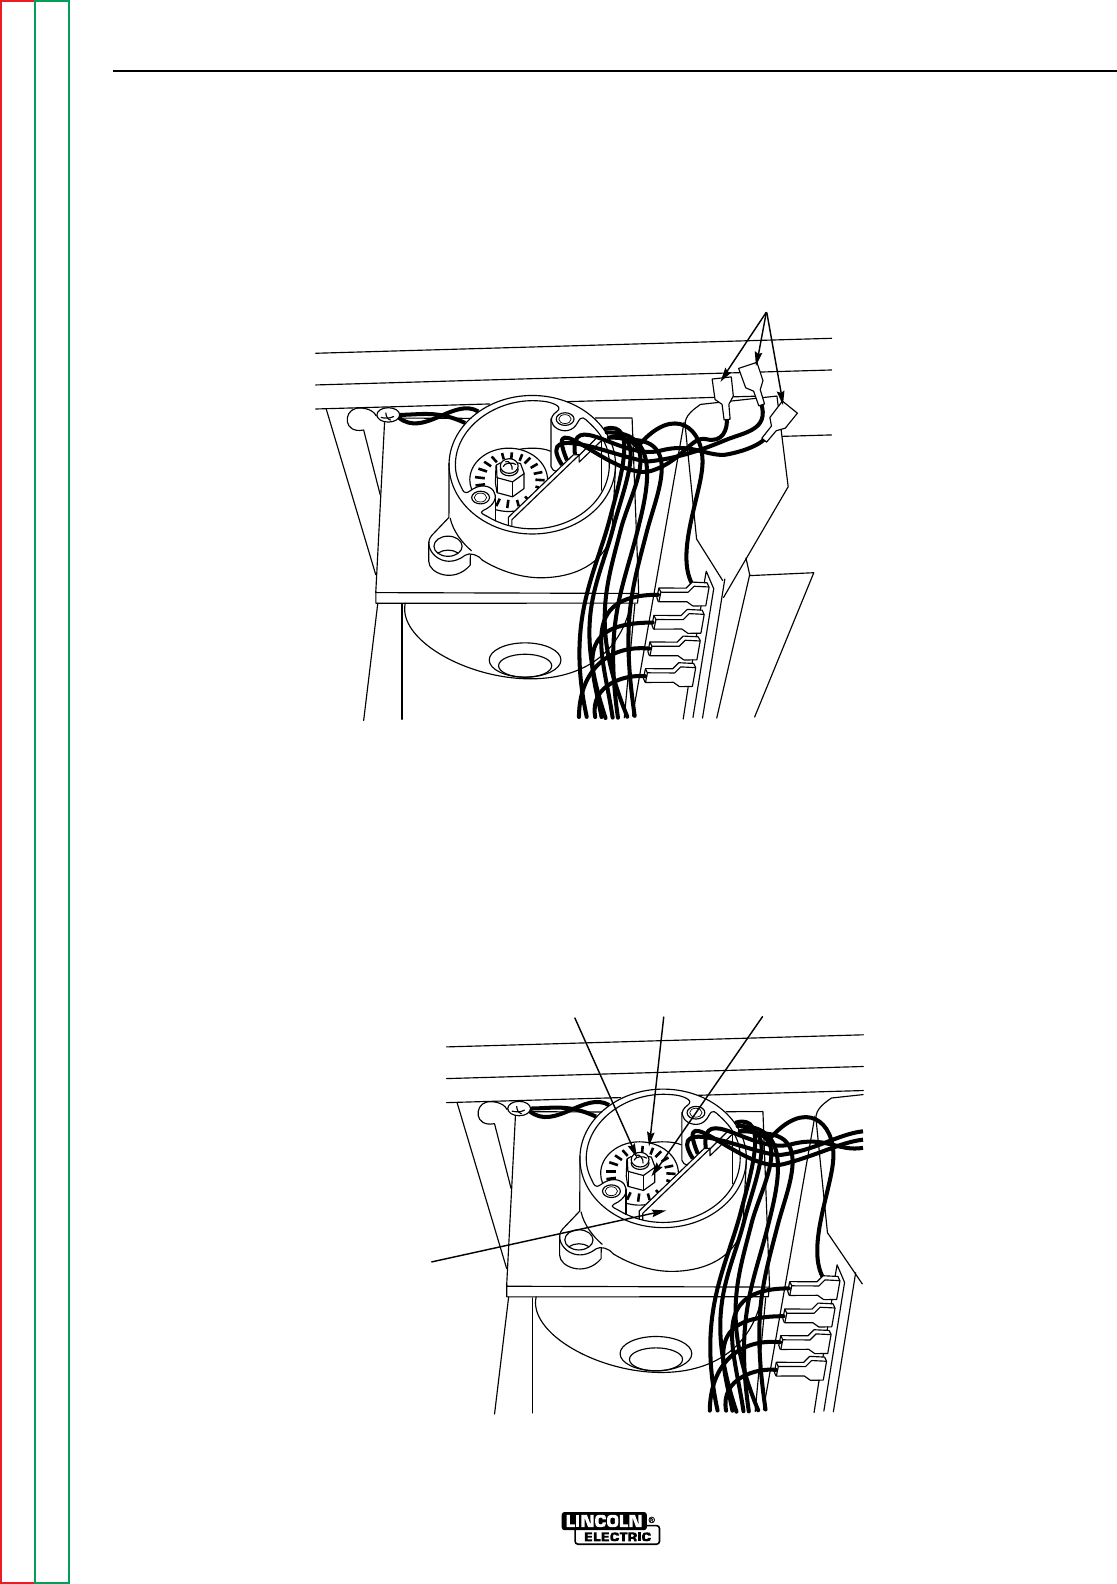
5. Remove control PC board leads #510, #525
and #555. See Figure F.22.
TACH PC BOARD REMOVAL AND REPLACEMENT (continued)
FIGURE F.22 – CONTROL PC BOARD LEADS
LEADS 510, 525, 555
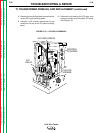
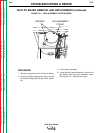
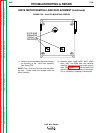
FIGURE F.23 – REMOVAL OF ROTATING DISK LOCKING SCREW
DISC NUT
TACH
PC BOARD
PHILLIPS
SCREW
6. Hold the nut in place with the 3/8" wrench.
With the phillips head screw driver, remove
the locking screw from the rotating disc. See
Figure F.23.
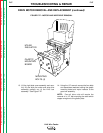
7. Carefully remove the rotating disc and tach
PC board together. Note the spacer washers
underneath the disc.