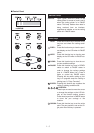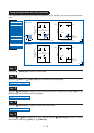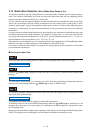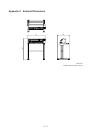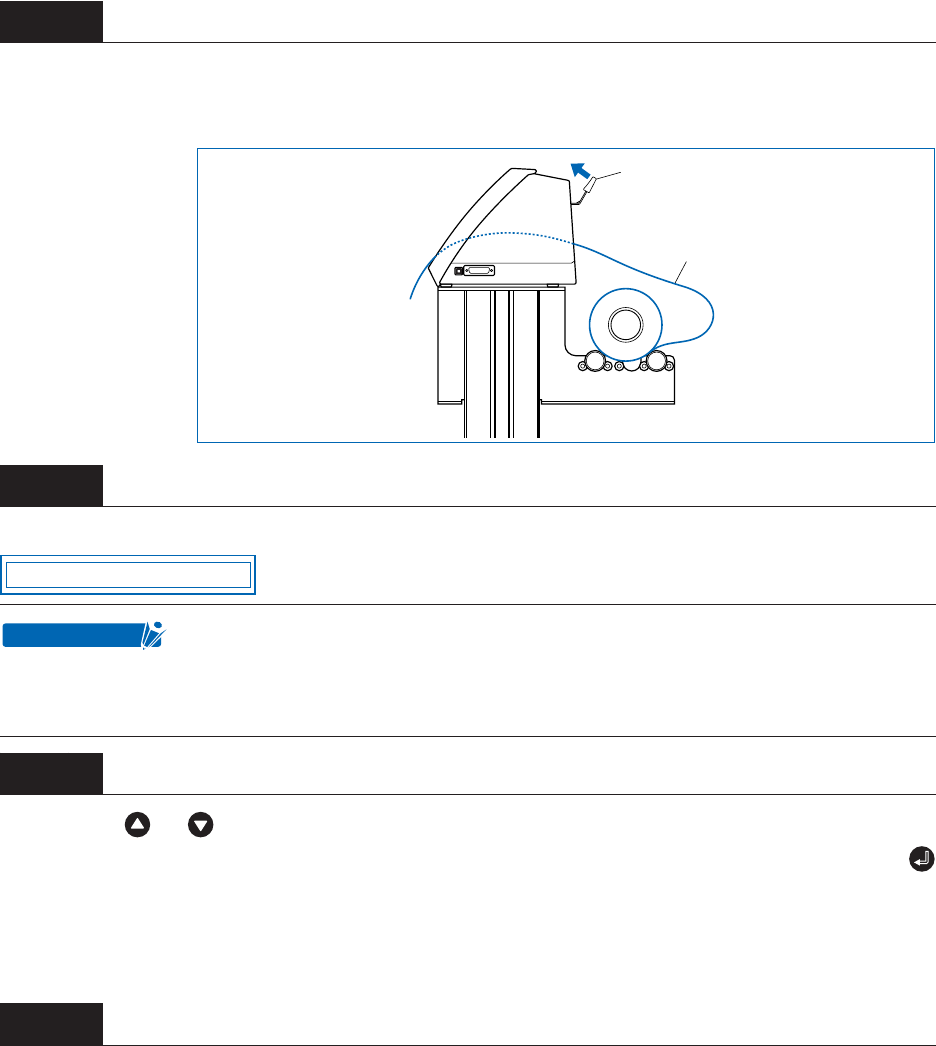
2 – 7
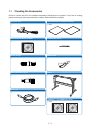
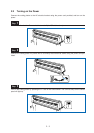
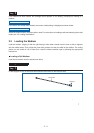
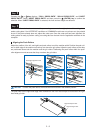
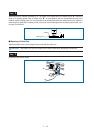
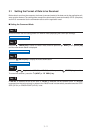
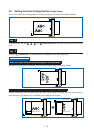
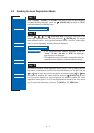
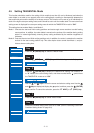
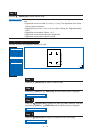
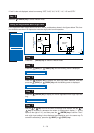
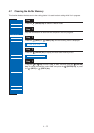
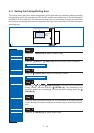
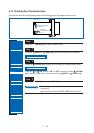
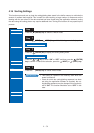
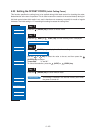
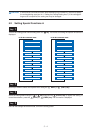
After ensuring that there is no slack in the medium’s conveyance path, raise the media set lever to lower
the push rollers and provide slack in the medium for a length corresponding to the length of the medium to
be used.
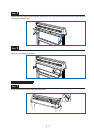
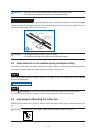
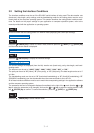
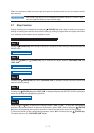
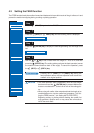
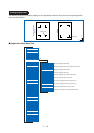
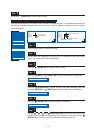
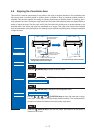
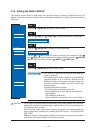
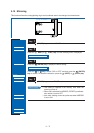
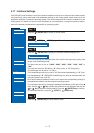
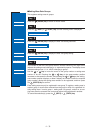
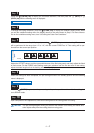
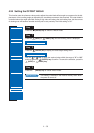
Raising the media set lever displays a menu for selection of the media mode. Select the media mode.
Pressing the or key displays “ROLL1 PRESS ENTR”, “ROLL2 PRESS ENTR”, and “SHEET
PRESS ENTR”. Select “ROLL2 PRESS ENTR” or “ROLL1 PRESS ENTR” and then press the
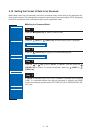
(ENTER) key to confirm. When “ROLL2 PRESS ENTR” is selected, only the medium width is detected.
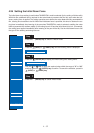
Select this mode to begin cutting at a point beyond the leading edge. When “ROLL1 PRESS ENTR” is
selected, the leading edge and width of the medium are detected. Select this mode to begin cutting from
the leading edge.
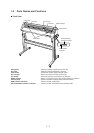
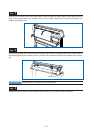
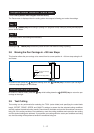
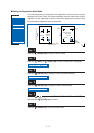
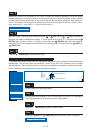
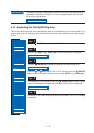
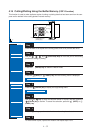
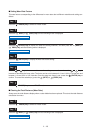
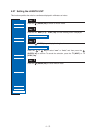
After the medium size has been detected, the pen carriage returns to the origin point and the cutting plotter
awaits cutting data. If the INTERFACE conditions or COMMAND mode have not yet been set, they should
be set. If they have already been set, adjust the cutter pen. Once the cutter pen has been adjusted, the
cutting plotter is ready to perform cutting, so cutting data can be sent from the application software on the
computer.
Step
5
Step
6
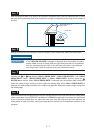
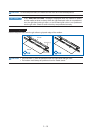
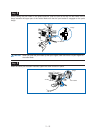
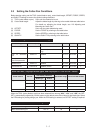
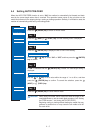
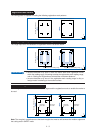
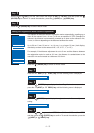
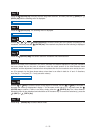
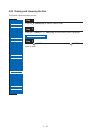
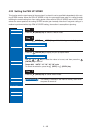
If the “REALIGN ROLLERS” message is displayed when the medium is loaded
and the media set lever is raised, either the right-hand push roller is not positioned
over the right-hand wide grit roller or the left-hand push roller is not positioned
over the grit roller. Check to confirm that they are positioned correctly.
Step
7
Step
8
Raise media set lever to
clamp medium
Provide slack
R O LL 2 P RE S S E N T R
CHECKPOINT