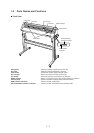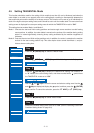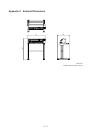
4 – 12
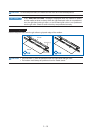
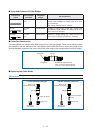
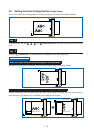
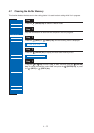
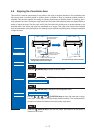
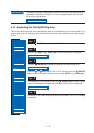
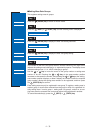
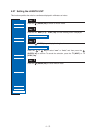
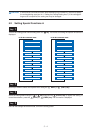
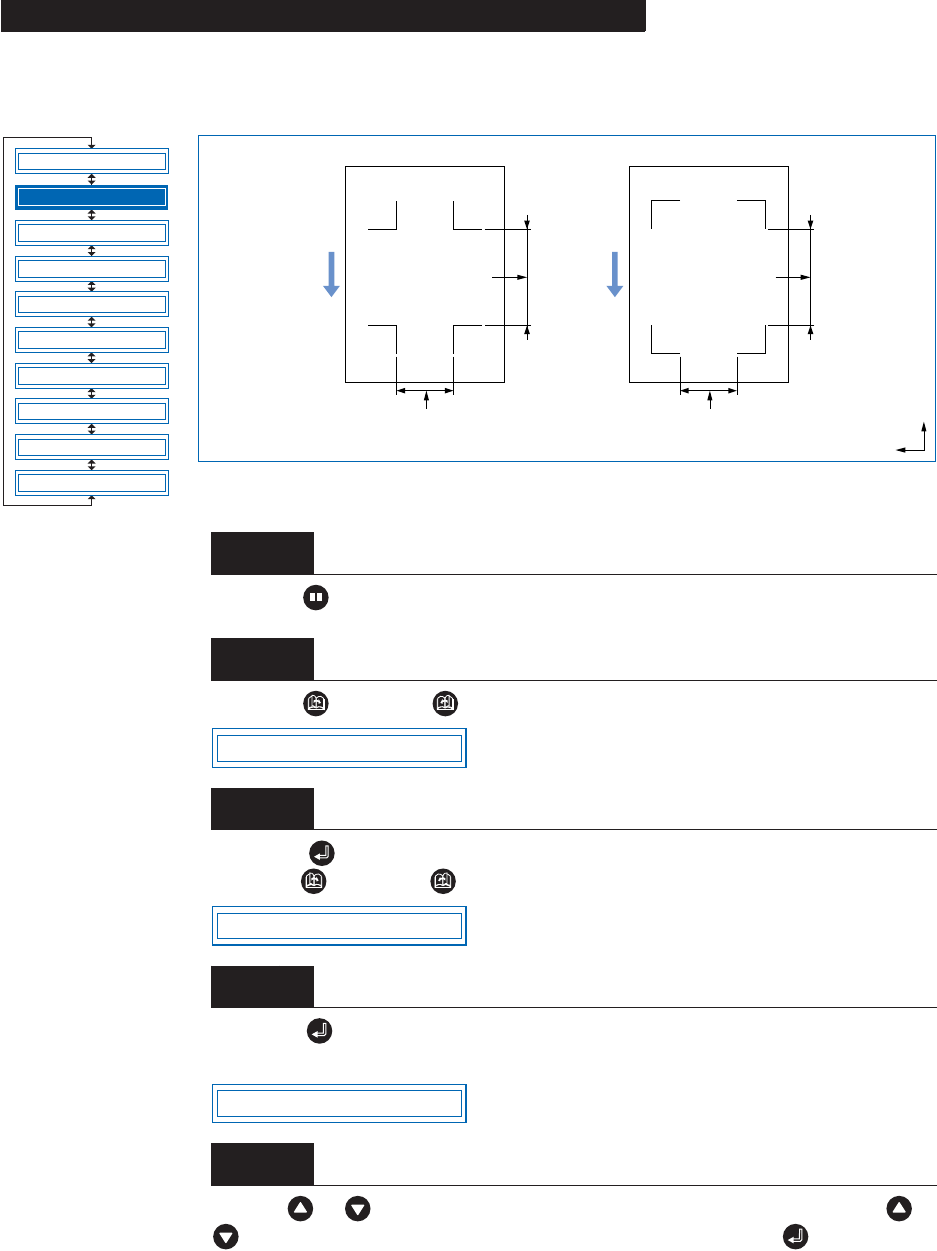
This sets the distance between the registration marks and changes the initial registration-mark scanning
position. Avoiding reading areas that obviously do not include registration marks increases the registration-
mark reading speed and minimizes the possibility of incorrect reading due to other marks on the medium
.
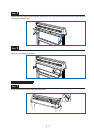
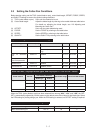
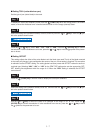
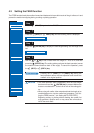
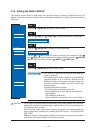
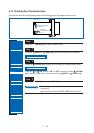
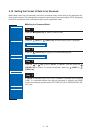
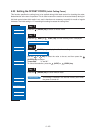
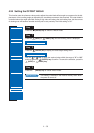
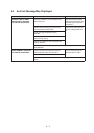
Press the (PAUSE) key to switch to PAUSE mode.
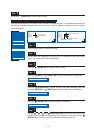
Press the (NEXT) or (PREV.) key until the following menu is displayed.
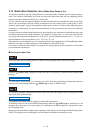
Press the (ENTER) key to display the Auto Reg. Mark submenu, and then
press the (NEXT) or (PREV.) key until the following menu is displayed.
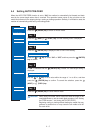
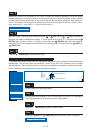
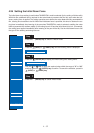
Press the (ENTER) key to display the registration-mark detection movement
distance X-axis setting.
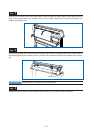
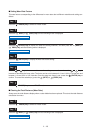
Use the or key to move the cursor to the digit to be entered, use the or
key to increase or decrease the values, and then press the (ENTER) key
to confirm. The Y-axis setting is then displayed and should be set in the same way.
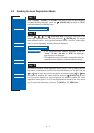
Setting the Registration-Mark Detection Movement Distance
Step
1
Step
2
Step
3
Step
4
Step
5
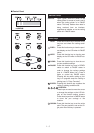
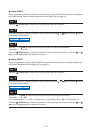
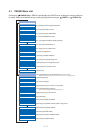
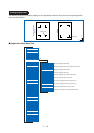
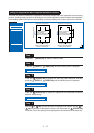
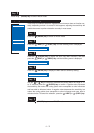
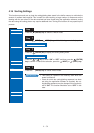
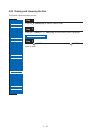
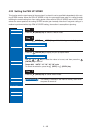
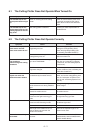
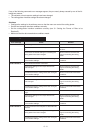
MARK MODE
MARK POSITION
MARK TYPE
MARK SIZE
MARK DIST. ADJ.
MARK OFFSET
MARK SENSOR ADJ1
MARK SENSOR ADJ2
MARK AUTO SCAN
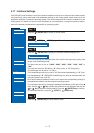
MARK SENSOR ADJ
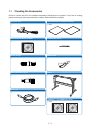
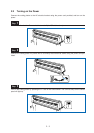
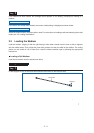
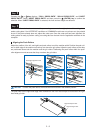
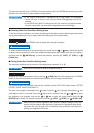
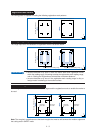
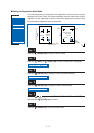
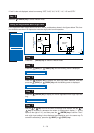
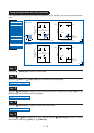
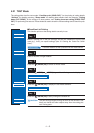
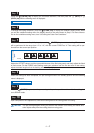
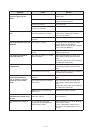
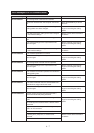
Registration-mark pattern 1
Medium feed direction
Registration-mark pattern 2
Set the registration-
mark detection
movement distance X
based on this distance.
Set the registration-mark
detection movement distance
Y based on this distance.
Set the registration-
mark detection
movement distance X
based on this distance.
Set the registration-mark
detection movement distance
Y based on this distance.
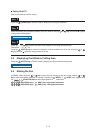
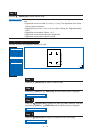
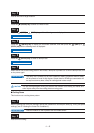
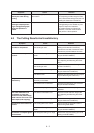
AUTO REG. MARK
MARK POSITION
M. POS X=0000mm