4 – 11
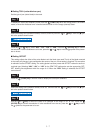
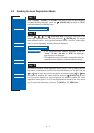
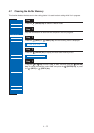
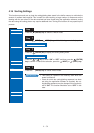
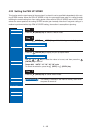
■ Setting the Registration-Mark Mode
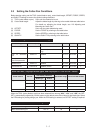
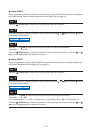
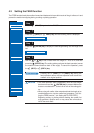
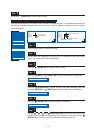
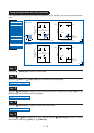
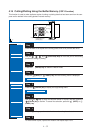
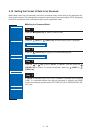
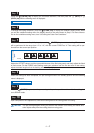
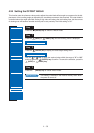
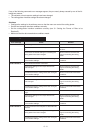
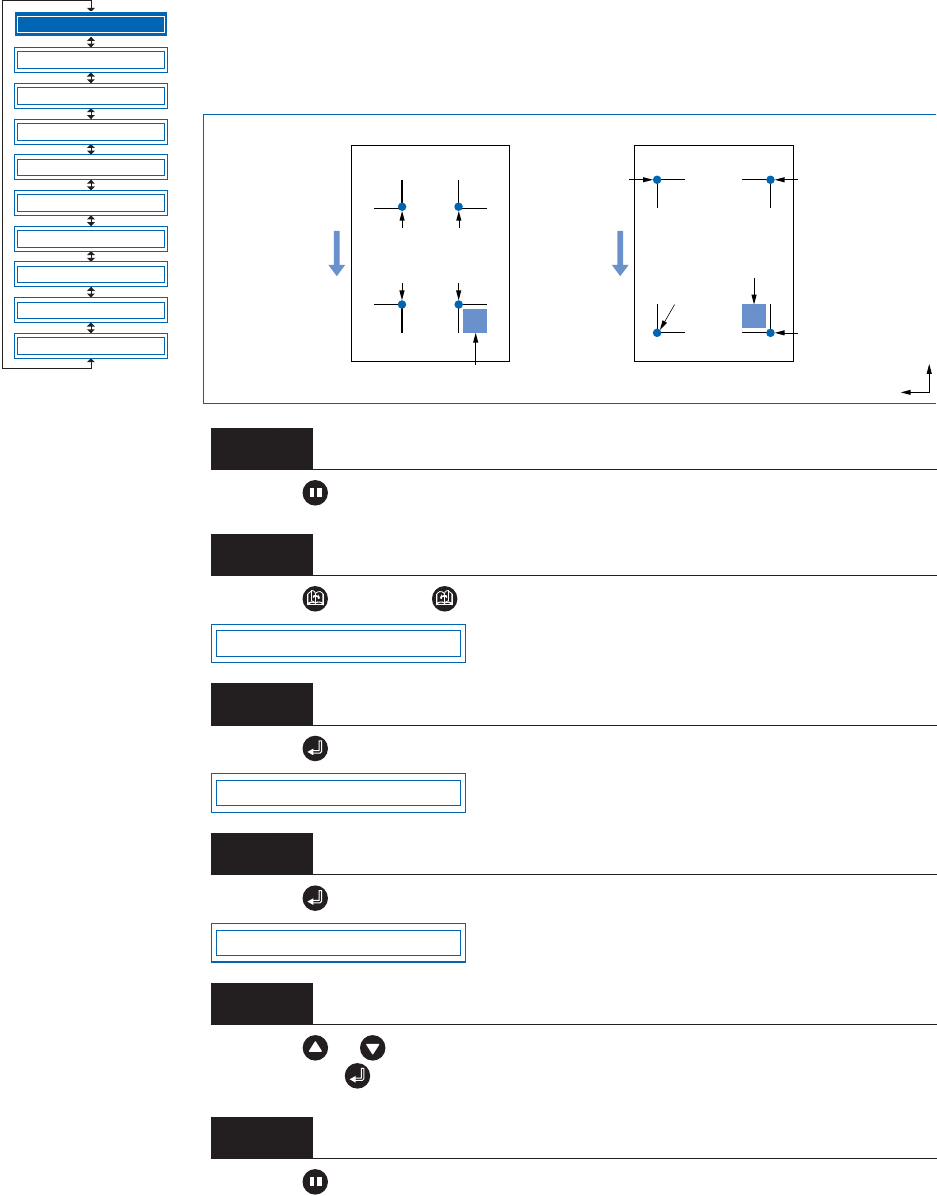
For 2-point alignment, the origin and X-axis registration marks are read; for 3-point
alignment, the origin, X-axis, and Y-axis registration marks are read; and for 4-point
alignment, all four registration marks are read. Axis alignment (correction of any
tilt) and distance adjustment are then performed.
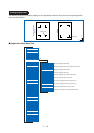
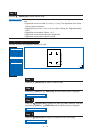
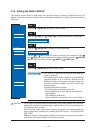
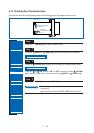
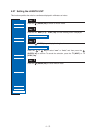
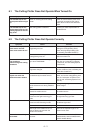
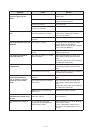
Press the (PAUSE) key to switch to PAUSE mode.
Press the (NEXT) or (PREV.) key until the following menu is displayed.
Press the (ENTER) key to display the Auto Reg. Mark submenu.
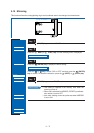
Press the (ENTER) key to display the MARK mode settings.
Press the or key to select “OFF,” “2 POINT,” “3 POINT,” or “4 POINT,” and
then press the (ENTER) key to confirm.
Press the (PAUSE) key to cancel PAUSE mode.
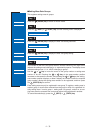
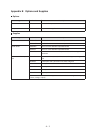
Step
1
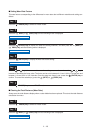
Step
2
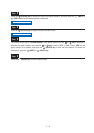
Step
3
Step
4
Step
5
Step
6
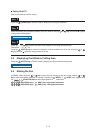
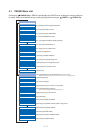
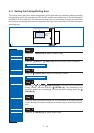
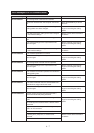
MARK MODE
MARK POSITION
MARK TYPE
MARK SIZE
MARK DIST. ADJ.
MARK OFFSET
MARK SENSOR ADJ1
MARK SENSOR ADJ2
MARK AUTO SCAN
MARK SENSOR ADJ
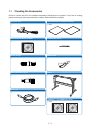
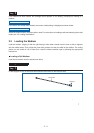
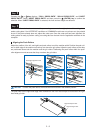
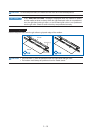
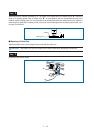
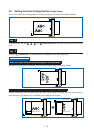
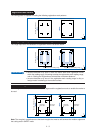
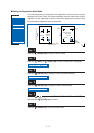
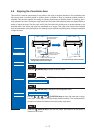
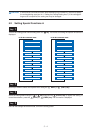
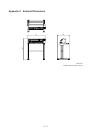
Registration-mark pattern 1
Medium feed direction
Registration-mark pattern 2
Move the cutter
blade within
this area.
Point 1
(Drawing
origin point)
Point 2
Point 4
Point 3
Point 4
Point 1
(Drawing
origin point)
Point 3
Point 2
Move the cutter blade
within this area.
X
Y
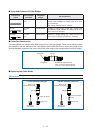
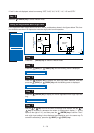
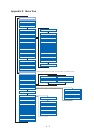
AUTO REG. MARK
MARK MODE
MARK MODE OFF