4 – 2
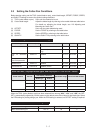
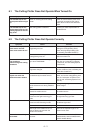
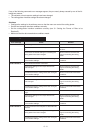
4.1 PAUSE Menu List
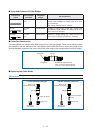
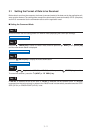
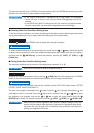
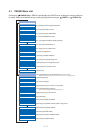
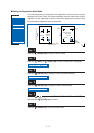
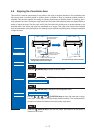
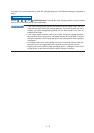
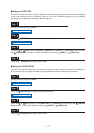
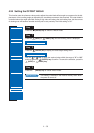
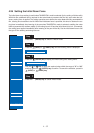
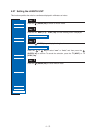
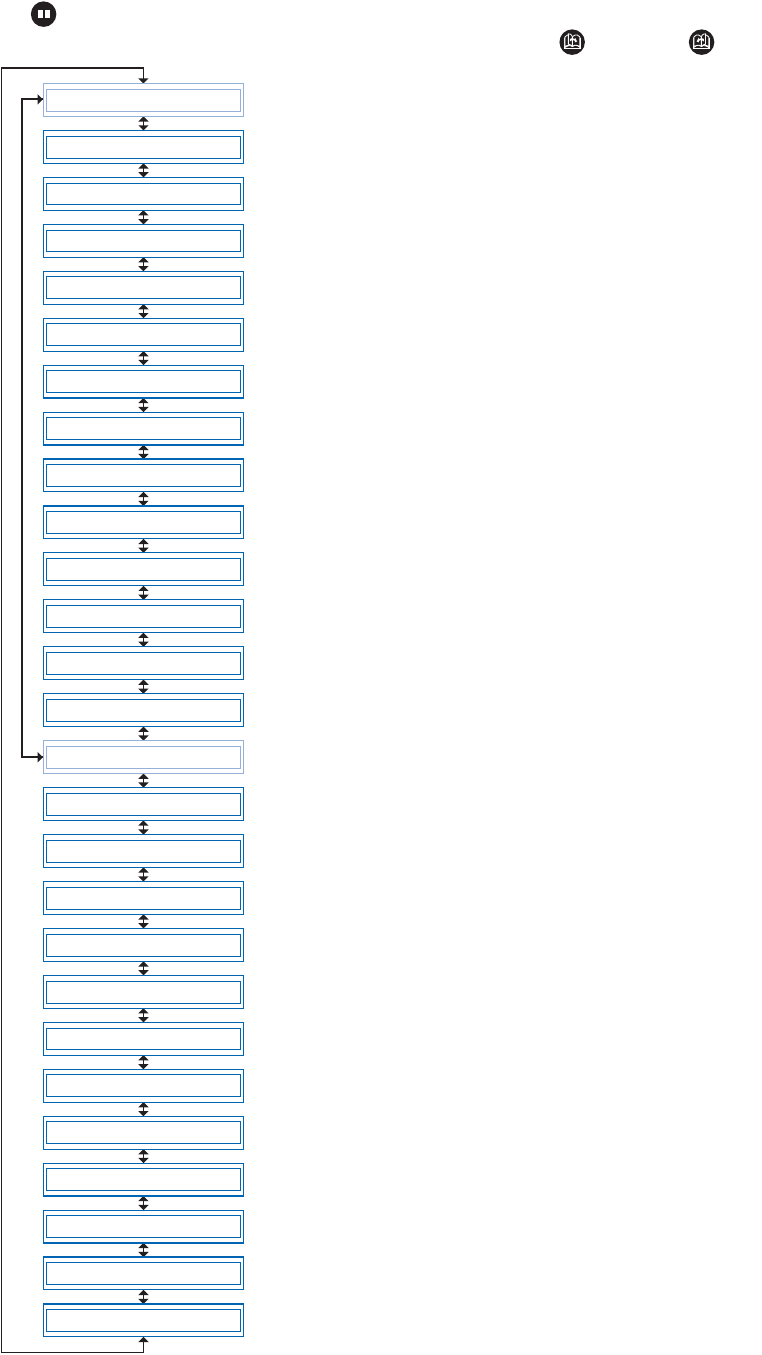
Pressing the (PAUSE) key in READY mode displays the PAUSE menu, enabling the various settings to
be made. Select the required menu by scrolling through the list using the (NEXT) or (PREV.) key.
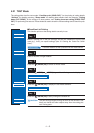
FEED
MOVE TO R. MARK
AUTO PRE FEED
TANGENTIAL
AUTO REG. MARK
CLEAR BUFFER
AXIS ALIGNMENT
DISTANCE ADJUST
PAGE LENGTH
PLOT AREA
EXPAND
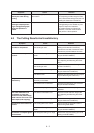
ROTATE
MIRROR
COPY
SORT
RS-232C
COMMAND
BLADE WEAR SETUP
PEN UP/DOWN
TEST
PEN UP SPEED
OFFSET FORCE
OFFSET ANGLE
STEP PASS
INIT. DOWN FORCE
LENGTH UNIT
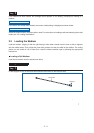
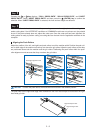
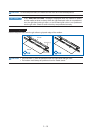
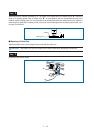
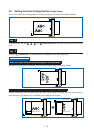
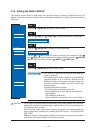
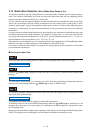
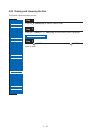
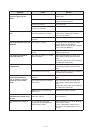
4.2 Reading the Auto Registration Marks
4.3 Setting the FEED function
4.4 Setting the AUTO PRE-FEED
4.5 Setting TANGENTIAL Mode
4.6 Auto-Registration-Mark-Reading Settings
4.7 Clearing the Buffer Memory
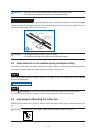
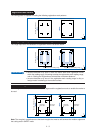
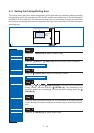
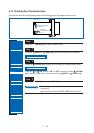
4.8 Aligning the Coordinate Axes
4.9 Distance Adjustment
4.10 Setting the PAGE LENGTH
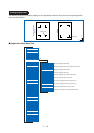
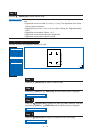
4.11 Setting the Cutting/Plotting Area
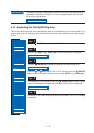
4.12 Expanding the Cutting/Plotting Area
4.13 Rotating the Coordinate Axes
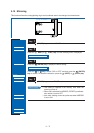
4.14 Mirroring
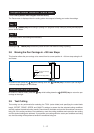
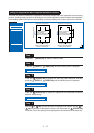
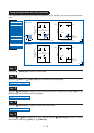
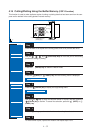
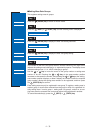
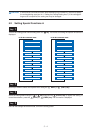
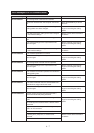
4.15 Cutting/Plotting Using the Buffer Memory
(COPY Function)
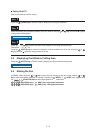
*Displayed on the first page when you select "TOP" on the "COPY" menu of Special Functions.
4.16 Sorting Settings
4.17 Interface Settings
4.18 Setting the Format of Data to be Received
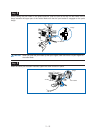
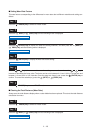
4.19 Cutter-Blade Wear Detection
(Special function only displayed for BLADE WEAR SETUP “ON”)
4.20 Raising and Lowering the Pen
4.21 TEST Mode
4.22 Setting the PEN UP SPEED
4.23 Setting the OFFSET FORCE (Initial Cutting Force)
4.24 Setting the OFFSET ANGLE
4.25 Setting the STEP PASS
4.26 Setting the INITIAL DOWN FORCE
4.27 Setting the LENGTH UNIT
COPY