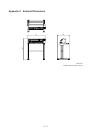
4 – 43
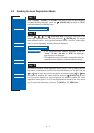
4.21 TEST Mode
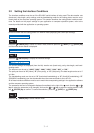
The cutting plotter has five test modes: “Condition print (COND. PAT.)” for the printing of setting details,
“Self-test” for checking accuracy, “Dump mode” for checking data transfers from the computer, “Cutting
demo (CUT. DEMO)” for the cutting of a demo pattern, and “Cutting force test cutting (PRESS TEST
CUT)” for performing five test cuts. These should be used to check the various settings and to check for prob-
lems.
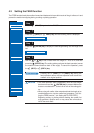
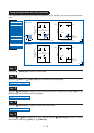
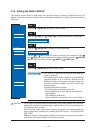
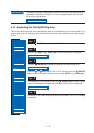
■Condition-List Printing
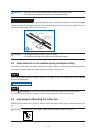
This function prints out the setting details currently in use.
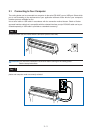
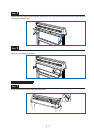
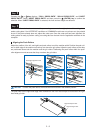
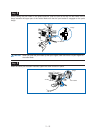
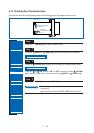
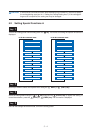
Mount a plotting pen in the pen carriage, and set the conditions to suit the pen
used (e.g., force, pen speed settings) (see “3.3 Setting the Cutter-Pen Condi-
tions”).
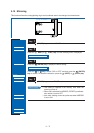
Load an A3-size or larger medium.
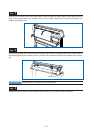
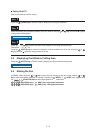
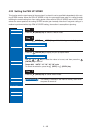
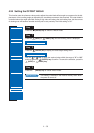
Press the (PAUSE) key to switch to PAUSE mode.
Press the (NEXT) or (PREV.) key until the following menu is displayed.
Press the (ENTER) key to display the test-mode submenu.
Press the (ENTER) key to start printing the condition list.
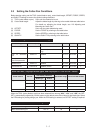
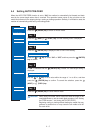
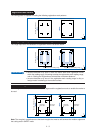
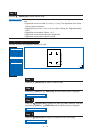
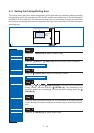
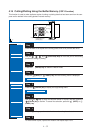
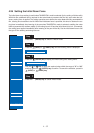
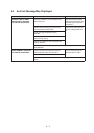
Step
1
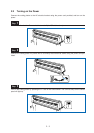
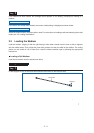
Load the medium so that it passes over the media sensor.
Step
2
Step
3
Step
4
Step
5
Step
6
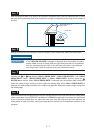
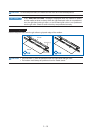
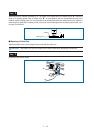
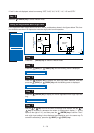
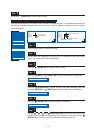
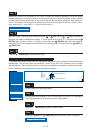
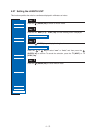
The pen carriage begins moving as soon as this function is set.
Keep your hands and other objects away from the cutting plot-
ter’s moving parts.
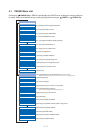
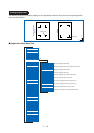
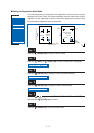
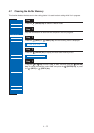
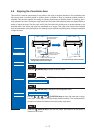
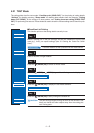
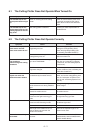
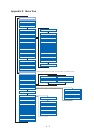
FEED
MOVE TO R. MARK
AUTO PRE FEED
TANGENTIAL
AUTO REG. MARK
CLEAR BUFFER
AXIS ALIGNMENT
DISTANCE ADJUST
PAGE LENGTH
PLOT AREA
EXPAND
ROTATE
MIRROR
COPY
SORT
RS-232C
COMMAND
BLADE WEAR SETUP
PEN UP/DOWN
TEST MODE
PEN UP SPEED
OFFSET FORCE
OFFSET ANGLE
STEP PASS
INIT. DOWN FORCE
LENGTH UNIT
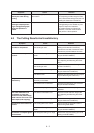
CHECKPOINT
TEST
COND. PAT.
CAUTION