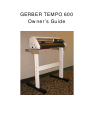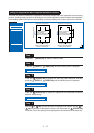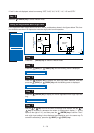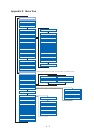
4 – 14
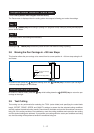
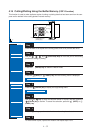
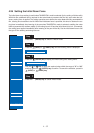
Press the (PAUSE) key to cancel PAUSE mode.
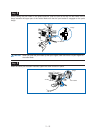
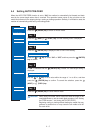
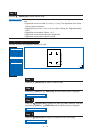
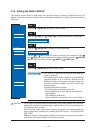
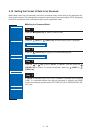
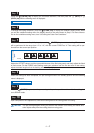
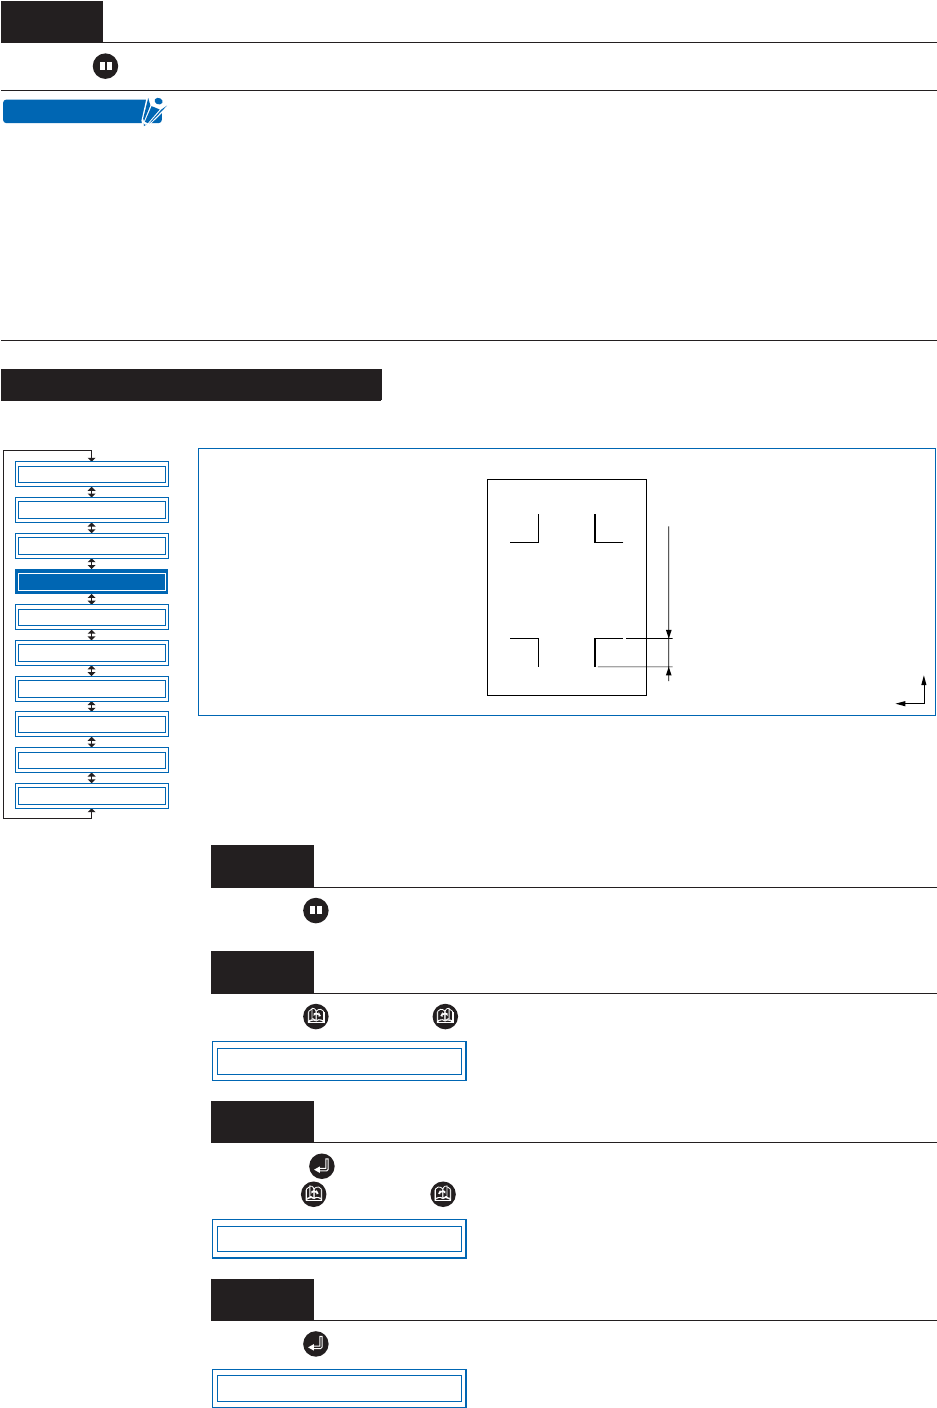
This sets the size of the registration marks to be read.
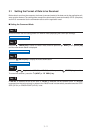
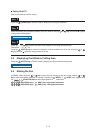
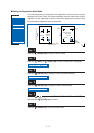
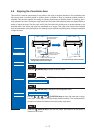
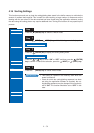
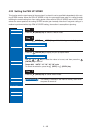
Press the (PAUSE) key to switch to PAUSE mode.
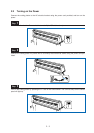
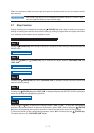
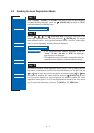
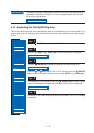
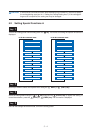
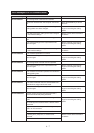
Press the (NEXT) or (PREV.) key until the following menu is displayed.
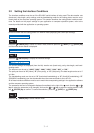
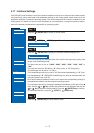
Press the (ENTER) key to display the Auto Reg. Mark submenu, and then
press the (NEXT) or (PREV.) key until the following menu is displayed.
Press the (ENTER) key to display the registration-mark size setting.
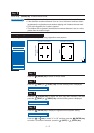
Step
5
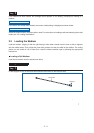
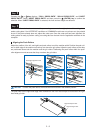
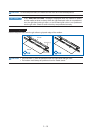
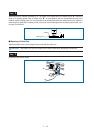
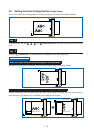
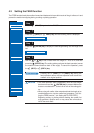
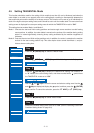
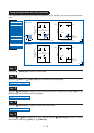
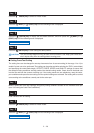
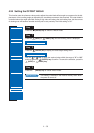
The registration-mark conditions that can be read by the cutting plotter are as fol-
lows.
• Registration-mark line width: 0.3 mm to 1.0 mm (The registration-mark center
lines are used as the data.)
• Registration-mark size: 5 mm to 20 mm (See “Setting the Registration-Mark
Size.”)
• Registration-mark pattern: Pattern 1 or 2
• Registration marks must be formed of single lines.
• Registration marks must be drawn in black.
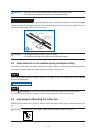
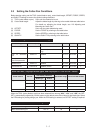
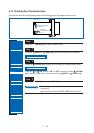
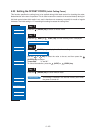
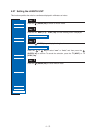
Setting the Registration-Mark Size
Step
1
Step
2
Step
3
Step
4
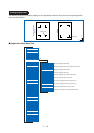
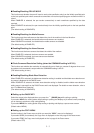
CHECKPOINT
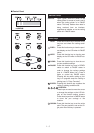
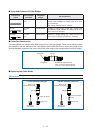
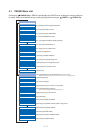
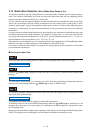
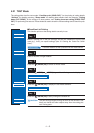
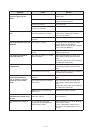
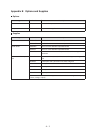
MARK MODE
MARK POSITION
MARK TYPE
MARK SIZE
MARK DIST. ADJ.
MARK OFFSET
MARK SENSOR ADJ1
MARK SENSOR ADJ2
MARK AUTO SCAN
MARK SENSOR ADJ
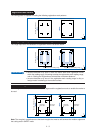
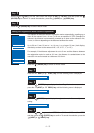
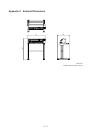
Enter this length
X
Y
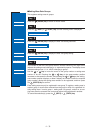
AUTO REG. MARK
MARK SIZE
MARK SIZE 10mm