4 – 15
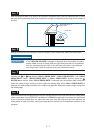
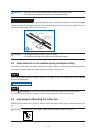
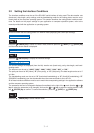
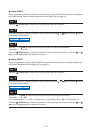
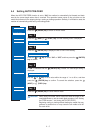
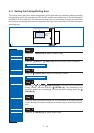
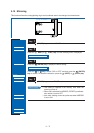
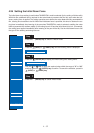
Use the or key to set the value within the range “5 mm” to “20 mm,” and then press the
(ENTER) key to confirm. To cancel the selection, press the (NEXT) or (PREV.) key.
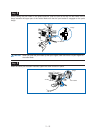
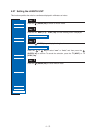
Press the (PAUSE) key to cancel PAUSE mode.
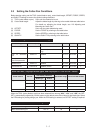
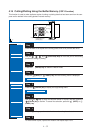
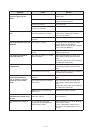
This adjusts the distance between registration marks automatically, rounding up or
down to the nearest 5 mm, 10 mm, or 50 mm as specified. If STD. (Standard) is
selected, the distance is automatically rounded up or down to the nearest 5 mm,
10 mm, or 50 mm depending on the distance between the marks.
Up to 50 cm: 5 mm; 50 cm to 1 m: 10 mm; 1 m or larger: 50 mm. (Inch display:
rounded up or down to the nearest 0.25", 0.5", 0.75", 1", or 1.5").
For example, if the distance adjustment is set to 5 mm and the distance between
the registration marks is read as 312 mm, the distance is rounded down to the
nearest 5 mm and is treated as a distance of 310 mm.
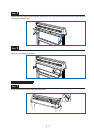
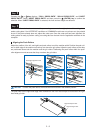
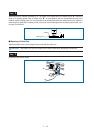
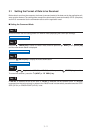
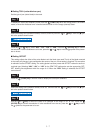
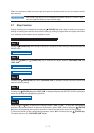
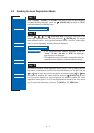
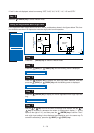
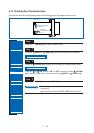
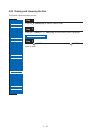
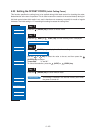
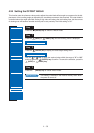
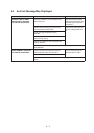
Press the (PAUSE) key to switch to PAUSE mode.
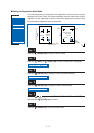
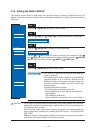
Press the (NEXT) or (PREV.) key until the following menu is displayed.
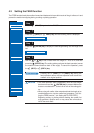
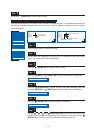
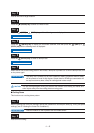
Press the (ENTER) key to display the Auto Reg. Mark submenu, and then
press the (NEXT) or (PREV.) key until the following menu is displayed.
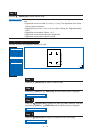
Press the (ENTER) key to display the registration-mark distance-adjustment
setting.
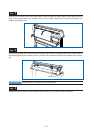
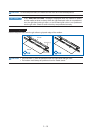
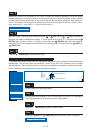
Press the or key to select “OFF,” “5 mm,” “10 mm,” “50 mm,” or “STD.”
and then press the (ENTER) key to confirm. To cancel the selection, press the
(NEXT) or (PREV.) key.
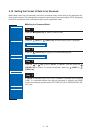
Step
5
Step
6
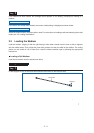
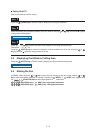
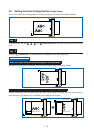
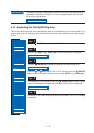
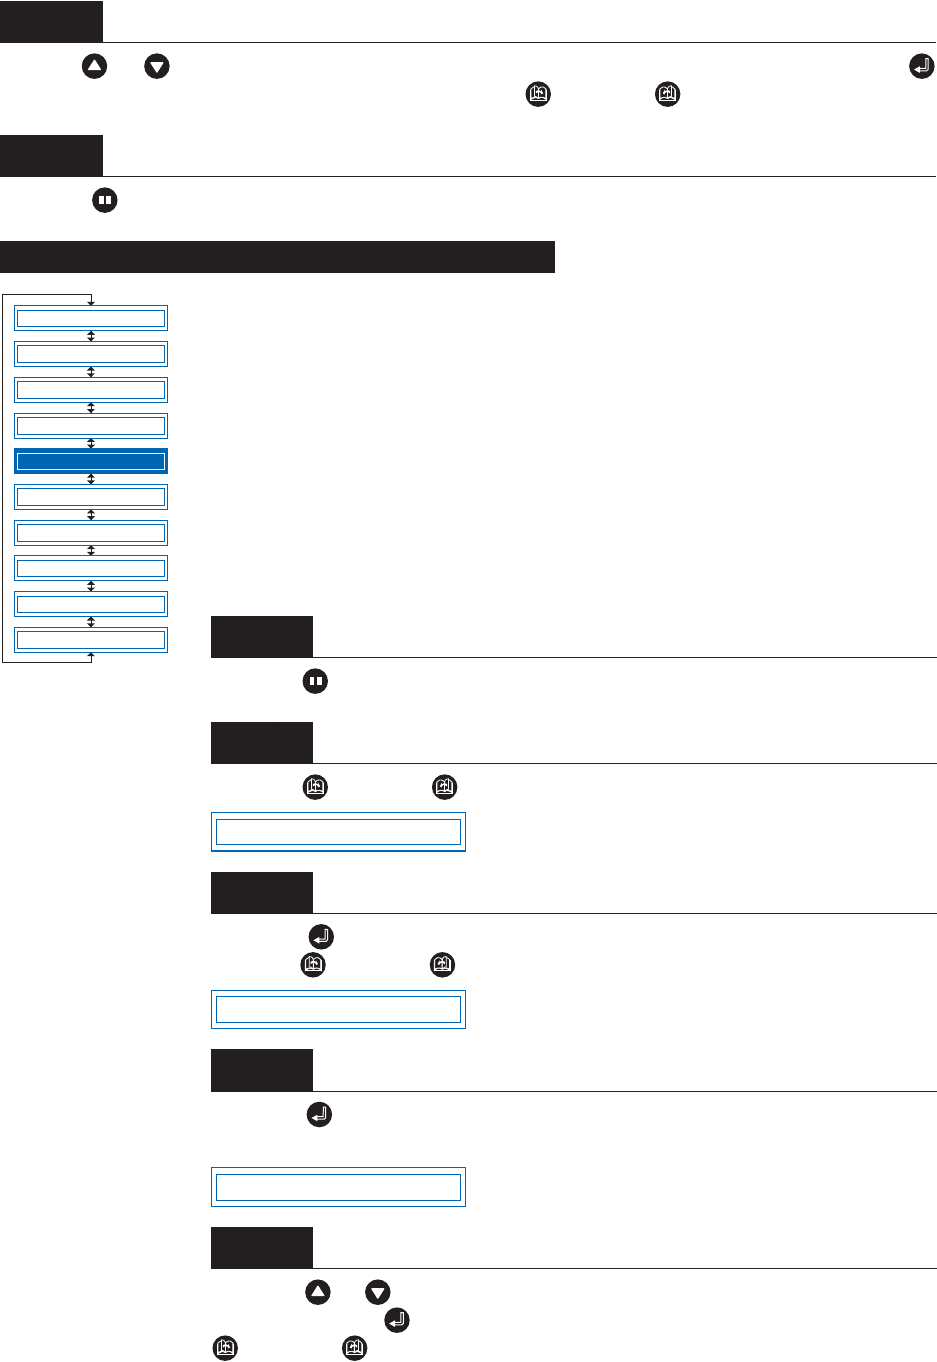
Setting the Registration-Mark Distance Adjustment
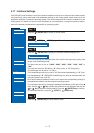
Step
1
Step
2
Step
3
Step
4
Step
5
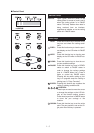
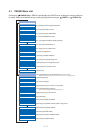
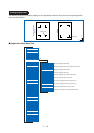
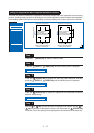
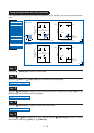
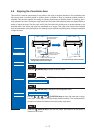
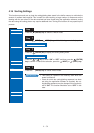
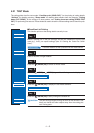
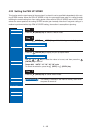
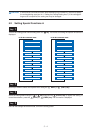
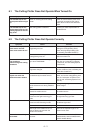
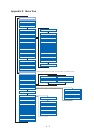
MARK MODE
MARK POSITION
MARK TYPE
MARK SIZE
MARK DIST. ADJ.
MARK OFFSET
MARK SENSOR ADJ1
MARK SENSOR ADJ2
MARK AUTO SCAN
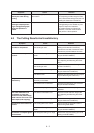
MARK SENSOR ADJ
AUTO REG. MARK
MARK DIST. ADJ.
MARK DIST. OFF