4 – 28
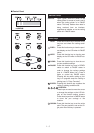
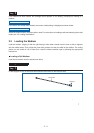
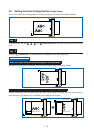
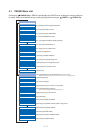
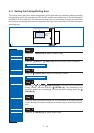
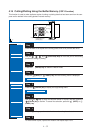
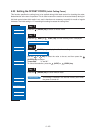
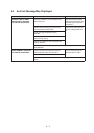
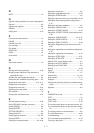
4.11 Setting the Cutting/Plotting Area
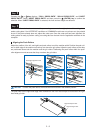
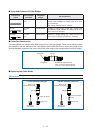
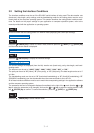
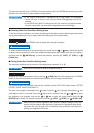
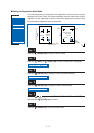
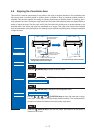
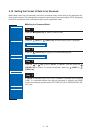
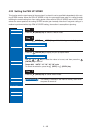
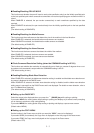
This function allows the area in which cutting/plotting will be performed to be specified, thereby preventing
cutting/plotting outside the specified area. This function enables more efficient use of the film through the
specification of uncut portions of a film that have already been cut, to avoid the previously cut areas. Note
that setting of the cutting/plotting area also repositions the origin point in accordance with the movement of
the cutting area.
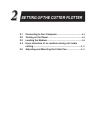
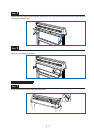
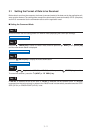
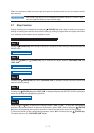
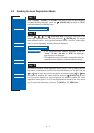
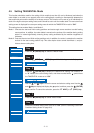
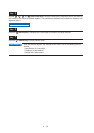
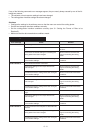
Press the (PAUSE) key to switch to PAUSE mode.
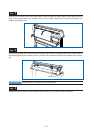
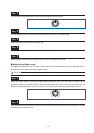
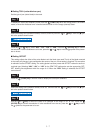
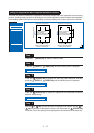
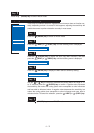
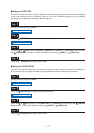
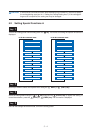
Press the (NEXT) or (PREV.) key until the following menu is displayed.
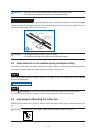
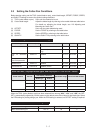
Press the (ENTER) key to display the plotting-area menu.
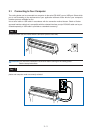
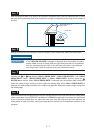
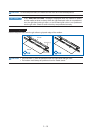
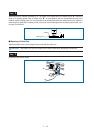
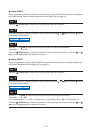
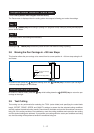
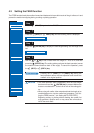
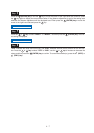
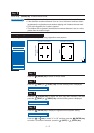
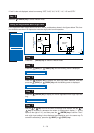
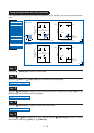
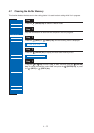
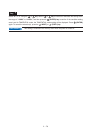
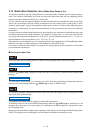
Use the , , , and (POSITION) keys to move the pen to the lower-left
setting position, and then press the (ENTER) key. The coordinates of the
lower-left position set are displayed. To make the default setting, press the
(ORIGIN) key.
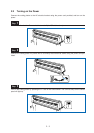
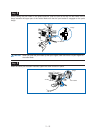
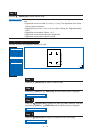
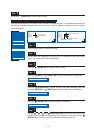
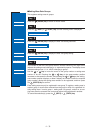
Once the lower-left position has been set, the coordinates for the upper-right posi-
tion are displayed. Set these coordinates in the same way as for the lower-left posi-
tion.
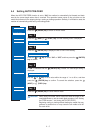
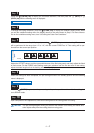
Press the (PAUSE) key to cancel PAUSE mode.
Step
1
Step
2
Step
3
Step
4
Step
5
Step
6
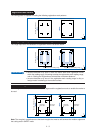
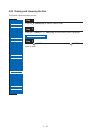
Lower-left setting position
Upper-right
setting
position
Cutting/plotting in this area only
Y
X
FEED
MOVE TO R. MARK
AUTO PRE FEED
TANGENTIAL
AUTO REG. MARK
CLEAR BUFFER
AXIS ALIGNMENT
DISTANCE ADJUST
PAGE LENGTH
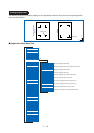
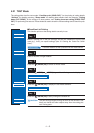
PLOT AREA
EXPAND
ROTATE
MIRROR
COPY
SORT
RS-232C
COMMAND
BLADE WEAR SETUP
PEN UP/DOWN
TEST MODE
PEN UP SPEED
OFFSET FORCE
OFFSET ANGLE
STEP PASS
INIT. DOWN FORCE
LENGTH UNIT
PLOT AREA
LL 0, 0