4 – 4
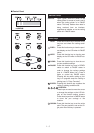
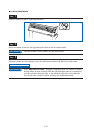
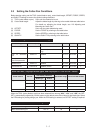
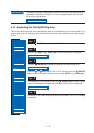
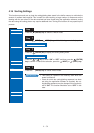
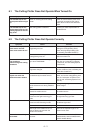
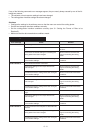
4.3 Setting the FEED function
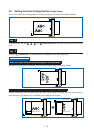
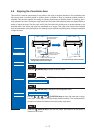
The FEED function feeds the medium forward and backward to leave faint tracks of the grit rollers on it and
prevent the media from slipping during a cutting or plotting operation.
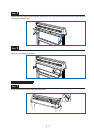
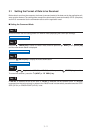
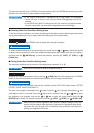
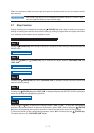
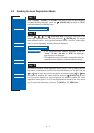
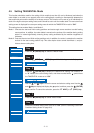
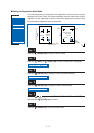
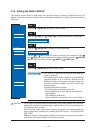
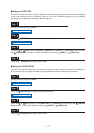
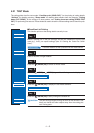
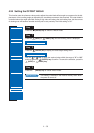
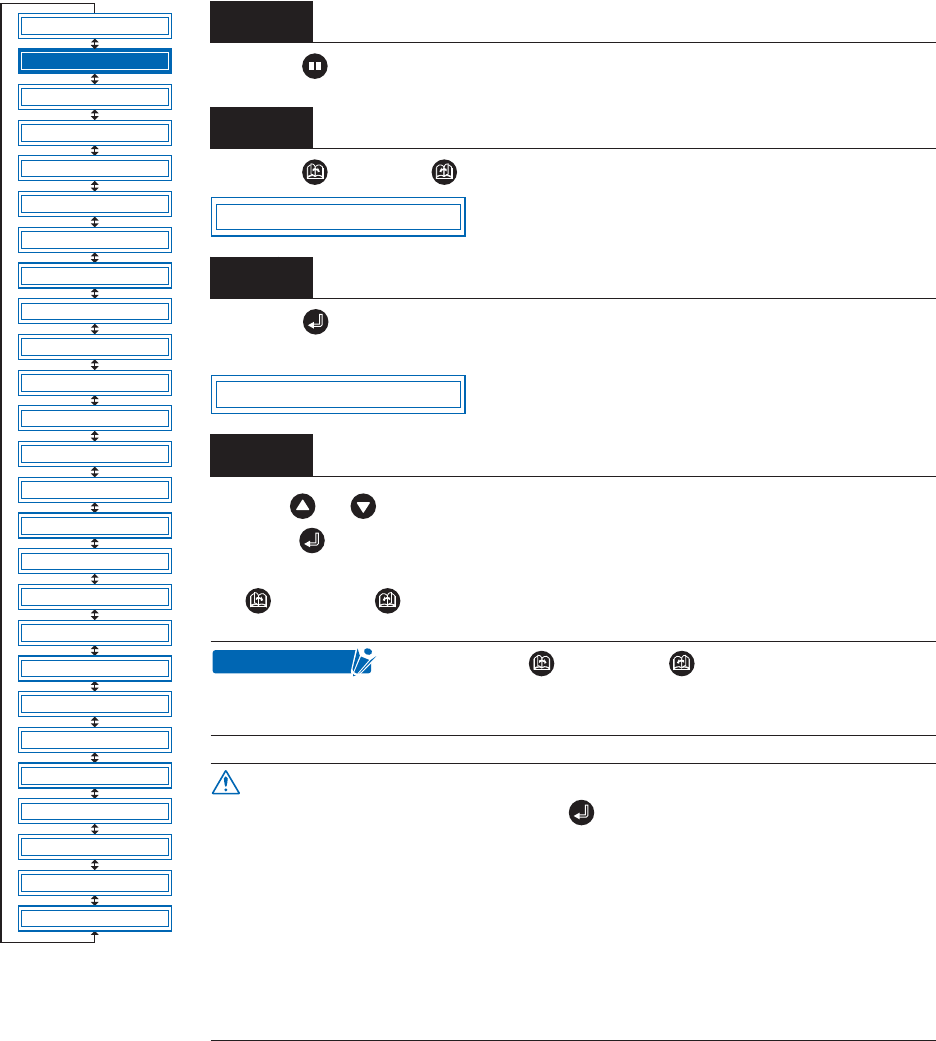
Press the (PAUSE) key to switch to PAUSE mode.
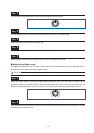
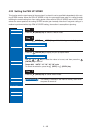
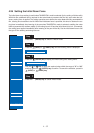
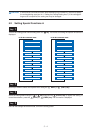
Press the (NEXT) or (PREV.) key until the following menu is displayed.
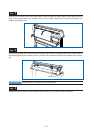
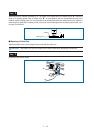
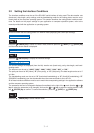
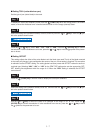
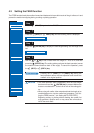
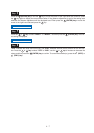
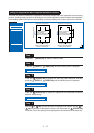
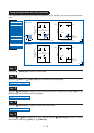
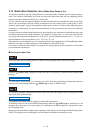
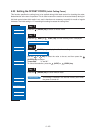
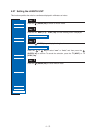
Press the (ENTER) key to display the feed-length setting. Set the length to be
fed.
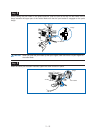
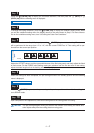
Use the or key to set a value within the range of 1 m to 50 m, and then
press the (ENTER) key. The cutting plotter performs the feed operation (moves
the medium forward and then back to the origin). To cancel the operation, press
the (NEXT) or (PREV.) key.
Step
1
Step
2
Step
3
Step
4
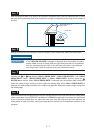
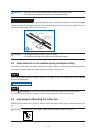
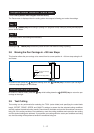
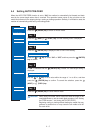
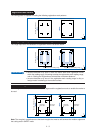
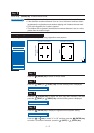
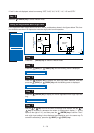
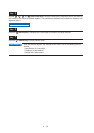
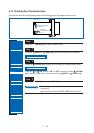
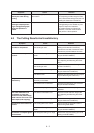
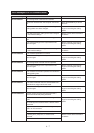
Pressing the (NEXT) or (PREV.) key during the
feed operation aborts the feed operation and returns the
medium to its original position.
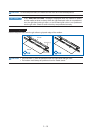
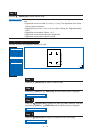
• The feed operation starts immediately once the feed length
has been set and the (ENTER) key is pressed. Make sure
there are no obstructions at the front or rear of the cutting plot-
ter.
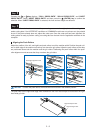
• When using roll media, either extend and load the length to be
used beforehand or use the media feed procedure (“4.3 Set-
ting the FEED function”, “4.4 Setting AUTO PRE-FEED”).
Beginning cutting or plotting without feeding the media first
may generate a position error or may cause the roll media to
fall off the stock shaft.
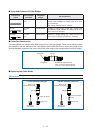
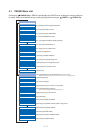
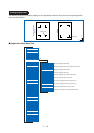
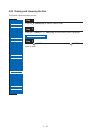
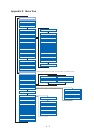
FEED
MOVE TO R. MARK
AUTO PRE FEED
TANGENTIAL
AUTO REG. MARK
CLEAR BUFFER
AXIS ALIGNMENT
DISTANCE ADJUST
PAGE LENGTH
PLOT AREA
EXPAND
ROTATE
MIRROR
COPY
SORT
RS-232C
COMMAND
BLADE WEAR SETUP
PEN UP/DOWN
TEST MODE
PEN UP SPEED
OFFSET FORCE
OFFSET ANGLE
STEP PASS
INIT. DOWN FORCE
LENGTH UNIT
FEED
FEED 1m
CHECKPOINT
CAUTION