4 – 21
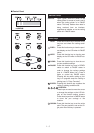
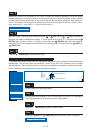
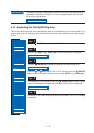
Press the (PAUSE) key to cancel PAUSE mode.
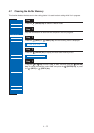
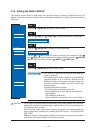
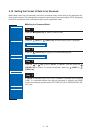
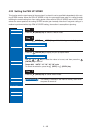
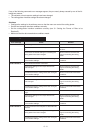
There may be instances when the registration-mark sensor does not function cor-
rectly, depending on how it is moved. If this happens, adjusting the sensitivity will
enable the sensor to perform detection correctly in most cases.
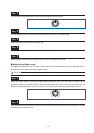
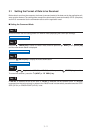
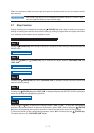
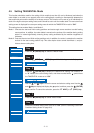
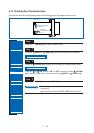
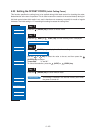
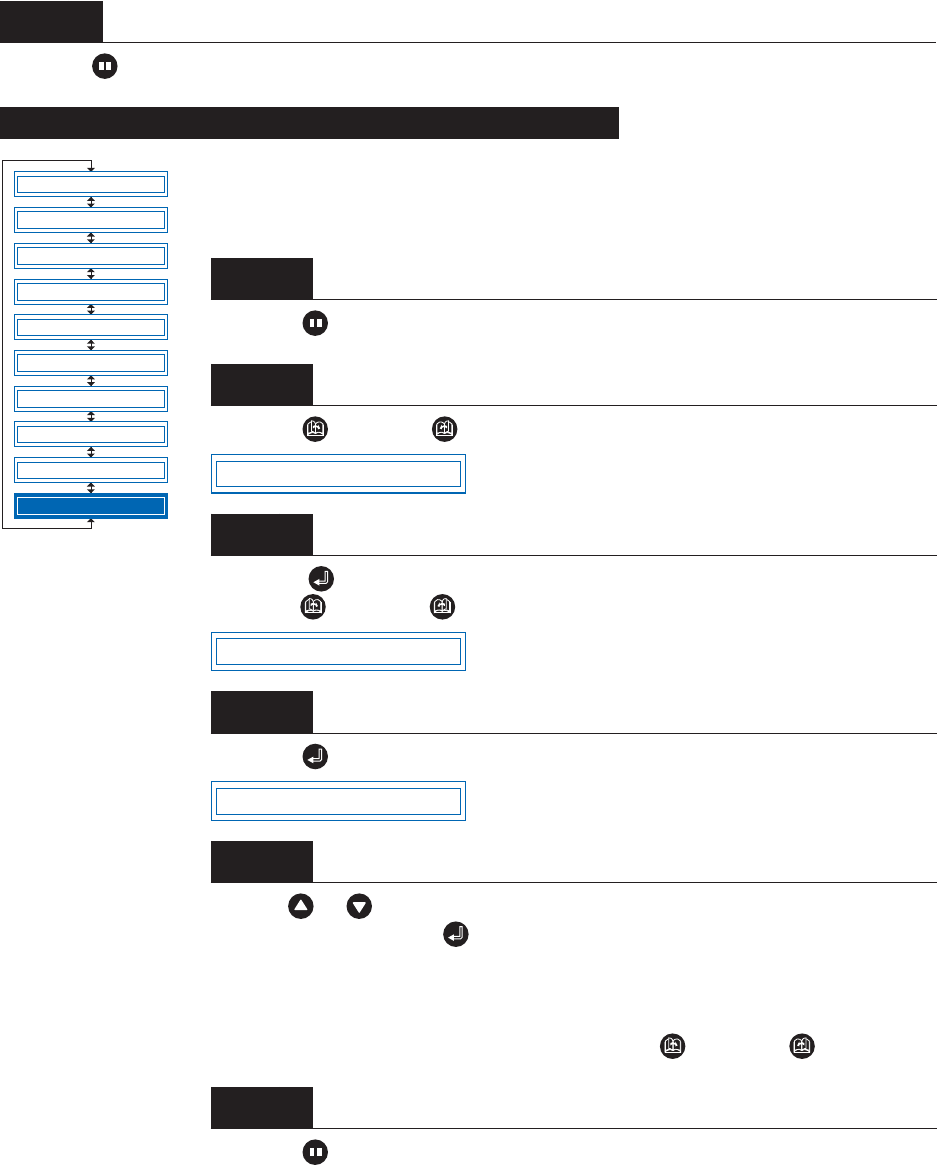
Press the (PAUSE) key to switch to PAUSE mode.
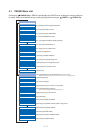
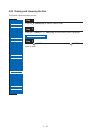
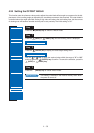
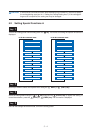
Press the (NEXT) or (PREV.) key until the following menu is displayed.
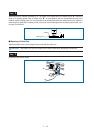
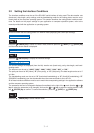
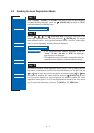
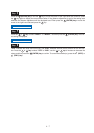
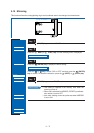
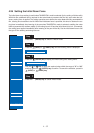
Press the (ENTER) key to display the Auto Reg. Mark submenu, and then
press the (NEXT) or (PREV.) key until the following menu is displayed.
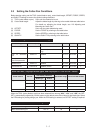
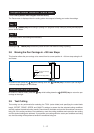
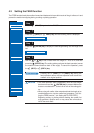
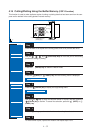
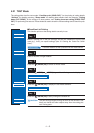
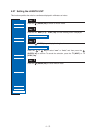
Press the (ENTER) key to display the Mark Sensor sensitivity setting.
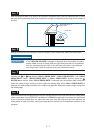
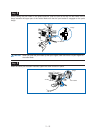
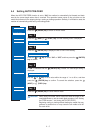
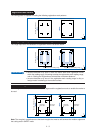
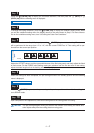
Use the or key to increase or decrease the setting within the range of “-5”
to “5,” and then press the (ENTER) key to confirm. A positive value increases
the sensitivity, but makes the cutting plotter more susceptible to other influences
and less able to withstand noise. A negative value decreases the sensitivity, but
makes the cutting plotter less susceptible to other influences and more able to
withstand noise. To cancel the selection, press the (NEXT) or (PREV.) key.
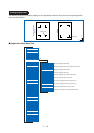
Press the (PAUSE) key to cancel PAUSE mode.
Step
6
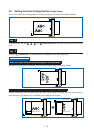
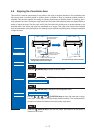
Adjusting the Sensitivity of the Registration-Mark Sensor
Step
1
Step
2
Step
3
Step
4
Step
5
Step
6
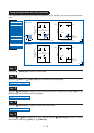
MARK MODE
MARK POSITION
MARK TYPE
MARK SIZE
MARK DIST. ADJ.
MARK OFFSET
MARK SENSOR ADJ1
MARK SENSOR ADJ2
MARK AUTO SCAN
MARK SENSOR ADJ
AUTO REG. MARK
MARK SENSOR ADJ
MARK SENSOR 0