4 – 13
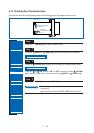
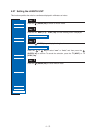
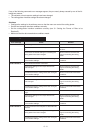
Press the (PAUSE) key to cancel PAUSE mode.
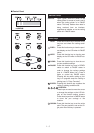
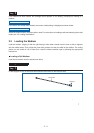
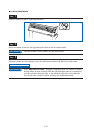
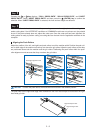
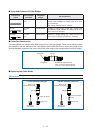
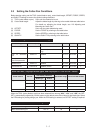
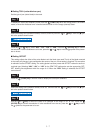
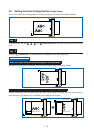
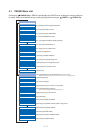
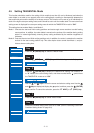
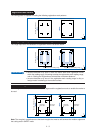
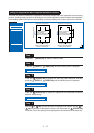
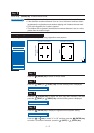
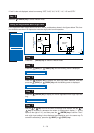
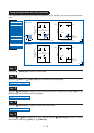
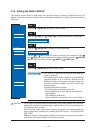
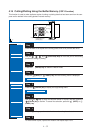
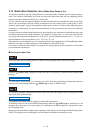
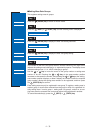
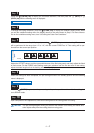
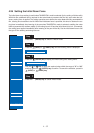
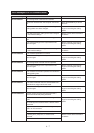
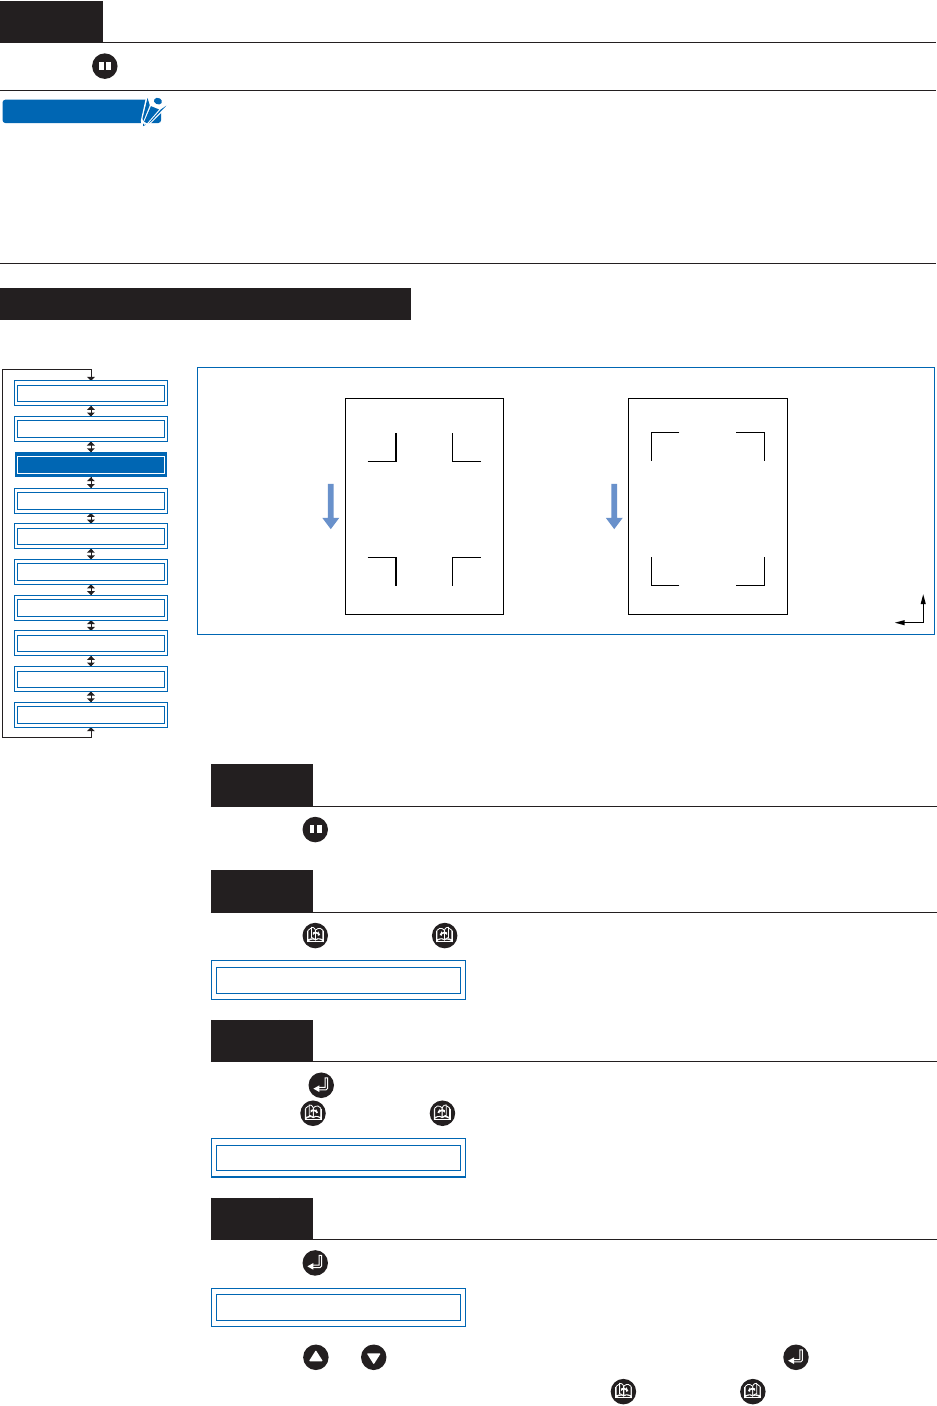
The cutting plotter is capable of reading the following registration-mark patterns.
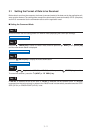
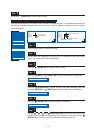
Press the (PAUSE) key to switch to PAUSE mode.
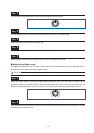
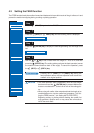
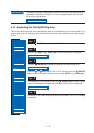
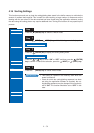
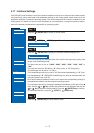
Press the (NEXT) or (PREV.) key until the following menu is displayed.
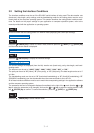
Press the (ENTER) key to display the Auto Reg. Mark submenu, and then
press the (NEXT) or (PREV.) key until the following menu is displayed.
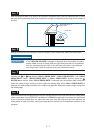
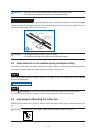
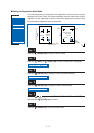
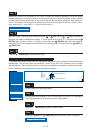
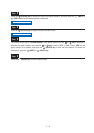
Press the (ENTER) key to display the registration-mark pattern setting.
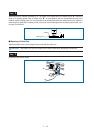
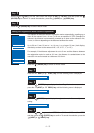
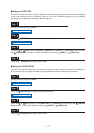
Press the or key to select “1” or “2,” and then press the (ENTER) key
to confirm. To cancel the selection, press the (NEXT) or (PREV.) key.
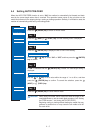
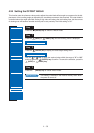
Step
6
• This setting is retained in the memory even when the power is turned off.
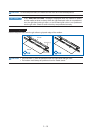
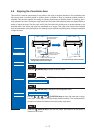
• If the detection movement distance is set to 0 mm, the sensor continues detect-
ing between the registration marks without skipping until it detects the next mark.
• For 2-point alignment, the Y value is ignored.
• The medium will be ejected if the detection movement distance is set to a value
greater than the medium length.
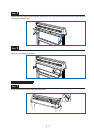
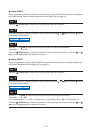
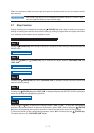
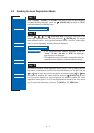
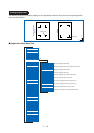
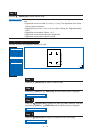
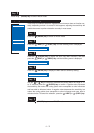
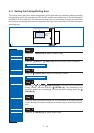
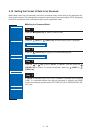
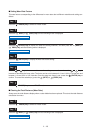
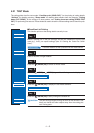
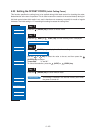
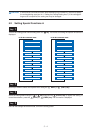
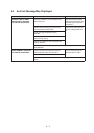
Setting the Registration-Mark Pattern
Step
1
Step
2
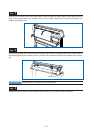
Step
3
Step
4
CHECKPOINT
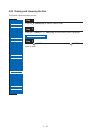
MARK MODE
MARK POSITION
MARK TYPE
MARK SIZE
MARK DIST. ADJ.
MARK OFFSET
MARK SENSOR ADJ1
MARK SENSOR ADJ2
MARK AUTO SCAN
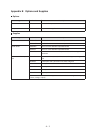
MARK SENSOR ADJ
Registration-mark pattern 1
Medium feed direction
Registration-mark pattern 2
X
Y
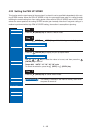
AUTO REG. MARK
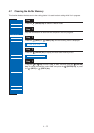
MARK TYPE
MARK TYPE 1