Chapter 10 Managing Storage Disks
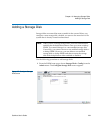
Adding a Storage Disk
StorNext User’s Guide 236
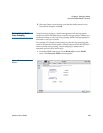
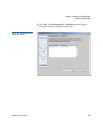
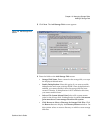
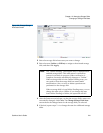
3 Click Next. The Add Storage Disk screen appears.
Figure 179 Add Storage Disk
Screen
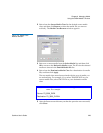
4 Enter the fields on the Add Storage Disk screen.
• Storage Disk Name: Enter a name for the storage disk, or accept
the displayed default name.
• Enable Deduplication: Select this option if you want to enable
deduplication and create a dedup SDISK. Once deduplication is
enabled, you cannot disable it after the storage disk has been
created. Likewise, if deduplication is NOT enabled at this time,
you cannot enable it later.
• Select a File System Mount Point: Select a file system mount
point for the storage disk. If deduplication is enabled, the mount
point must be on a non-managed StorNext file system.
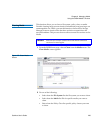
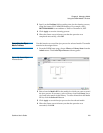
• Click Browse to Select a Directory for Storage Disk Files: Click
the Browse button to display the Directory Browser window. On
this window select or create a directory on which to store storage
disk files.


