Chapter 10 Managing Storage Disks
Deleting a Storage Disk
StorNext User’s Guide 239
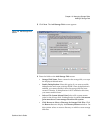
• Mount Point: The file system mount point for the storage disk.
You can change the mount point only on a blank or unused file
system. To change the mount point, select an existing mount
point from the drop-down list, and then click Browse. The
directory changes in the Mount Point field. (You can modify this
parameter only for an unused storage disk.)
• Directory: The directory selected for file storage when the
storage disk was initially created. (You cannot modify this
setting.)
• # of Streams: The number of streams (1 - 8) I/O streams that can
concurrently write to the disk.
• Copy: The copy number (1-4) specified when the storage disk
was created. This copy number will be used by all policy classes.
(You can modify this parameter only for an unused storage disk.)
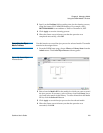
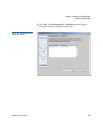
4 After making storage disk modifications, click Apply.
5 After the Status Screen informs you that your modifications were
made successfully, click Close
Deleting a Storage Disk
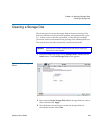
Use the following procedure to delete a storage disk.
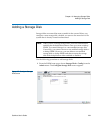
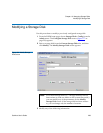
1 From the SNSM home page, choose Storage Disk > Config from the
Admin menu. The Configure Storage Disk screen (figure 177
on
page 234) appears.
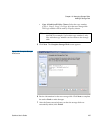
2 Select the storage disk you want to delete, and then click Delete.
A message will warn you that all data on the disk will be deleted with
the disk, and ask you to confirm that you want to continue.
Note: The Deduplication field indicates whether deduplication
is enabled for the storage disk. This field cannot be
modified.


