140
USING PHOTOSHOP ELEMENTS 8
Cropping, resizing, retouching, and transforming photos
Last updated 7/26/2011
To avoid the need for upsampling, scan or create the image at the resolution required for your printer or output device.
If you want to preview the effects of changing pixel dimensions on-screen or print proofs at different resolutions,
resample a duplicate of your file.
If you’re preparing images for the web, it’s useful to specify image size in terms of the pixel dimensions.
1 Choose Image > Resize > Image Size.
2 Select Resample Image, and choose an interpolation method:
Nearest Neighbor Fast, but less precise. This method is recommended for use with illustrations containing edges that
are not anti-aliased, to preserve hard edges and produce a smaller file. However, this method can create jagged edges,
which become apparent when distorting or scaling an image or performing multiple manipulations on a selection.
Bilinear Medium-quality.
Bicubic Slow, but more precise, resulting in the smoothest tonal gradations.
Bicubic Smoother Use when you're enlarging images.
Bicubic Sharper Use when you’re reducing the size of an image. This method maintains the detail in a resampled
image. It may, however, oversharpen some areas of an image. In this case, try using Bicubic.
3 To maintain the current aspect ratio, select Constrain Proportions. This option automatically updates the width as
you change the height, and vice versa.
4 In Pixel Dimensions, enter values for Width and Height. To enter values as percentages of the current dimensions,
choose Percent as the unit of measurement.
The new file size of the image appears next to Pixel Dimensions, with the old file size in parentheses.
5 Click OK to change the pixel dimensions and resample the image.
For best results in producing a smaller image, downsample and apply the Unsharp Mask filter. To produce a larger
image, rescan the image at a higher resolution.
Retouching
Precisely remove red eye
The Red Eye Removal tool removes red eye in flash photos of people. Red eye is caused by the illumination of the
subject’s retina by the camera’s flash. You’ll see it more often when taking pictures in a darkened room because the
subject’s iris is wide open. To avoid red eye, use the camera’s red-eye reduction feature, if available.
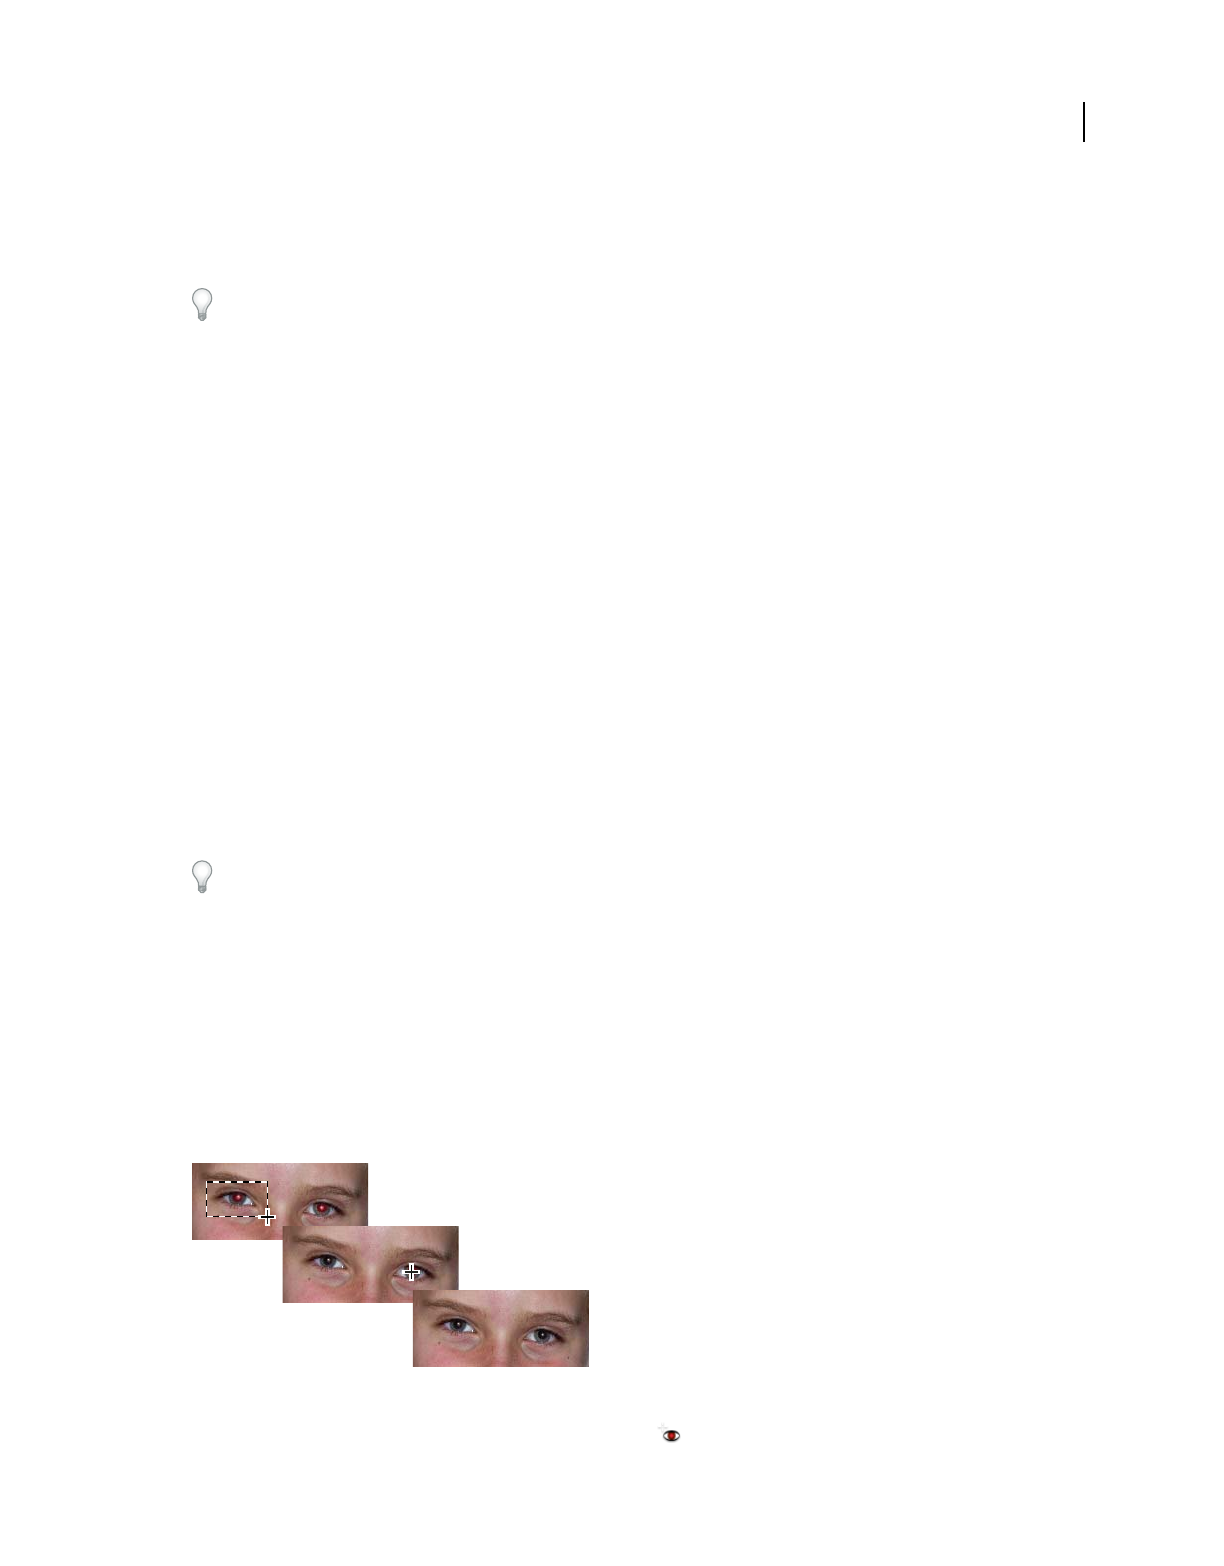
Correct red eye by selecting an eye (top) or clicking an eye (center).
1 To manually fix red eyes, select the Red Eye Removal tool .


