145
USING PHOTOSHOP ELEMENTS 8
Cropping, resizing, retouching, and transforming photos
Last updated 7/26/2011
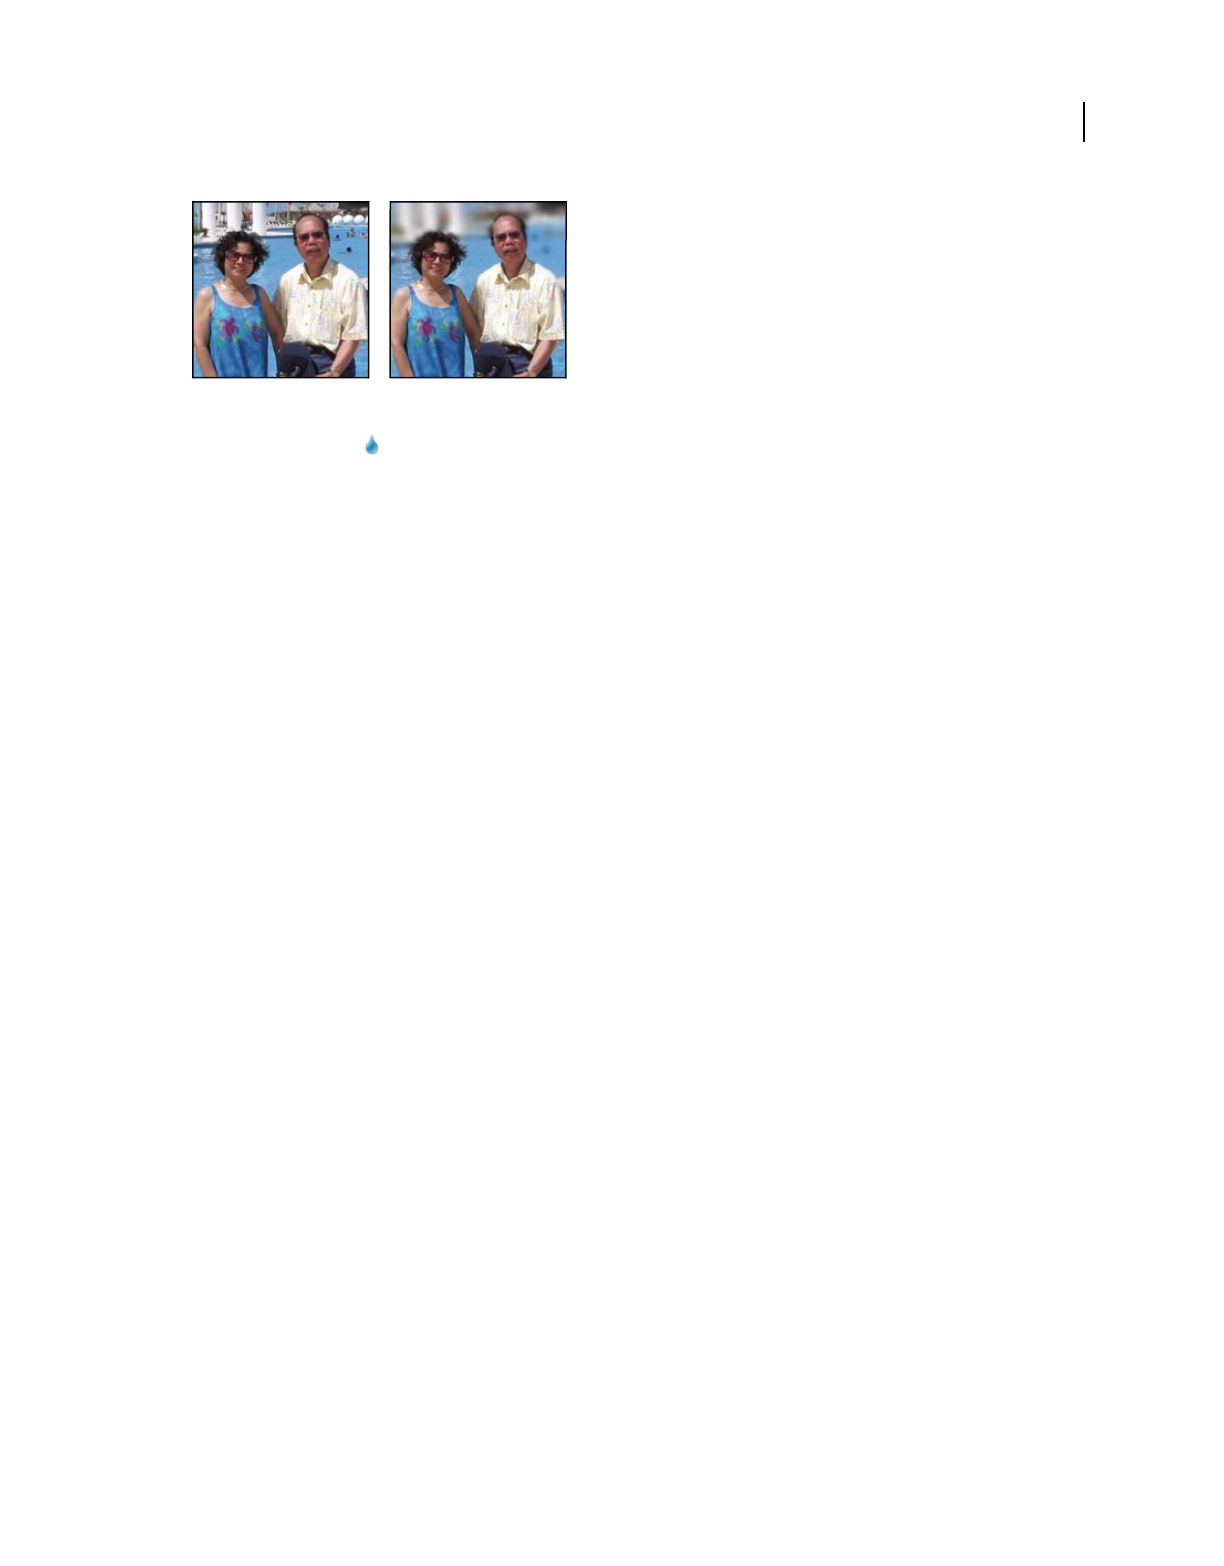
Original photo (left), and photo after blurring the background (right)
1 Select the Blur tool .
2 Set options in the options bar:
Brushes pop-up menu Sets the brush tip. Click the arrow next to the brush sample, choose a brush category from the
Brushes pop-up menu, and then select a brush thumbnail.
Size Sets the size of the brush, in pixels. Drag the Size pop-up slider or enter a size in the text box.
Mode Specifies how the pixels you blur blend into other pixels in the image.
Strength Specifies the amount of blur that occurs with each stroke
Sample All Layers Blurs all visible layers. If this is deselected, the tool blurs only the active layer.
3 Drag over the part of the image you want to blur.
More Help topics
“Blur and Blur More” on page 185
“Gaussian Blur” on page 185
“About blending modes” on page 205
Correct camera distortion
The Correct Camera Distortion dialog box enables you to fix common lens distortion problems, like darkened edges
caused by lens faults or improper lens shading. For example, in a picture of the sky taken in low light, the corners of
the image may be darker than the center. Changing the vignette amount and midtone settings fixes the distortion.
You can also use the perspective controls to rotate an image or fix image perspective caused by vertical or horizontal
camera tilt. The Correct Camera Distortion filter’s image grid allows you to make these adjustments easily and
accurately.


