66
USING PHOTOSHOP ELEMENTS 8
Using layers
Last updated 7/26/2011
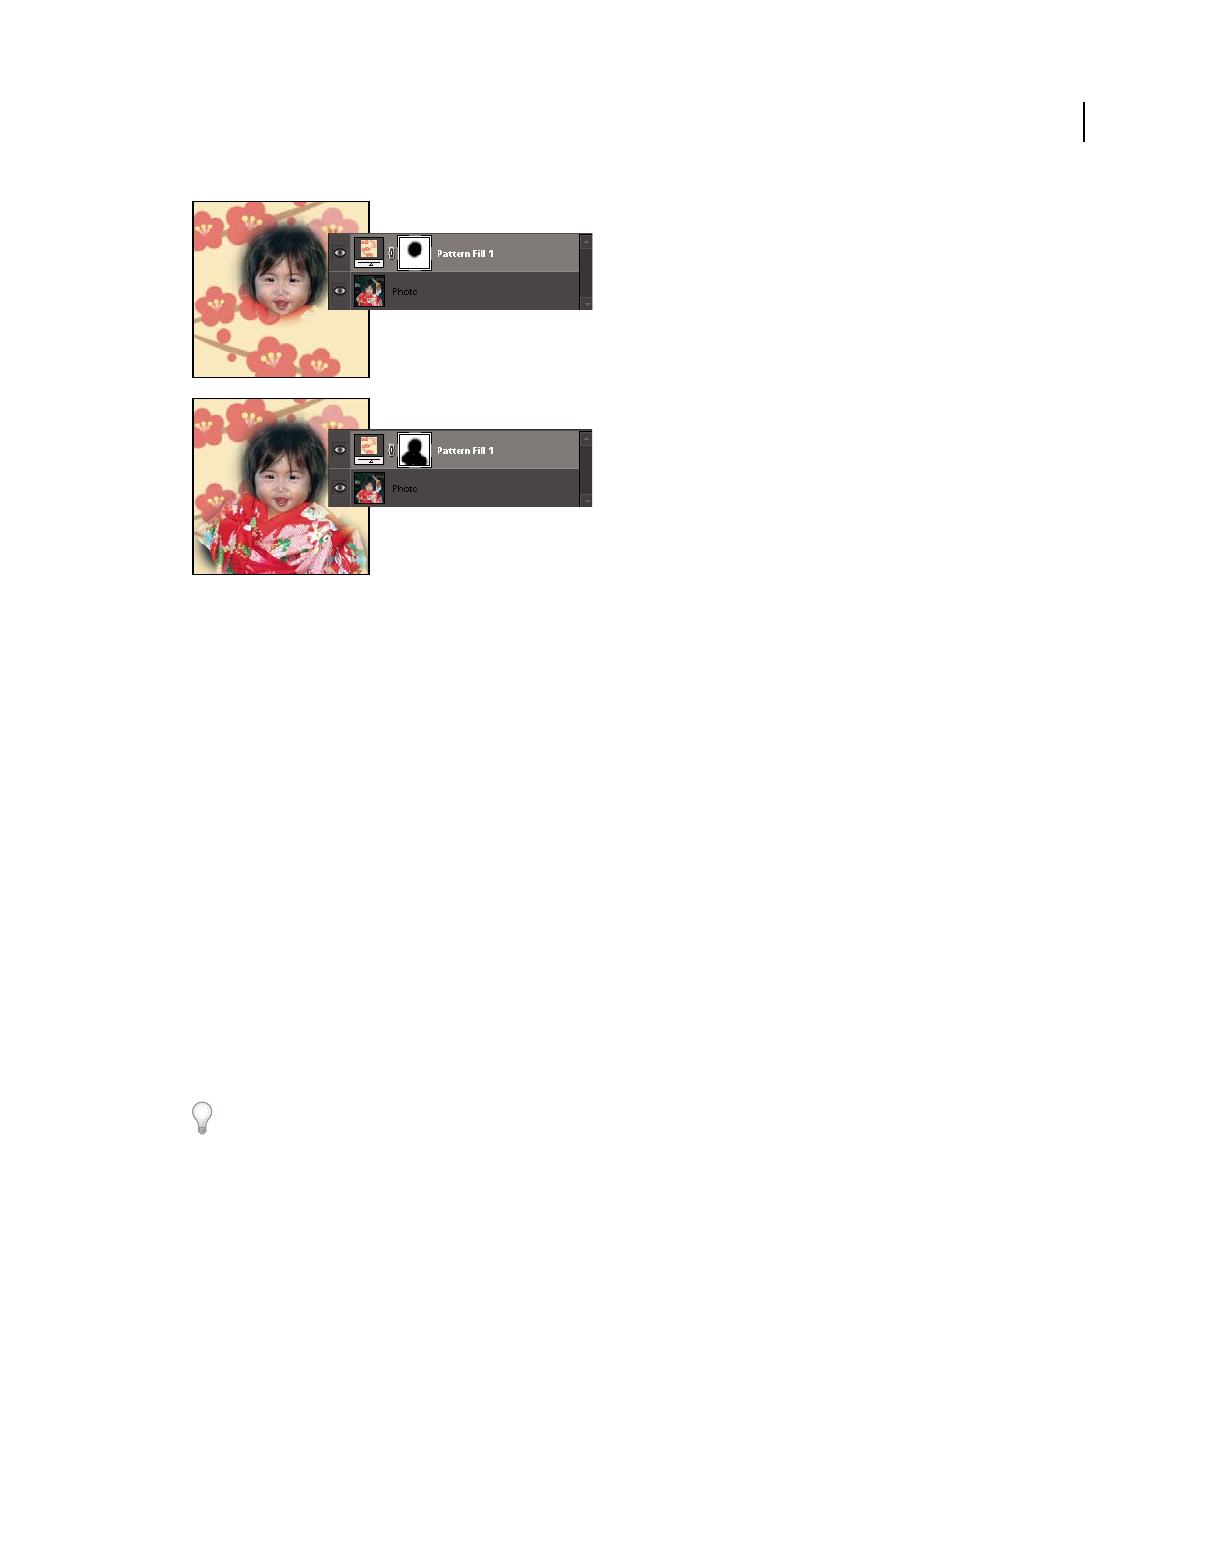
Painting a mask with black increases the area protected.
1 Select the adjustment or fill layer in the Layers panel.
2 Select the Paintbrush tool, or any painting or editing tool.
3 Use the following methods to view the layer mask:
• To view only the mask, Option-click the Layer Mask’s thumbnail (the rightmost thumbnail). Option-click the
thumbnail again to redisplay the other layers.
• To view the mask in a red masking color, hold down Option+Shift and click the Layer Mask’s thumbnail (the
rightmost thumbnail). Hold down Option+Shift and click the thumbnail again to turn off the red display.
• To constrain editing to part of the mask, select the corresponding pixels.
4 Edit the layer mask:
• To remove areas of the adjustment effect or fill, paint the layer mask with black.
• To add areas to the adjustment effect or fill, paint the layer mask with white.
• To partially remove the adjustment effect or fill so that it shows in various levels of transparency, paint the layer
mask with gray. (Single-click the foreground color swatch in the toolbox to choose a gray shade from the Swatches
panel.) The extent to which the effect or fill is removed depends on the tones of gray you use to paint. Darker shades
result in more transparency; lighter shades in more opacity.
Shift-click the mask thumbnail (the layer’s rightmost thumbnail) in the Layers panel to turn off the mask; click the
thumbnail again to turn on the mask.
More Help topics
“About selections” on page 80


