


4 - 12
Creating Registry Documents
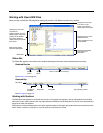
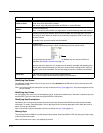
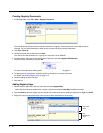
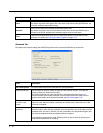
1. In EZConfig Editor, click File > New > Registry Document.
The new document contains the three top-level sections in a registry. These sections are locked and cannot be
changed. You can add subsections to each section and then add keys to those subsections.
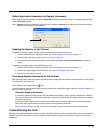
2. Click File > Save As.
3. Choose the name and location and click Save.
You cannot save the document as a .reg file; you must save it as an EXM file.
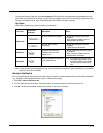
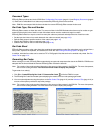
4. To add sections, select one of the registry levels, right-click, and select Append Child Section.
Enter the section information, and click OK.
For more information about adding sections, see Working with Sections on page 4-4.
5. To add keys to the new section, select the section, and right-click in the key value area.
For details, see Adding Registry Keys on page 4-12.
6. Continue adding sections and keys.
7. Save the file.
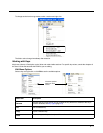
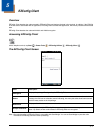
Adding Registry Keys
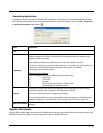
1. Select a section, right-click in the key value area and select Append Key.
Note: After the first key is added under a section, right click and select Insert Key for additional entries.
2. Input the Name of the new registry key then double click under each column heading to input the key Type and Value.
3. Right-click in the key description area of the screen to add a description for the new key.
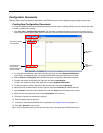
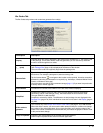
Key Value
Area
Key
Description
Area