


4 - 16
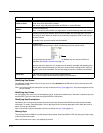
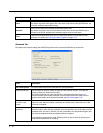
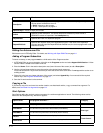
Advanced Tab
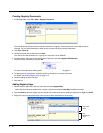
The Options tab contains settings that tell EZConfig Client how to process the EXM file on the terminal.
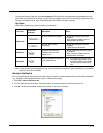
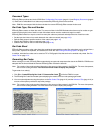
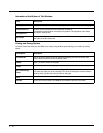
Save
Saves the bar code displayed in the preview area as a graphic file as a .png or .tiff.
By default, the name of the graphic file is the same as the name of the open EXM file. You
can enter a different name when saving.
Save All
Saves all bar codes in the package as individual graphic files.
By default, the graphic files are saved with the same name as the open EXM file with a
number at the end to distinguish the individual graphic files from each other.
Print
Opens the printing window where you can select print options and print the bar code
package. For details, see Printing and Saving Options on page 4-18.
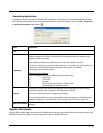
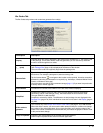
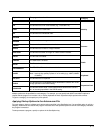
Field Description
Bar Code Options – This section determines some of the basic bar code parameters.
Max Barcode Size Set the maximum amount of data (in bytes) one bar code can contain. The lower the
number of bytes, the smaller the bar code.
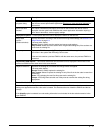
On the Bar Codes tab, bar code size appears in the Display field (see page 4-15).
The total number of bar codes created as a result of the maximum bar code size limit
appears at the bottom of the Advanced window; see Bar Codes (page 4-18).
Always use
minimum # bar
codes
This option is selected by default. It calibrates the data so that the minimum number of bar
codes are used. When this option is selected, the number of bar codes slider on the Bar
Codes tab is disabled.
Use custom
password
This option enables you to password-protect the bar code you’re creating.
Select this option, then enter the password in the field provided. You will be able to see the
password when you enter it; however, you will not be able to see the password again once
you close the window because the password will be encrypted.
If you password-protect the bar code, EZConfig Client on the terminal will prompt you to
enter that same password on decoding.
Field/Option Description