


Monitoring Tools 11-11
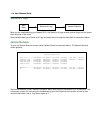
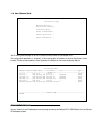
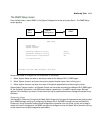
The SNMP Setup screen
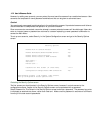
From the Main Menu, select SNMP in the System Configuration screen and press Return. The SNMP Setup
screen appears.
Follow these steps to configure the first three items in the screen:
1. Select System Name and enter a descriptive name for the Netopia R310’s SNMP agent.
2. Select System Location and enter the router’s physical location (room, floor, building, etc.).
3. Select System Contact and enter the name of the person responsible for maintaining the router.
System Name, System Location, and System Contact set the values returned by the Netopia R310 SNMP agent
for the SysName, SysLocation, and SysContact objects, respectively, in the MIB II system group. Although
optional, the information you enter in these items can help a system administrator manage the network more
efficiently.
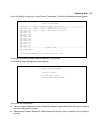
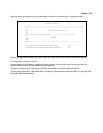
Community strings
The Read-Only Community String and the Read/Write Community String are like passwords that must be used
by an SNMP manager querying or configuring the Netopia R310. An SNMP manager can use the Read-Only
Community String to examine statistics and configuration information from the router, but will not be able to
modify the router’s configuration. An SNMP manager can configure and use the Read/Write Community String
to both examine and modify configuration parameters.
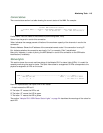
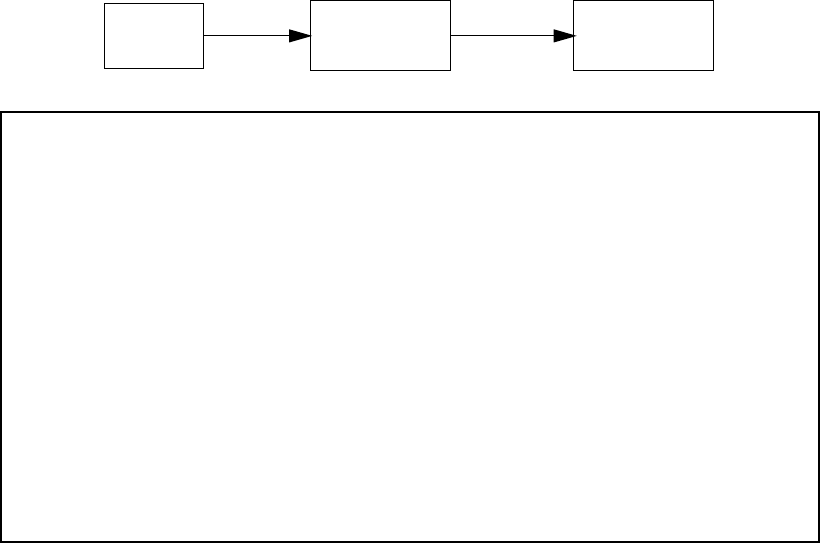
System
Main
Menu
Configuration
SNMP
SNMP Setup
System Name:
System Location:
System Contact:
Read-Only Community String: public
Read/Write Community String: private
Authentication Traps Enable: Off
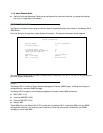
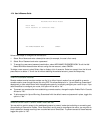
IP Trap Receivers...
Configure optional SNMP parameters from here.