


Setting up your Router with the SmartStart Wizard 3-9
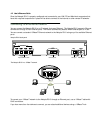
Sharing the Connection
Configuring TCP/IP on Windows 95, 98, or NT computers
Configuring TCP/IP on a Windows computer requires the following:
■ An Ethernet card (also known as a network adapter)
■ The TCP/IP protocol must be “bound” to the adapter or card
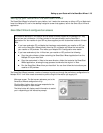
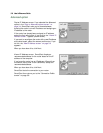
Dynamic configuration (recommended)
If you configure your Netopia R310 using SmartStart, you can accept the dynamic IP address assigned by your
router. The Dynamic Host Configuration Protocol (DHCP) server, which enables dynamic addressing, is enabled
by default in the router. If your PC is not set for dynamic addressing, SmartStart will offer to do this for you
when you launch it. In that case, you will have to restart your PC and relaunch SmartStart. If you configure your
PC for dynamic addressing in advance, SmartStart need only be launched once. To configure your PC for
dynamic addressing do the following:
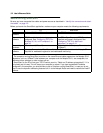
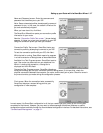
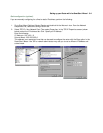
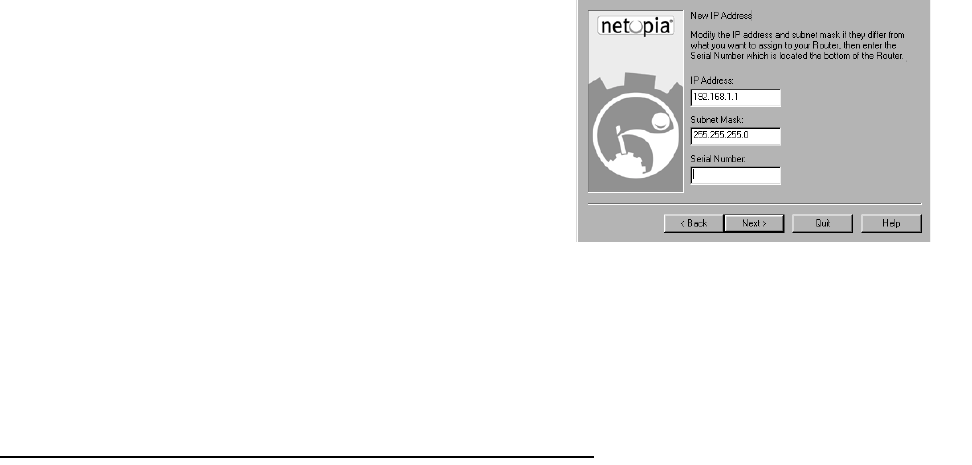
New IP Address screen. If you want to change the router’s
IP address, you enter the new IP address, the subnet
mask, and the router’s serial number in this screen.
Remember, the serial number is on the bottom of the
router.
Note: Forcing a new IP address may turn off the Netopia
R310’s IP address serving capabilities, if you assign an IP
address and subnet mask outside the router’s current IP
address serving pool. The Netopia R310 does not allow an
invalid address to be served. Use this option with caution.
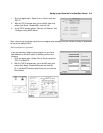
When you have done this, click Next.
SmartStart forces the new IP address into the router, tests
the connection, and then resets the router.
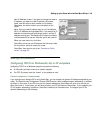
SmartStart then returns you to the “Connection Profile
screen” on page 3-6.