


Setting up your Router with the SmartStart Wizard 3-7
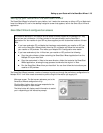
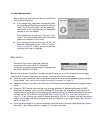
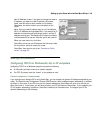
In most cases, this SmartStart configuration is all that you need to get your router up and running and
connected to the Internet. However, you may want to take advantage of additional features or special
configuration options available through the console-based configuration interface. For detailed instructions, see
“Console-based Management” on page 5-1.
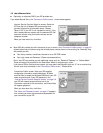
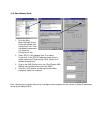
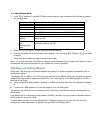
Name and Password screen. Enter the username and
password that identifies you to your ISP.
Note: Some automated profiles already specify name and
password for you. in this case, the screen is filled out for
you and automatically skipped.
When you have done this, click Next.
The SmartStart Wizard then posts your connection profile
information to your router.
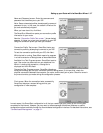
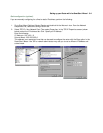
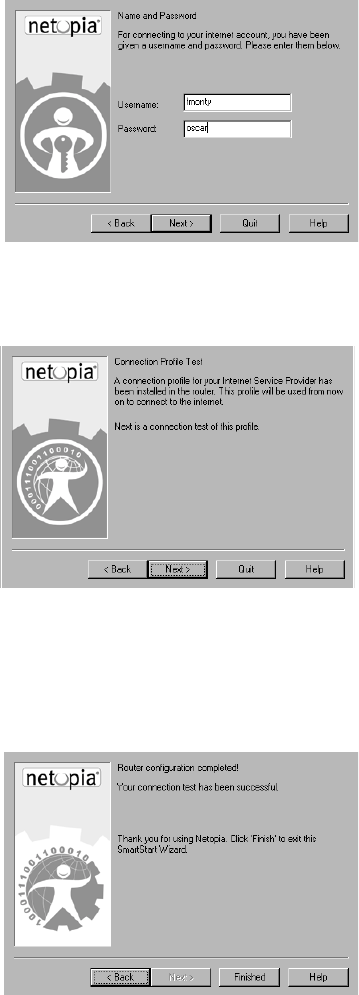
Now the “Connection Profile Test screen,” (shown below)
appears. It allows you to test your connection to your ISP
using the connection profile you have just created.
Connection Profile Test screen. SmartStart tests your
connection profile by attempting to connect to your ISP.
To test the connection profile with your ISP, click Next.
While the test is running, SmartStart reports its progress
in a brief succession of dialog boxes as described below.
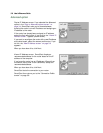
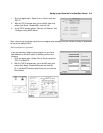
Available Line Test Progress screen. SmartStart tests to
see if the router can place calls on your telephone line.
While it is testing the connection, a dialog box is
displayed and the LEDs flash.
Connection Test Progress screen. SmartStart displays a
dialog box showing you that your connection profile is being tested. If this test fails, check the
physical connections between the computer, the router, and the wall jack or jacks. Check for errors in
any manual entries you made during the configuration process.
Final screen. When the connection tests successfully,
SmartStart displays a screen telling you that your
configuration is now complete.