Making the Physical Connections 2-3
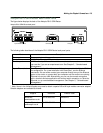
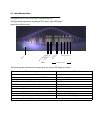
Netopia R310 ISDN Router Back Panel Ports
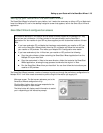
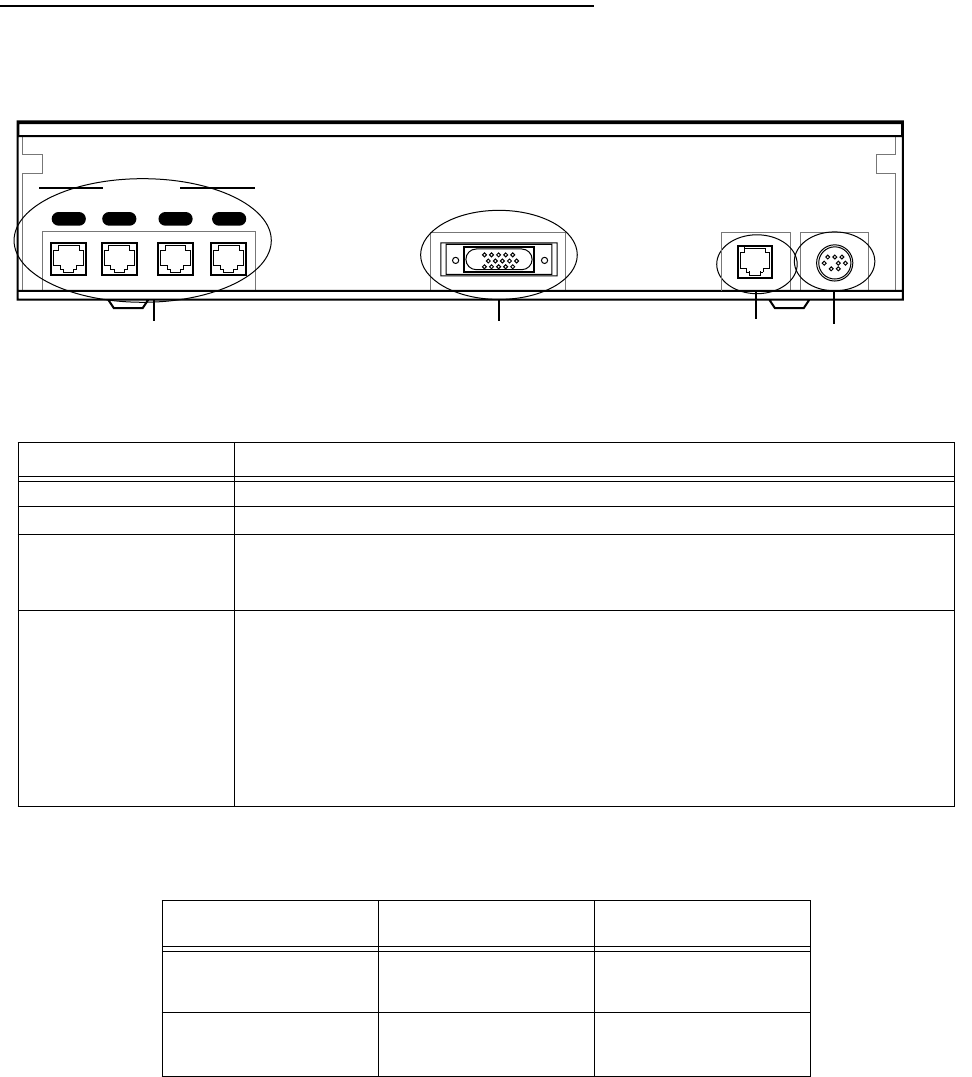
The figure below displays the back of the Netopia R310 ISDN Router.
Netopia R310 ISDN Router back panel
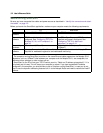
The following table describes all the Netopia R310 ISDN Router back panel ports.
* Note: Users in the United Kingdom may need to obtain a special US-to-UK style modular connector adapter.
Suitable adapters are available as follows:
Port Description
Power port A power adapter cable connection.
Line port An RJ-45 jack for your WAN connection.
Console port A DB-9 console port for a direct serial connection to the console screens. You
can use this if you are an experienced user. See Chapter 5, “Console-based
Management.”
4-port Ethernet hub Four Ethernet jacks. You will use one of these to connect to the Netopia R310
for configuration. For a new installation with SmartStart, use the Ethernet
connection. You can either connect your computer directly to any of the Ethernet
ports on the router, or connect both your computer and the router to an existing
Ethernet hub on your LAN. Alternatively, you can use the console connection
with a terminal emulator application and a direct serial connection, or Telnet via
Ethernet, to run console-based management. See Chapter 5, “Console-based
Management.”
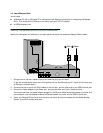
Supplier Phone No Product Code
Black Box
www.blackbox.co.uk
0118 9655100 MCU9413
Maplins Electronics
www.maplin.co.uk
01702 554000 VD36
4 3 2 1
4-port Ethernet hub Console port
Power port
Ethernet
Power
Console
Line
Line port
Uplink


