


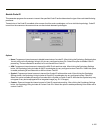
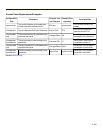
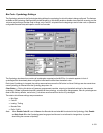
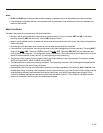
Bar Code - Symbology Settings
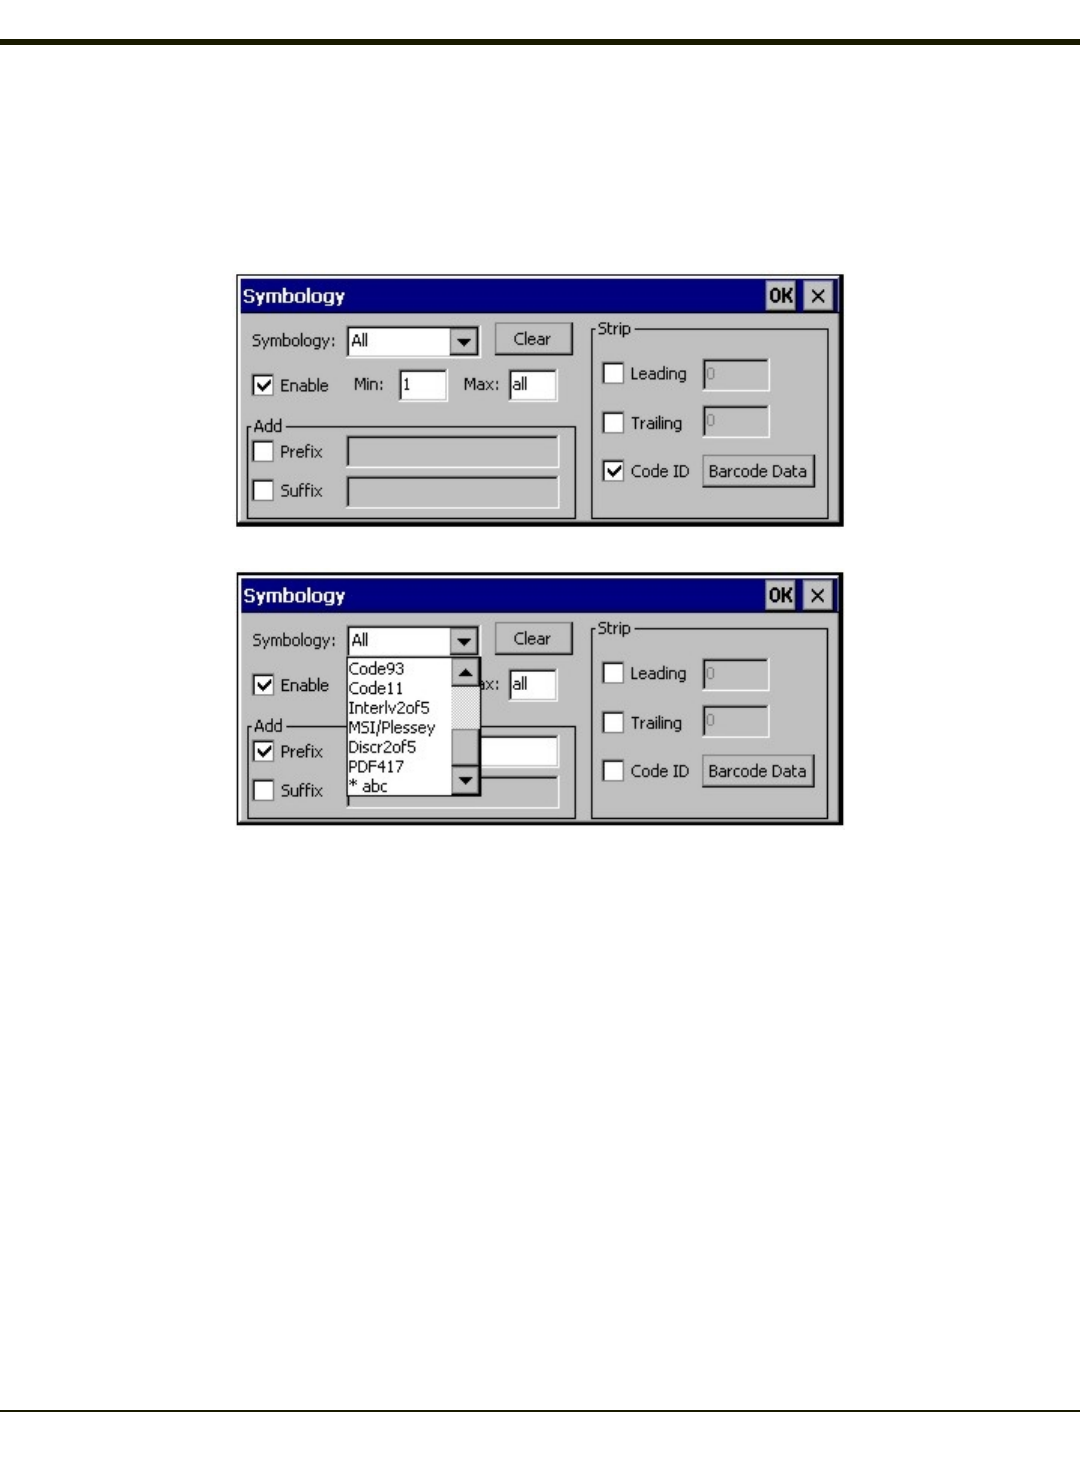
The Symbology selected in the Symbologies dialog defines the symbology for which the data is being configured. The features
available on the Symbology Settings dialog include the ability to individually enable or disable a bar code from scanning, set the
minimum and maximum size bar code to accept, strip Code ID, strip data from the beginning or end of a bar code, or (based on
configurable Barcode Data) add a prefix or suffix to a bar code.
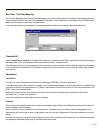
The Symbology drop-down box contains all symbologies supported on the MX3Plus. An asterisk appears in front of
symbologies that have already been configured or have been modified from the default value.
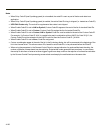
Each time a Symbology is changed, the settings are saved as soon as the OK button is clicked. Settings are also saved when
a new Symbology is selected from the Symbology drop-down list.
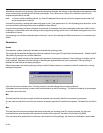
Clear Button -- Clicking this button will erase any programmed overrides, returning to the default settings for the selected
symbology. If Clear is pressed when All is selected as the symbology, a confirmation dialog appears, then all symbologies are
reset to their factory defaults, and all star (*) indications are removed from the list of Symbologies.
The order in which these settings are processed are:
l Min / Max
l Code ID
l Leading / Trailing
l Barcode Data
l Prefix / Suffix
Note: When Enable Code ID is set to None on the Barcode tab and when All is selected in the Symbology field, Enable
and Strip Code ID on the Symbology panel are grayed and the user is not allowed to change them, to prevent
deactivating the scanner completely.
4-133