


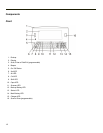
Endcaps and COM Ports
The MX3Plus supports three COM port options. Two external serial ports are dependent on the end cap chosen. A third serial
port is used to support an infrared transceiver (bar code reader). An additional endcap configuration supports serial and USB
slave input/output at 1.5 MBps.
Caution: Do not use the RS232 labeled port for cables with USB Plugs/Receptacles.
Caution: Do not use the USB-C or USB-H labeled port for serial tethered scanners.
The COM 2 port is always the IR port on the back of the MX3Plus, regardless of the type of endcap installed. COM 2 can only
be accessed when a tethered scanner is connected to the RS232 port on the cradle, and the MX3Plus is in the cradle. The
cradle does not need to be powered by a AC or DC power source. Tethered scanners receive power from the MX3Plus main
battery.
On the Standard Range Scanner / Serial Port endcap COM 3 is the Integrated Scanner port. The integrated bar code scanner
scans only when either MX3Plus Scan button is pressed. To edit Scanner Com Port parameters, select Start > Settings >
Control Panel > Scanner. Change the parameter values and tap OK to save the changes.
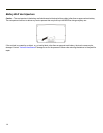
On the Dual Serial Port endcap the COM1 port is the serial port on the right side of the endcap when the display is facing you.
Seat the connector firmly over the pins and turn the thumbscrews in a clockwise direction. Do not overtighten.
Note: When the MX3Plus has a remote antenna connector, it does not have an audio jack.
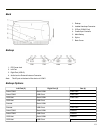
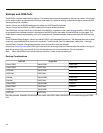
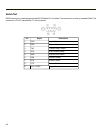
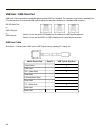
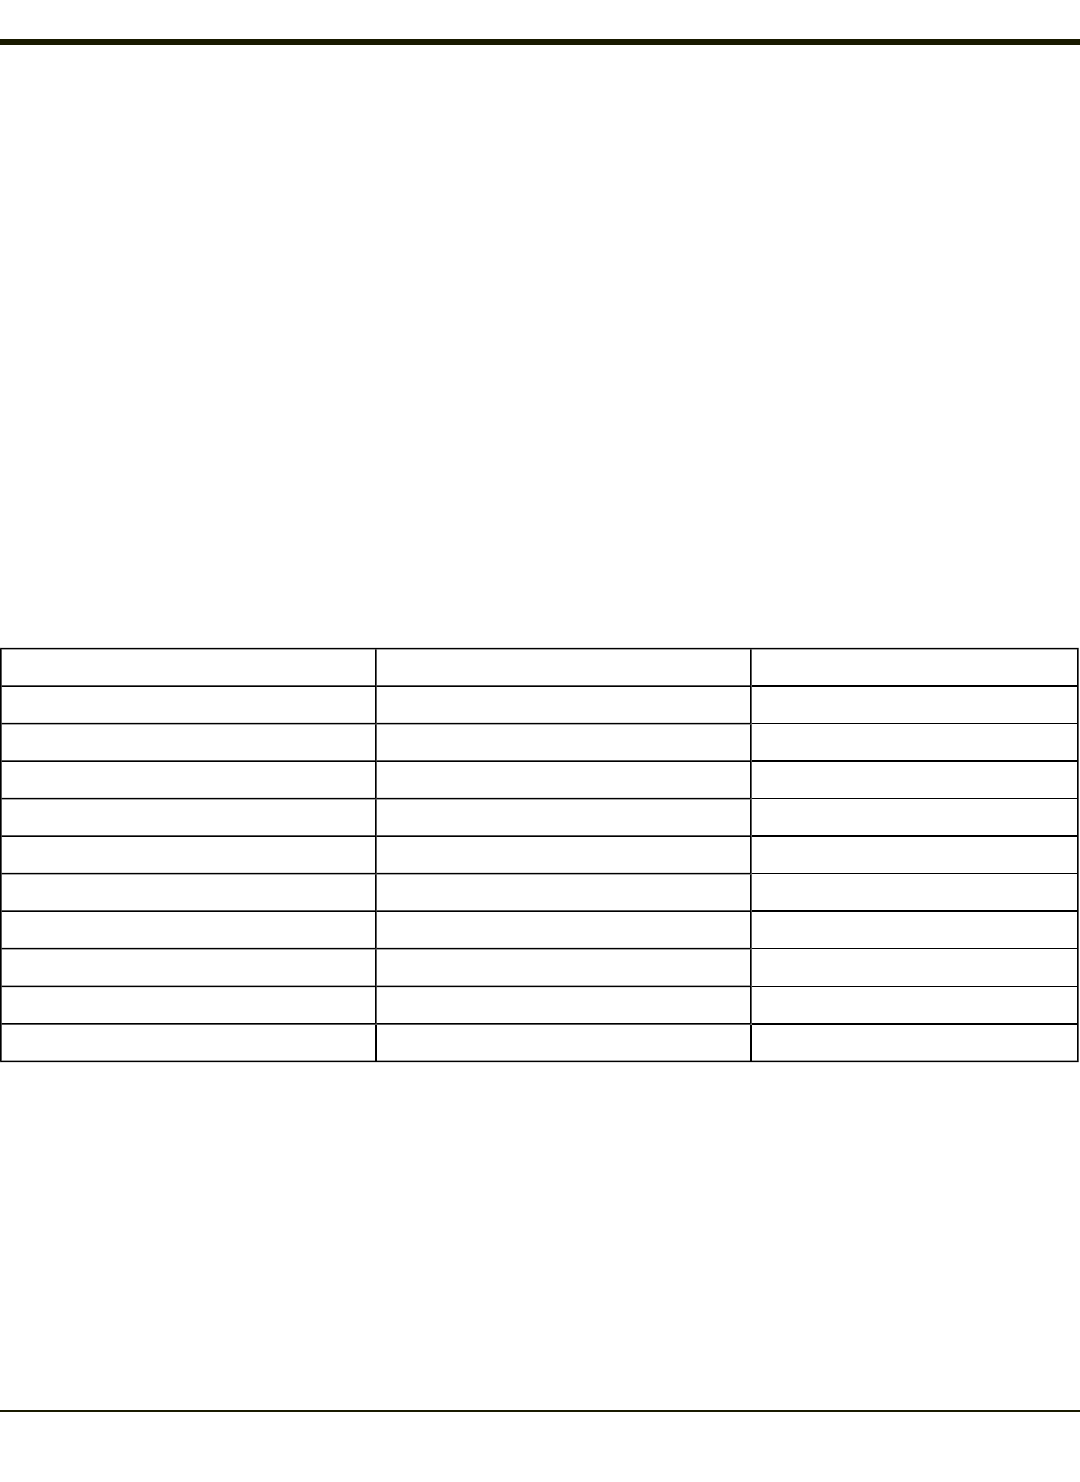
Endcap Combinations
Left Port Right Port
Serial COM3 Serial COM1 Audio Jack
Serial COM3 USB Client Audio Jack
USB Host Serial COM1 Audio Jack
USB Host USB Client Audio Jack
Scanner Serial COM1 Audio Jack
Scanner USB Client Audio Jack
Serial COM3 Serial COM1 Antenna
Serial COM3 USB Client Antenna
USB Host Serial COM1 Antenna
USB Host USB Client Antenna
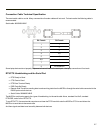
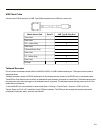
Bar code scanners, tethered to the serial port on a cradle, send ASCII data to the MX3Plus in the cradle through the COM2
Port.
2-4