


P-202H Plus v2 Support Notes
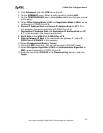
2. Setup P-202H Plus v2 B
Similar to the settings for P-202H Plus v2 A, P-202H Plus v2 B is configured in
the same way.
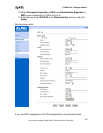
1. Using a web browser, login P-202H Plus v2 by giving the LAN IP address
of P-202H Plus v2 in URL field.
2. Click Advanced, and click VPN tab on the left.
3. On the SUMMARY menu, Select a policy to edit by clicking Edit.
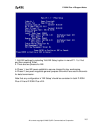
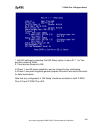
4. On the CONFIGURE-IKE menu, check Active check box and give a name
to this policy.
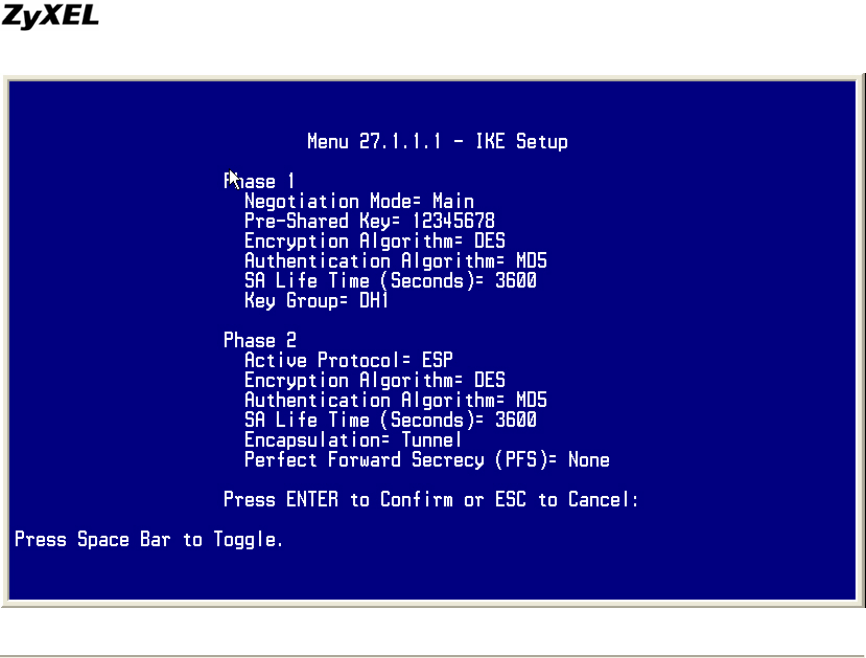
5. Select IPSec Keying Mode to IKE and Negotiation Mode to Main, as we
configured in P-202H Plus v2 A.
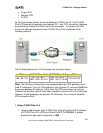
6. Source IP Address Start and Source IP Address End are PC 2 IP in
this example. (the secure host behind P-202H Plus v2 B)
7. Destination IP Address Start and Destination IP Address End are PC
1 IP in this example. (the secure remote host) Note: You may assign a
range of Local/Remote IP addresses for multiple VPN sessions.
8. My IP Addr is the WAN IP of P-202H Plus v2 B.
9. Secure Gateway IP Addr is the remote secure gateway IP, that is P-
202H Plus v2 A WAN IP in this example.
10. Select Encapsulation Mode to Tunnel.
11. Check the ESP check box. (AH can not be used in SUA/NAT case)
All contents copyright © 2006 ZyXEL Communications Corporation.
164