Technobeam
®
User Manual Creating a Scene 4-5
4. Press <Enter>, then use the <Up> and <Down> arrow keys to select
ON
.
5. Press <Enter>. The lamp is now ON, although it might not be visible if
the dim flags (also called
shutter
or
light gate
) are closed.
Opening the Shutter
1. Press and keep pressing the <Menu> key until
ADDR
appears in the
LED display.
2. Use the <Up> or <Down> arrow keys to navigate to the
PRST
menu.
3. Press <Enter>, then use the <Up> or <Down> arrow keys to select
EDIT
.
4. Press <Enter>; the LED display shows
SCN1
option, indicating you are
now creating scene number 1. The procedure that follows does not
cover every available construct because each fixture is slightly
different.
5. Press <Enter> to begin creating scene 1.
6. If you can see light exiting the fixture, the shutter is already open; skip
to the next section.
7. Use the <Up> and <Down> arrow keys to navigate to the
SHUT
construct.
8. Press <Enter>, then press the <Up> and <Down> arrow keys to select
OPEN
.
9. Press <Enter>; light should now be visible through the aperture. If so,
see the next section.
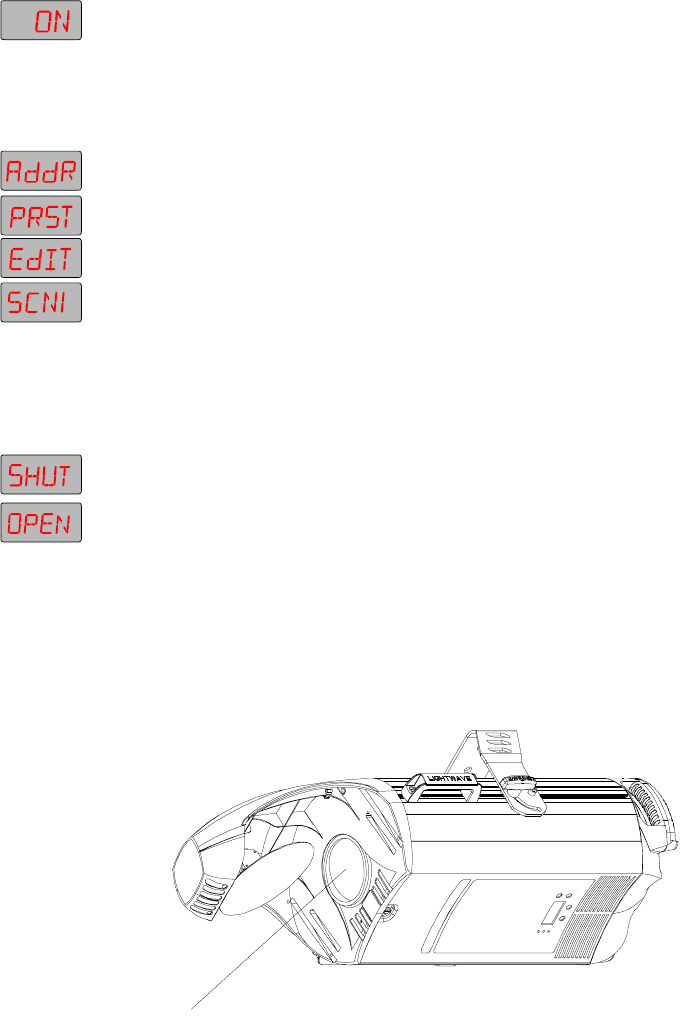
10. If no light is visible through the aperture, either the shutter is still
closed or the lamp is not on. First look through the aperture (
at an
angle, not directly
) and make sure the two black dim flags are open, as
shown in Figure 4-1. (The two dim flags act as both the dimming
mechanism and as the shutter.)
Figure 4-1. Making sure the shutter is open.
Aperture (dim flags are barely visible at edges when shutter is open)


