3-10 Menu Options Technobeam
®
User Manual
Menu Options
The sections below explain how to access the individual menu options
shown in the fixture’s menu map.
Address Menu (ADDR)
Use the Address menu to quickly change the current fixture number/
DMX start channel. Using this menu option, you can only change the
existing
fixture number to another fixture number, or the
existing
DMX
start channel to another DMX start channel.
If you want to change the way you identify the fixture (i.e. change to a
fixture number instead of a DMX start channel, or vice versa), complete
the procedure described in “Changing the Control Method (CHNL)” on
page 3-13.
To change the current fixture number or DMX start channel:
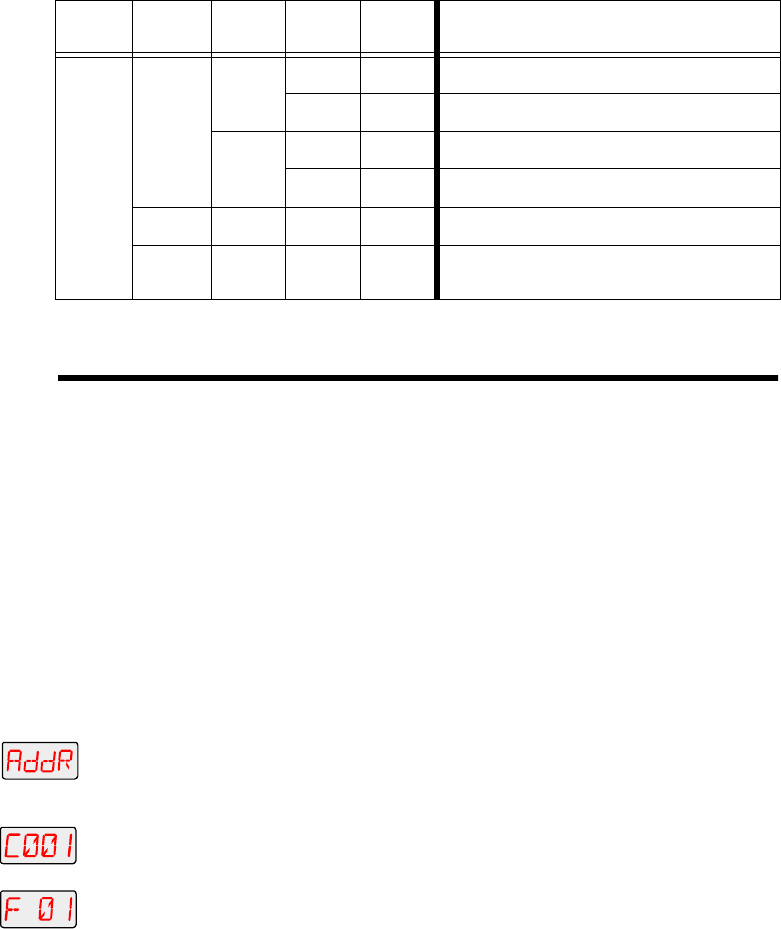
1. Press and hold the <Menu> button until “ADDR” appears on the LED
display.
2. Press the <Enter> button to select the “ADDR” menu.
3. Use the <Up> and <Down> arrow buttons to select a new DMX start
channel (C001 - C512) / fixture number (F 01 - F xx). The LED display
will flash when a new option is selected.
4. Press the <Enter> button to accept the new fixture number / DMX start
channel. The LED display will stop flashing when a new option is
entered. If you do not press the <Enter> button, the new option you
selected will not be stored.
Note
Be sure you do not overlap fixture channel ranges when
changing the fixture number/DMX start channel.
PRST
COPY
FROM
FA01 -
FA16
select a scene to copy from (source scene) for
user A
FB01-
FB16
select a scene to copy from (source scene) for
user B
TO
TA01 -
TA16
select a scene to copy to (destination scene)
for user A
TB01
TB16
select a scene to copy to (destination scene)
for user B
CAPT
SN01 -
SN16
select a scene to capture a pre-programmed
scene to (from your DMX controller)
DFLT OK?
enable the factory-programmed 16 preset
scene sequence - erases any preset scenes
previously programmed
Table 3-1. Technobeam Menu Map
Menu
Level 1
Menu
Level 2
Menu
Level 3
Menu
Level 4
Menu
Level 5
Description
or


