


6-18 Cleaning the Internal Components Technobeam
®
User Manual
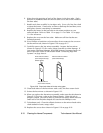
6. Write down the position of each of the lenses in the lens tube. (Each
position is numbered both on the lens tube cover and on the inside of
the lens tube.)
7. Handle each lens carefully by its edges only. Use a soft, lint-free cloth
to clean the lenses. If necessary to remove built-up dirt and dust, use a
mild glass cleaner (
containing no ammonia
).
8. Replace the lenses in the lens tube in the same positions as you
removed them. Refer to Table 1-2 on page 1-14 or Table 1-3 on page
1-14 for reference.
9. Replace the cover on the lens tube. Make sure all four latches are
fastened securely.
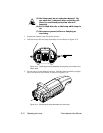
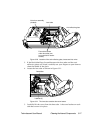
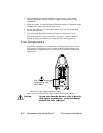
10. Use a Phillips screwdriver to loosen (but do not remove) the screw on
the hot mirror tab, shown in Figure 6-20 on page 6-17.
11. Carefully remove the hot mirror assembly. Inspect the hot mirror
(shown in Figure 6-22) for cracks, deep scratches or other damage. If
you notice significant damage, High End Systems Customer Service in
one of the ways shown in the section titled “Contacting High End
Systems” on page Intro-4.
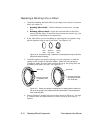
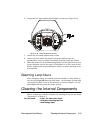
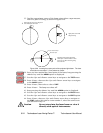
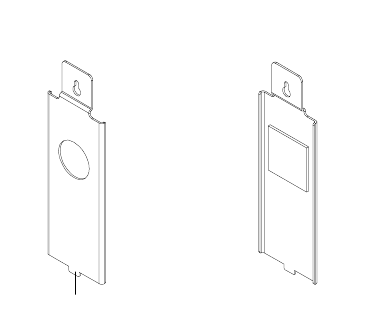
Figure 6-22. Clean both sides of the hot mirror glass.
12. Clean both sides of the hot mirror with a soft, lint-free cotton cloth.
13. Orient the hot mirror as shown in Figure 6-22.
14. When you replace the hot mirror assembly, make sure the tab shown in
Figure 6-22 fits into a slot on the fixture chassis. When the tab is
properly seated, you will be able to push the hot mirror down until the
small end of the keyhole-shaped slot touches the Phillips screw.
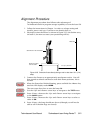
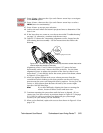
15.
Technobeam only:
Clean the elliptical mirror on the mirror head with a
cloth soaked in warm, soapy water.
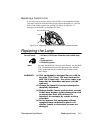
16. Replace the access door shown in Figure 6-19 on page 6-16.
Reverse side of hot mirror
(faces toward lamp)
Front side of hot mirror
(faces away from lamp,
toward wheels)
Tab (must fit into
slot in fixture chassis
)