


ProSecure Unified Threat Management UTM10 or UTM25 Reference Manual
6-14 Content Filtering and Optimizing Scans
v1.0, September 2009
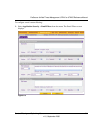
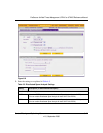
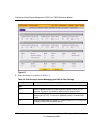
2. Enter the settings as explained in Table 6-3.
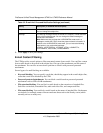
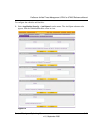
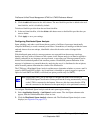
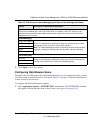
Configuring the Real-time Blacklist
Blacklist providers are organizations that collect IP addresses of verified open SMTP relays that
might be used by spammers as media for sending spam. These known spam relays are compiled by
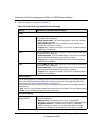
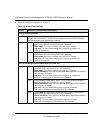
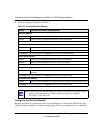
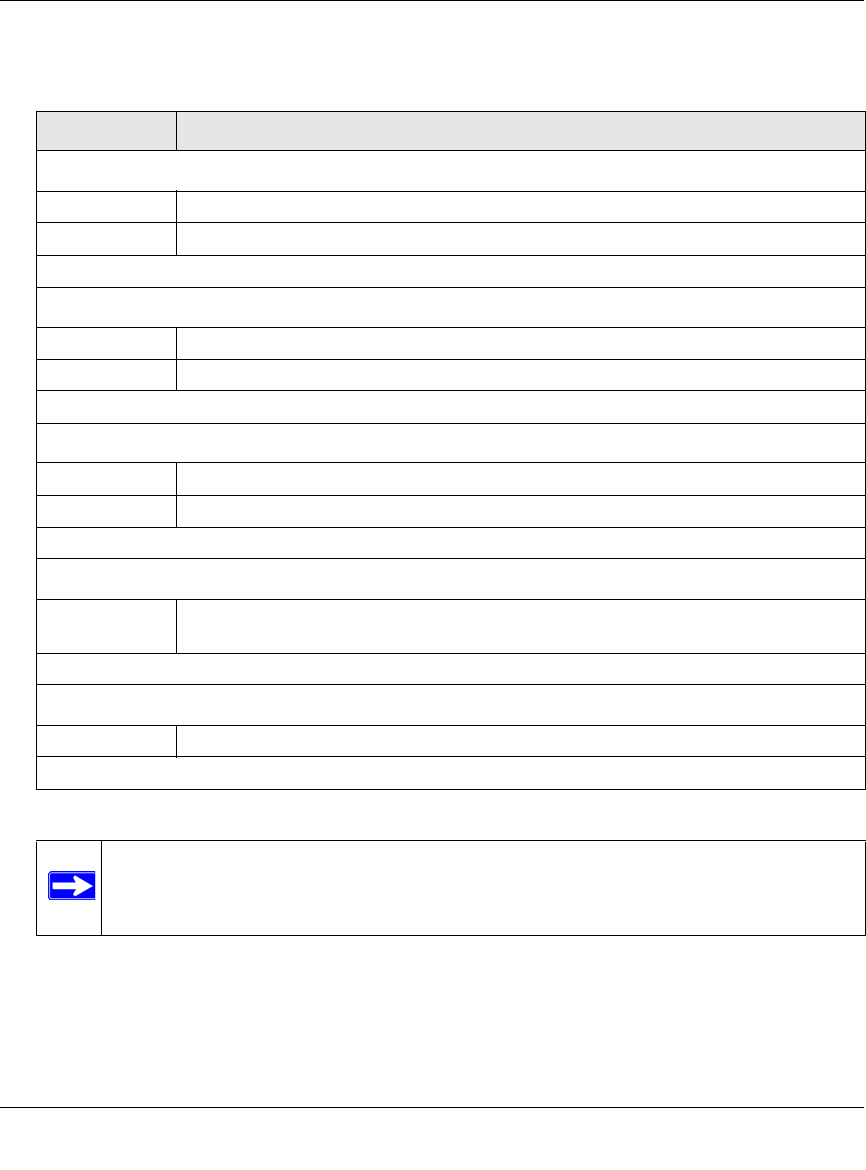
Table 6-4. Whitelist/Blacklist Settings
Setting Description (or Subfield and Description)
Sender IP Address
Whitelist Enter the source IP addresses from which e-mails can be trusted.
Blacklist Enter the source IP addresses from which e-mails are blocked.
Click Apply to save your settings or click Reset to clear all entries from these fields.
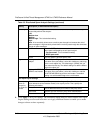
Sender Domain
Whitelist Enter the sender e-mail domains from which e-mails can be trusted.
Blacklist Enter the sender e-mail domains from which e-mails are blocked.
Click Apply to save your settings or click Reset to clear all entries from these fields.
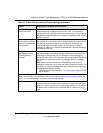
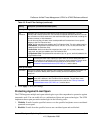
Sender Email Address
Whitelist Enter the e-mail addresses from which e-mails can be trusted.
Blacklist Enter the e-mail addresses from which e-mails are blocked.
Click Apply to save your settings or click Reset to clear all entries from these fields.
Recipients Domain
Whitelist Enter the sender e-mail domains of the recipients to which e-mails can be safely
delivered.
Click Apply to save your settings or click Reset to clear all entries from this field.
Recipients Email Address
Whitelist Enter the e-mail addresses of the recipients to which e-mails can be safely delivered.
Click Apply to save your settings or click Reset to clear all entries from this field.
Note: In the fields of the Whitelist/Blacklist screen, use commas to separate multiple
entries. For IP addresses, use a dash to indicate a range (for example,
192.168.32.2-192.168.32.8.)