212 7 Programming: Canned Cycles, sub-programs
7.3 Probing Cycles
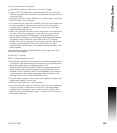
You must:
Load the tool in the spindle and call up that tools offset.
Know the distance from the top of the probe stylus down you have
to move so that the largest part of the tool diameter is even with the
side of the probe stylus for diameter measurement. That value is
placed in E if different from the default 0.1" (2.54 mm).
Position the tool over the probe stylus so that the tooth that sticks
down the furthest is directly over the center of the probe stylus and
above the stylus less than 0.200 (5.08 mm).
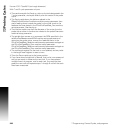
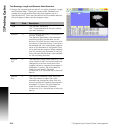
To measure the tool diameter:
Jog the tool to the top of the probe stylus so that the tooth that
sticks down the furthest is directly over the center of the probe
stylus.
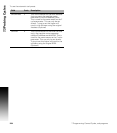
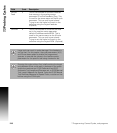
Field Code Description
OvrSlw
Feed
S This is the override for the slow feedrate
that was set in the machine setup
parameter ZFirstPickFeedRate_Slow. This
is used for the same reason as the M cycle
parameter. This can only be set slower.
Trying to set this higher will result in the
software using the original feedrate.
(Optional)
OvrRPM R This is the override for the RPM that was
set in the machine setup parameter
calibAndToolMeasurementRPM. This is
used for the same reason as the M cycle
parameter. This can only be set slower.
Trying to set this higher will result in the
software using the original RPM. (Optional)
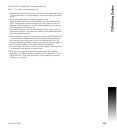
Large tools can result in probe damage if the feedrate is
set too fast. For this reason, the cycle parameters: M, S,
and R have been added to enable the programmer/
operator to override the values in the machine setup
parameters for the specific tool being checked or set.


