ACU-RITE 3500i 225
7.3 Probing Cycles
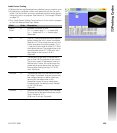
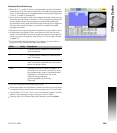
Inside/Outside Boss/Hole Finding
Calibrate the work probe at least once before trying to use this cycle.
A preliminary tool-length offset must be set by eye for the work
probe. The tool offset, and work coordinate must be active before
using this cycle in a program. See Section 4, "Tool-Length Offsets"
on page 73.
The Inside/Outside Boss/Hole Finding Cycle can be run from within
a program or from the Manual Data Input Mode.
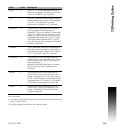
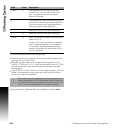
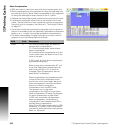
Field Code Description
Side Q Inside or Outside.
0 = Inside Hole 1 = Outside Boss
(Required)
Length X Estimated length of boss/hole if rectangular
or the Diameter if round.
(Required)
Width Y Estimated width of boss/hole. Y is only
specified if boss or hole is rectangular in
shape.
(Optional)
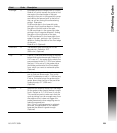
Top H If set to 1, the cycle finds the top of the part
before finding center of hole or boss. If Q
parameter is set to 1, H is forced to 1 as
well; otherwise, the Default is: 0.
(Optional)
DistDown E The distance to go down from the top of
part to find X & Y coordinate of the center.
This is only used if H parameter is set to 1.
Without any E value, the cycle brings the
probe stylus center down past the top of
the part after finding the top, 0.1" (2.54
mm).
(Optional)
DistBack V Specifies the distance away from the edge
for the probe to fast feed to before trying to
find it. Default is: 0.1"
(2.54 mm) if not set.
(Optional)
DistInX A The distance from the starting point to
move in the X-axis to find the top of the
part. The default, if Q is not set or set to 0,
is 0.1" beyond the edge of the boss/hole. If
Q is set to 1, the default is the current probe
position.
(Optional)


