Polycom RMX 2000/4000 Administrator’s Guide
2-67
Creating a Cascade Enabled Entry Queue
C
ascade-enabled
Entry Queues do not play IVR prompts and video slide
displays associated with standard Entry Queues.
Depending on the dialing direction, a cascade-enabled Entry Queue is
defined either on the MCU on level 1 or on level 2. (See Dialing Direction).
The definition of the Entry Queue as Master or Slave is done accordingly.
To define a Cascade-Enabled Entry Queue:
1 In the RMX Management pane, click Entry Queues.
The Entry Queues list pane is displayed.
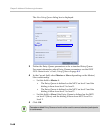
2 Click the New Entry Queue ( ) button.
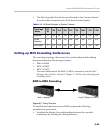
RMX 2000
Level 2
to
RMX 2000
Level 1
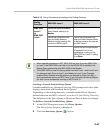
Define the cascade-enabled
Entry Queue, setting it as
Master.
Define the conference line
rate and Video Session
Mode to be the same as the
one set on RMX Level 2.
Define the conference line
rate and Video Session Mode
to be the same as the one set
on RMX Level 1.
Define the dial-out participant
(Cascaded Link) to the
conference running on the
RMX 2000 on Level 2, setting
it as Slave.
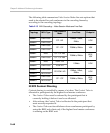
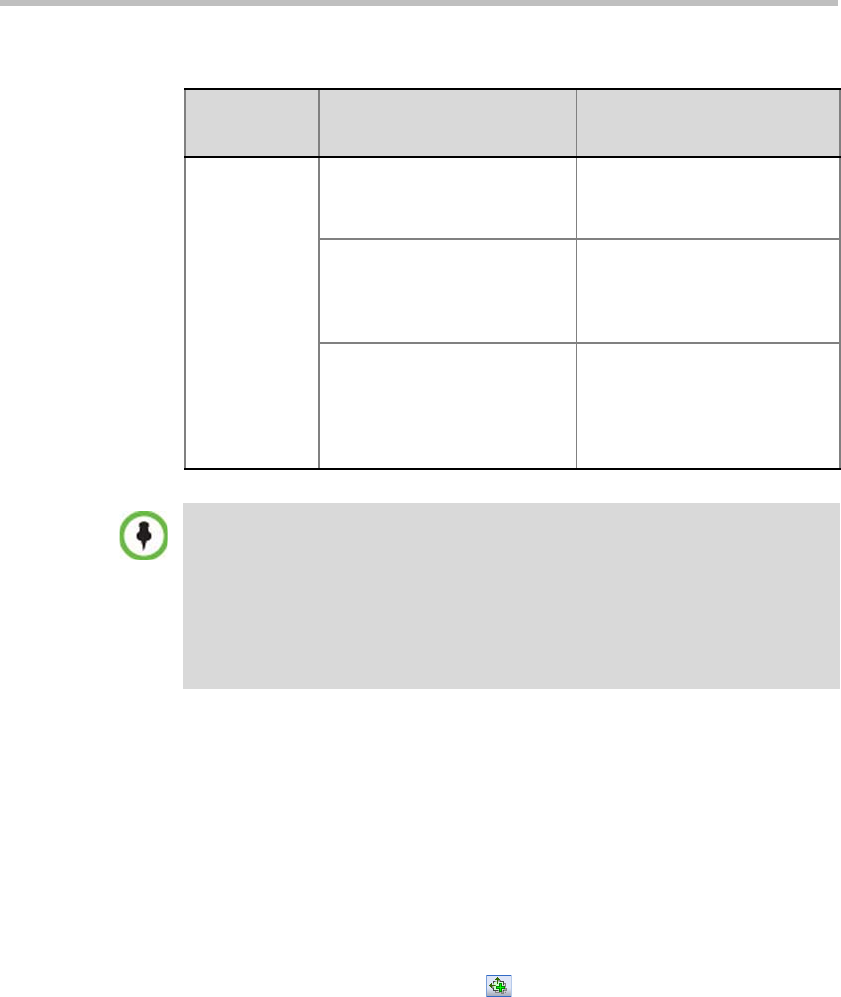
Table 2-15 Set up Procedures according to the Dialing Direction
Dialing
Direction
RMX 2000 Level 1 RMX 2000 Level 2
• When cascading between a DST MCS 4000 on level 3 and the RMX 2000
on level 2, the RMX 2000 must dial out to the MCS 4000 to establish the
Master-Slave relationship (the RMX 2000 is the Master).
• If the RMX 2000 on level 2 is being dialed from both Level 1 and Level 3 and
it is acting as both Slave to level 1 and Master to Level 3, two Cascade-
enabled Entry Queues must be defined: one defined as Slave (for dial in
from conferences running on MCU Level 1) and the other defined as Master
(for dial in from conferences running on MCU Level 3).


