Polycom RMX 2000/4000 Administrator’s Guide
2-69
Creating the Cascaded Conferences
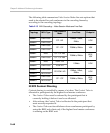
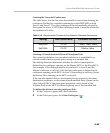
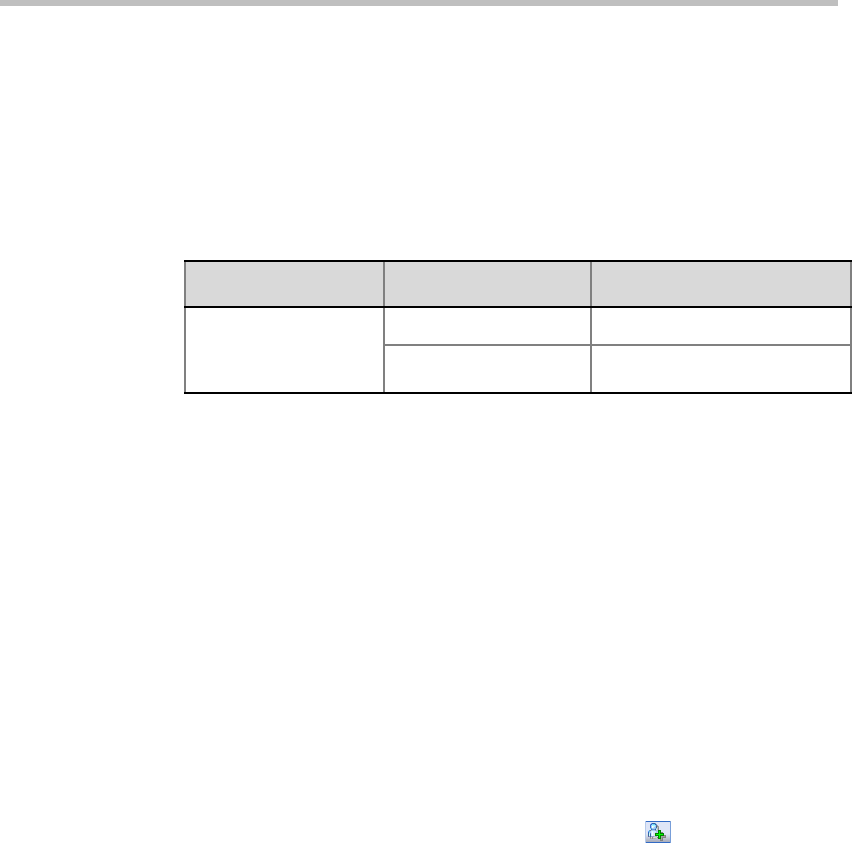
The table below lists the line rates that should be used when defining the
conference Profiles for cascaded conferences on the RMX 2000 on both
Level 1 and Level 2. The video settings will be automatically selected by
the system, however, if HD Video Switching is used, it must be selected in
the conference Profiles.
Creating a Cascade Enabled Dial-out Participant Link
The connection between two cascaded conferences is established by a
cascade enabled dial-out participant, acting as a cascades link.
The dialing direction determines whether the dial-out participant is
defined in the conference running on the Master MCU or the Slave MCU.
For example, if the dialing direction is from level 1 to level 2, and the
Master conference is on level 1, the dial-out participant is defined in the
conference running on the MCU on level 1 (connecting to an Entry Queue
defined as Slave running on the MCU on level 2.
If the cascade-enabled dial-out participant always connects to the same
destination conference via the same cascade-enabled Entry Queue on the
other (second) MCU, the participant properties can be saved in the
Address Book of the MCU for future repeated use of the cascaded link.
To define the dial-out cascade participant link:
1 In the Conferences pane, select the conference.
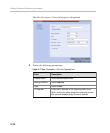
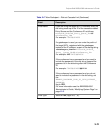
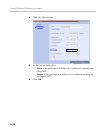
2 In the Participants pane, click New Participant ().
Table 2-16 Recommended Conference Line Rates for Cascaded Conferences
Topology Video Session Mode Conference Line Rate
RMX 2000
RMX 2000
CP-HD 1.5Mb/s, 1Mb/s, 2Mb/s
CP-CIF 768Kb/s, 2Mb/s


