


8-19
Chapter 8 SXYX
4 User Wiring and User Piping
WARNING
Always turn off the controller before wiring and piping to prevent electri-
cal shocks.
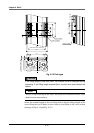
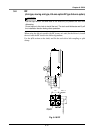
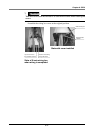
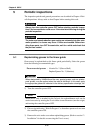
4-1 Cable carrier type
A cable carrier is mounted as a standard between the X and Y axes. When 3rd-
axis are used, a cable carrier is also provided between the Y and Z axes, and when
using 4th-axis, a cable carrier is also provided between the Z and R axes. Lay the
wiring and piping to the tool using these ducts. A 0.3sq 10-core flexible cable is
wired from the X-axis wiring box to the final axis' wiring box, and can be used
freely. (Refer to the "User wiring specifications" at the end of this section for
details.) The wiring and piping methods for a 2-axis arm type are explained be-
low as an example.
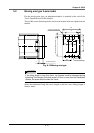
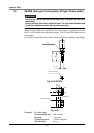
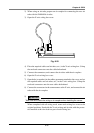
4-1-1 Example of wiring and piping methods using cable carrier
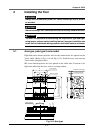
1) Open the X-axis wiring box cover. Refer to section "2-3-1 Arm type with
cable carrier" for details on opening the cover.
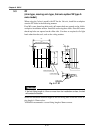
2) Remove the harness retainer located at the cable carrier outlet. (Hexagon
socket bolt M5, 2 bolts)
Harness retainer