


3-21
Chapter 3 Preparing the Robot
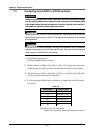
9 User Wiring and User Piping
!
CAUTION
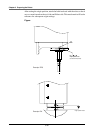
Do not clamp the wires or pipes to the outside of the whipover cable. The
whipover cable could sag or break and ultimately be disconnected.
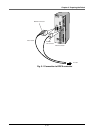
After completing all work up to step 8, wires and pipes are laid from the user’s
devices or robot controller to the tools and valves installed on the robot.
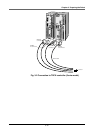
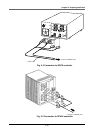
■ Cable carrier type
Carry out wiring and piping using the attached cable carrier.
Refer to the explanation for each robot in Chapter 6 and following for details
on the actual wiring and piping methods and precautions.
The cable carrier contains a user I/O cable (0.3sq×10) for user wiring, so there
is no need to add harnesses and route them through the cable carrier.
Refer to Chapter 3, “12. Specifications” for the specifications on the user I/O
wire, and the explanation of each robot in Chapter 6 for details on the wiring
methods.
■ whipover cable carrier type
The signal wires (0.3mm
2
×10 wires) and air tubes (4×2.5×2 tubes) are laid in
the whipover cable beforehand. Use these for wiring and piping to the tools.
Refer to the explanation for each robot in Chapter 6 and following for details
on the actual wiring and piping methods and precautions.