


3-8
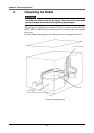
Chapter 3 Preparing the Robot
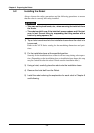
5-2 Installing the Robot
Always observe the safety precautions and the following procedures to ensure
that the robot is correctly and safety installed.
WARNING
• Take care not to pinch hands, etc., when removing the hoist belt from
the X-axis.
• The robot could tilt over if the hoist belt comes undone and if the bal-
ance is lost. Prevent tilting by suspending the tilting section with a
hoist or by using spacers, etc.
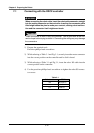
1) Tap or hole is machined into the installation base where the robot is to
be secured.
Refer to the XY-X Series catalog for the machining dimensions and posi-
tions.
2) Fix the installation base at the specified position.
Securely fix the installation base so that it will not sway during robot opera-
tion. (Depending on the installation place or installation base shape, this step
may be carried out after the robot is fixed onto the installation base.)
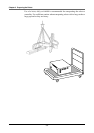
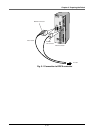
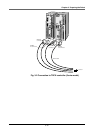
3) Using a hoist, carefully place the robot onto the installation base.
4) Remove the hoist belt from the Robot.
5) Install the robot referring the explanation for each robot in Chapter 6
and following.