


11-1
Chapter 11 FXYBX/SXYBX
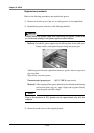
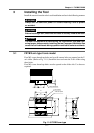
1 Installation
WARNING
Always turn the controller power OFF before installing the robot. Serious
accidents might occur if the robot starts to operate during installation.
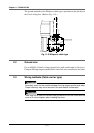
Install the FXYBX by opening through holes on the installation base and secur-
ing with M5 bolts from below. (M5 tap holes are opened on the bottom of the
robot.)
Install the SXYBX by opening through holes on the installation base and secur-
ing with M6 bolts from below. (M6 tap holes are opened on the bottom of the
robot.)
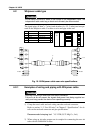
1-1 Installation bolt types
• Use the following type of installation bolt.
FXYBX Hexagon socket head cap screw M5 Strength 8.8T
SXYBX Hexagon socket head cap screw M6 Strength 8.8T
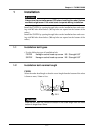
1-2 Installation bolt nominal length
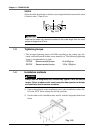
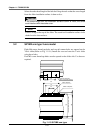
FXYBX
Select the under head length so that the screw length from the bottom of the robot
is 8mm or more, 10mm or less.
10
Fig. 11-1
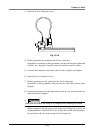
!
CAUTION
Note that the screw will contact the bottom if the screw length from the robot
bottom is longer than 10mm.