58 DCS-100 • User’s Guide
4. Operation
Using the Setup Menu
6. On the selected input, put up a Burst pattern. For example, if the source is a
computer, use a program such as DisplayMate
®
to generate the pattern.
7. Scroll to the unbracketed Phase line, and press SEL.
8. Use the Adjust knob to tweak the burst pattern for the maximum visual clarity and
a minimum amount of visual noise, then press SEL to accept the new value.
9. Press TAKE to activate the other scaler.
10. Repeat steps 7 and 8 for the other scaler.
11. Press ESC to return to the Input Menu.
12. Scroll to the Save Config line, and press SEL to save the configuration for the
selected input.
13. Repeat the entire adjustment procedure from step 1, for all remaining inputs
whose “type” is analog — and be sure to save the input configuration each time
you complete an adjustment for a selected input.
fã~ÖÉ=^Çàìëí
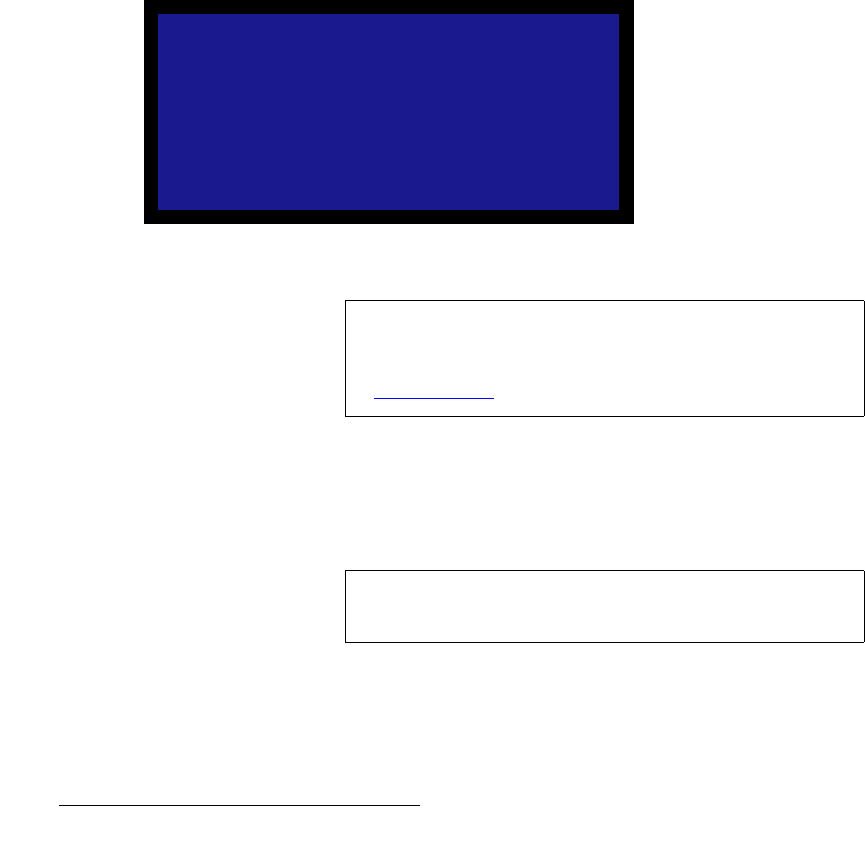
From the Input Menu, select Image Adjust to display the Image Adjust Menu. This menu
enables you to adjust input parameters such as size, pan and aspect ratio:
Figure 4-21. Image Adjust Menu (sample)
• Select Auto Config to perform an automatic input configuration on the selected
source on Program. The system finds the first and last pixel on each edge, and
ensures (to the best possible extent) that the entire image is visible. In addition,
the system automatically phases the input to determine the correct sampling
phase.
The Size and Pan functions allow you to size the image, and then position it within the
selected aspect ratio. The full screen nature of the final output will be maintained.
• Select H Size to size both the left and right edges simultaneously. Values are in
pixels. The output “window” is maintained in both size and aspect ratio.
IMAGE ADJUST
> Auto Config
H Size 0
V Size 0
H Pan [0]
V Pan [0]
Aspect Ratio 4:3
Reset All
Note
It is recommended that you use the Image Adjust Menu only
when you are using DVI, SDI, NTSC or PAL input sources.
For analog input sources (except NTSC and PAL), refer to the
“Timing Adjust
” section on page 55.
Note
The “Auto Config” selection is only available when an analog
input is chosen.
