


Configuration, Startup, and Operation
of Recorder with Display
12/03 DR4300 Circular Chart Recorder Product Manual 123
4.4.4 Completing Preparation and Startup
4.4.4.1 Overview
Introduction
Once the recorder is set up, mounted, wired, and the chart has been installed, the only remaining tasks are:
• setting the chart time and applying the power (see Subsection 4.4.4.2)
• checking the self-diagnostic tests (see Subsection 4.4.4.3)
• checking the displays and keys (see Subsection 4.4.4.4)
• starting operation (see Subsection 4.4.4.5)
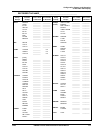
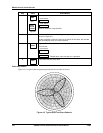
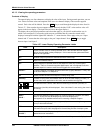
4.4.4.2 Set chart time and apply power
Procedure
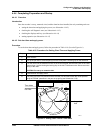
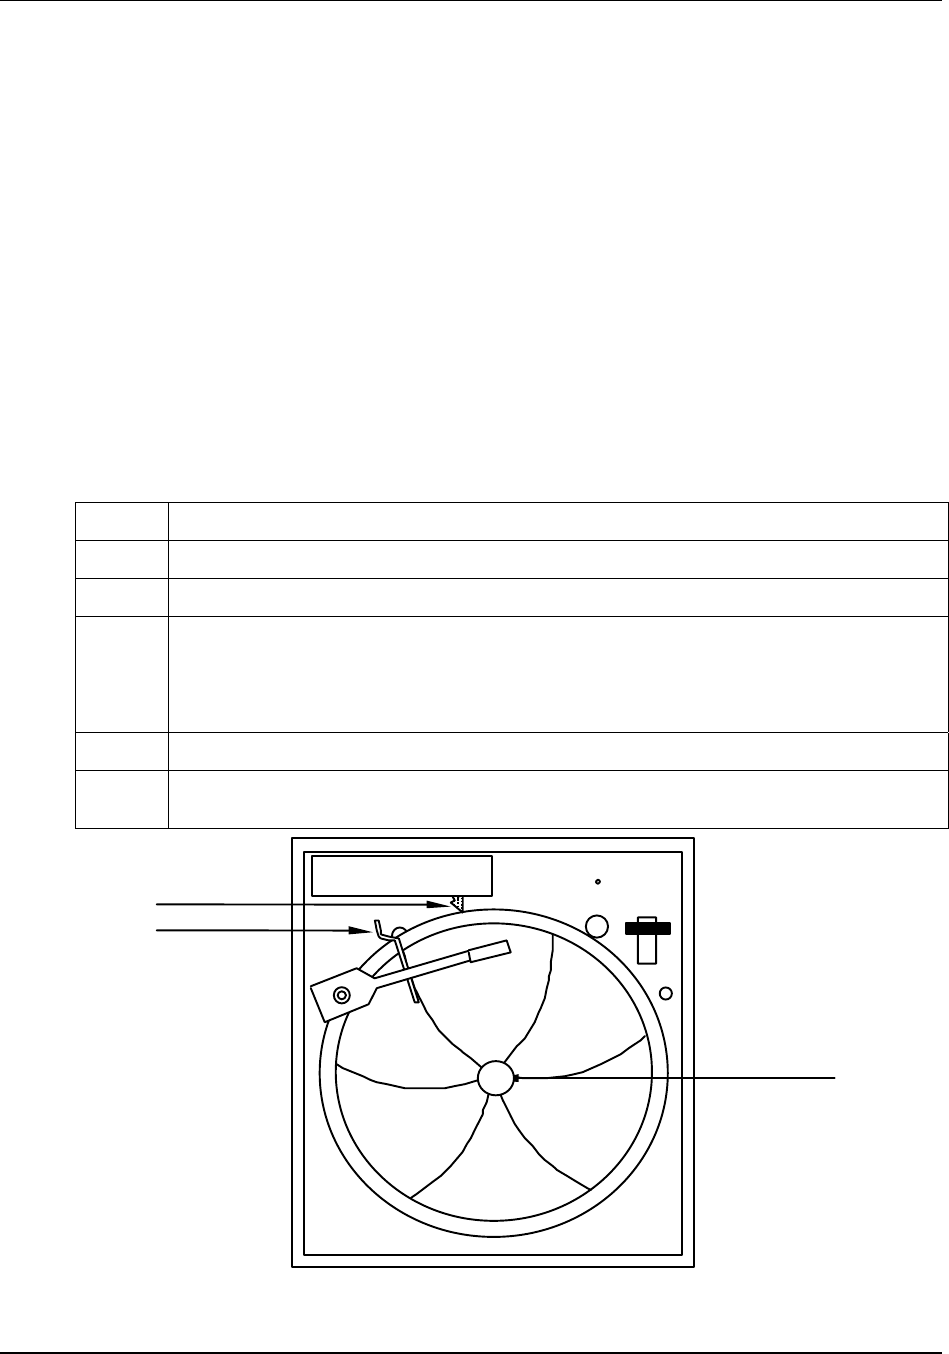
To set the chart time and apply power, follow the procedure in Table 4-18. (See also Figure 4-6.)
Table 4-22 Procedure for Setting Chart Time and Applying Power
Step Action
1
Open the door.
2
Pull up the pen lifter to raise the pen(s) from the chart plate. Lift locking clip on the chart hub.
3
Turn the chart until the desired time line on the chart is aligned with the time index on the chart
plate and pen 1 before closing the locking clip on the hub. Push down on the lifter to return the
pen(s) to the chart.
CAUTION: Do not try to rotate the hub.
4
Close the door and apply power.
5
The pen(s) will move into position and the recorder pen will start to track the value specified
using the “PENIN” parameter in the pen set up group (see Subsection 4.3.8).
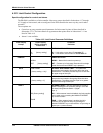
Large chart
hub
24212
Time index
Pen lifter
Figure 4-6 Setting Chart Time to Time Index