TROUBLESHOOTING & REPAIR
F-110 F-110
COMMANDER 400
Return to Section TOC Return to Section TOC Return to Section TOC Return to Section TOC
Return to Master TOC Return to Master TOC Return to Master TOC Return to Master TOC
ENGINE, STATOR/ROTOR REMOVAL AND REPLACEMENT (continued)
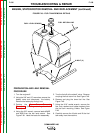
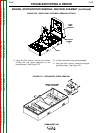
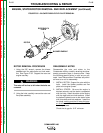
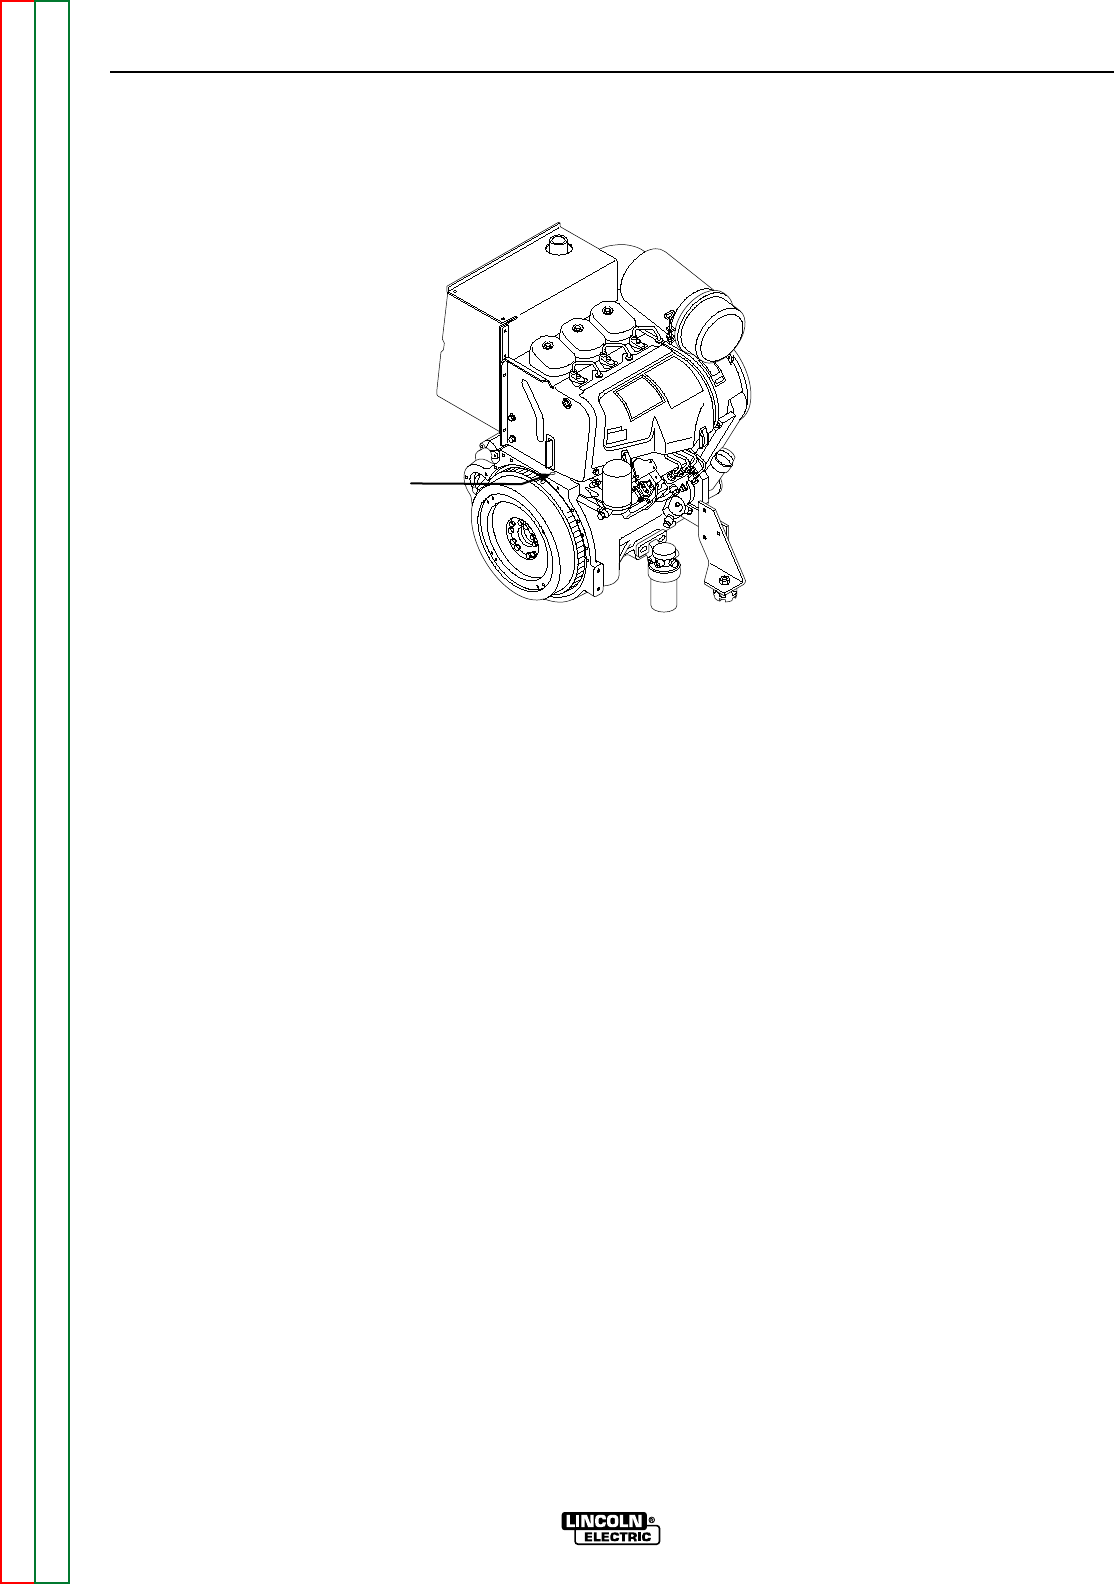
FIGURE F.56 – ENGINE GROUNDING LEAD
ENGINE GROUNDING
LEAD ATTACHMENT
POINT
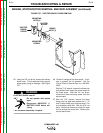
16. Using the 11/16" socket wrench, remove the
grounding lead from the top of the engine
bell housing. See Figure F.56.
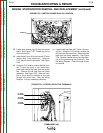
17. Cut any necessary cable ties to free the har-
ness assembly from the engine/stator
assembly.
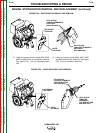
18. Using the 11/16" wrench, remove leads
#236A, #236B and #236C from the starter
motor solenoid.
19. Using the slot head screw driver, remove
lead #231A and #231B from the starter
motor solenoid.
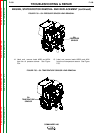
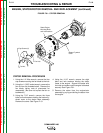
20. Label and remove the #239 lead from the
engine alternator using the 3/8" wrench.
21. Label and remove the #285 lead from the
engine alternator using the 3/8" wrench.
22. Label and remove the #238 lead from the
engine alternator using the 7/16" wrench.
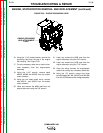
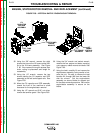
23. Clear the wiring harness for engine/stator
removal by cutting any necessary cable ties.
24. Using the 1/2" wrench, remove the three
bundled leads (W1-W4, W2-W5 and W3-W6)
from the SCR/diode rectifier bridge assembly.


