Chapter 6 Device Security Settings
Vantage CNM User’s Guide
162
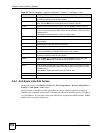
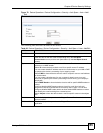
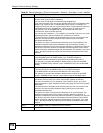
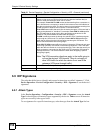
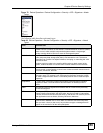
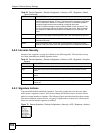
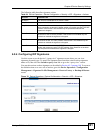
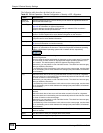
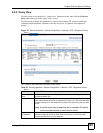
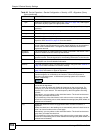
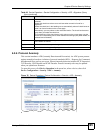
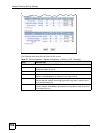
The following table describes the labels in this screen.
Table 65 Device Operation > Device Configuration > Security > IDP > Signature
LABEL DESCRIPTION
Switch to
query view
Click this hyperlink to go to a screen where you can search for signatures based on
criteria other than attack type.
Attack Type Select the type of signatures you want to view from the list box. See Section 6.9.1 on
page 158 for information on types of signatures.
The table displays the signatures of the type that you selected. Click a column’s
header to sort the entries by that attribute.
Name The (read-only) signature name identifies a specific signature targeted at a specific
intrusion. Click the hyperlink for more detailed information on the intrusion.
ID Each intrusion has a unique identification number. This number may be searched at
myZyXEL.com for more detailed information.
Severity This field displays the level of threat that the intrusion may pose. See Table 63 on page
160 for more information on intrusion severity.
Platform This field displays the computer or network device operating system that the intrusion
targets or is vulnerable to the intrusion. These icons represent a Windows operating
system, a UNIX-based operating system and a network device, respectively.
Active Select the check box in the heading row to automatically select all check boxes and
enable all signatures.
Clear it to clear all entries and disable all signatures on the current page. For example,
you could clear all check boxes for signatures that targets operating systems not in
your network. This would speed up the IDP signature checking process.
Alternatively, you may select or clear individual entries. The check box becomes gray
when you select the check box.
If you edited any of the check boxes in this column on the current page, use the check
box in the heading row to switch between the settings (last partial edited, all selected
and all cleared).
Log Select this check box to have a log generated when a match is found for a signature.
Select the check box in the heading row to automatically select all check boxes or clear
it to clear all entries on the current page.
Alternatively, you may select or clear individual entries. The check box becomes gray
when you select the check box.
If you edited any of the check boxes in this column on the current page, use the check
box in the heading row to switch between the settings (last partial edited, all selected
and all cleared).
Alert You can only edit the Alert check box when the corresponding Log check box is
selected.
Select this check box to have an e-mail sent when a match is found for a signature.
Select the check box in the heading row to automatically select all check boxes or clear
it to clear all entries on the current page.
Alternatively, you may select or clear individual entries. The check box becomes gray
when you select the check box.
If you edited any of the check boxes in this column on the current page, use the check
box in the heading row to switch between the settings (last partial edited, all selected
and all cleared).
Action You can change the default signature action here. See Table 64 on page 161 for more
details on actions.
Apply Click this button to save your changes back to the device.
Reset Click this button to begin configuring this screen afresh.


