


Workman HD Series Page 7 − 11 Chassis
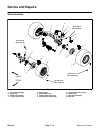
Disassembly (Fig. 4)
1. Park vehicle on a level surface, shut engine off, re-
move key from ignition switch and apply parking brake.
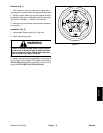
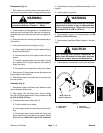
WARNING
Before jacking up the machine, review and follow
Jacking Instructions in Chapter 1 − Safety.
2. Chock wheels not being jacked up. For brake that is
to be serviced, jack wheel off the ground and place ap-
propriate jack stand beneath the frame to support ve-
hicle.
3. Remove wheel from vehicle (see Wheel Assembly in
this section).
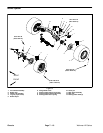
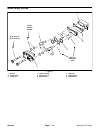
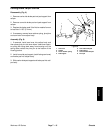
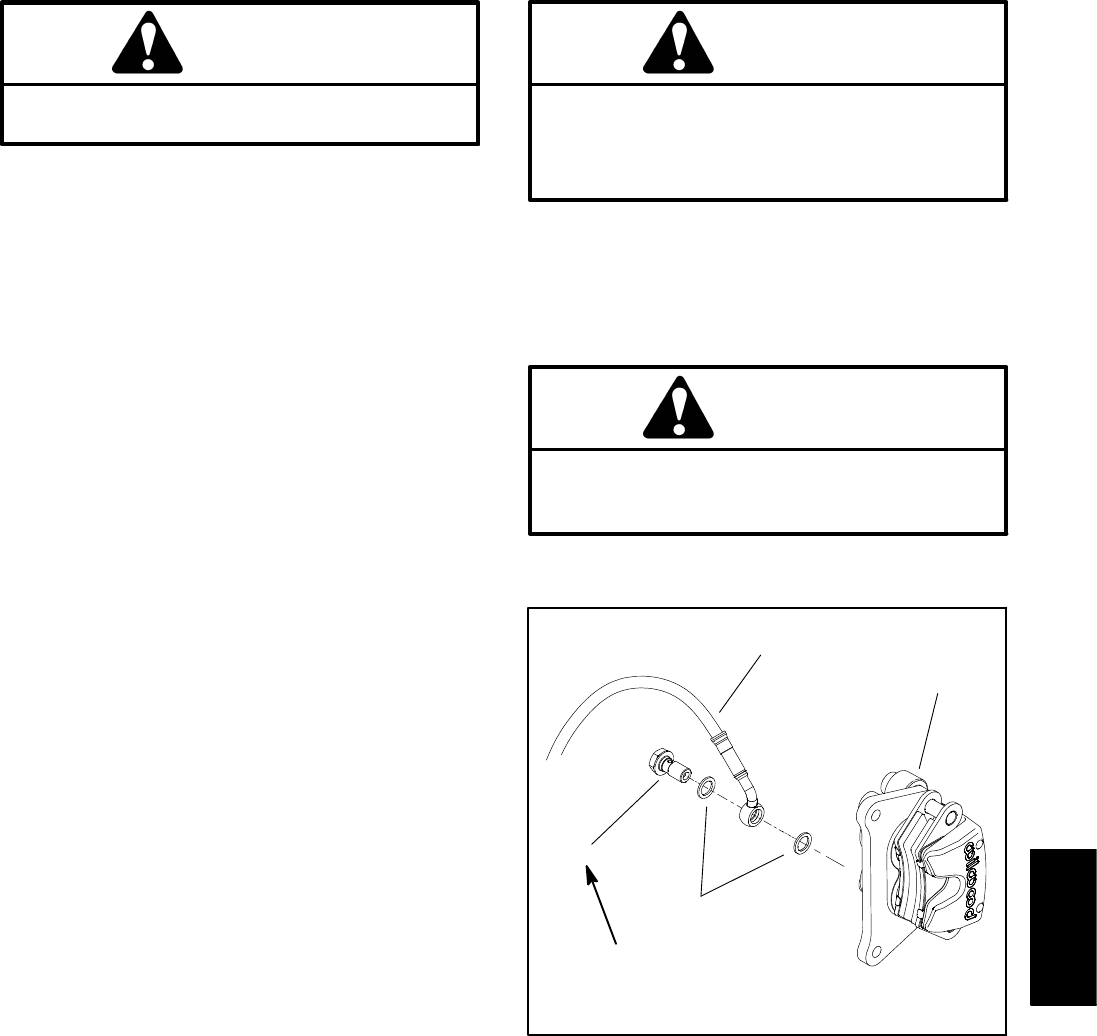
4. Disconnect brake line from caliper (Fig. 5):
A. Clean hydraulic brake line area of brake caliper to
prevent contamination.
B. Remove banjo bolt from caliper brake line from
caliper.
C. Carefully separate brake line from caliper. Locate
and retrieve two (2) banjo washers from sides of
brake line fitting.
D. Plug brake line and position it away from caliper.
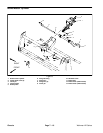
5. Remove two (2) flange head screws that secure the
brake caliper to the machine.
6. Slide brake caliper from brake rotor and remove cali-
per from vehicle.
Assembly (Fig. 4)
1. Slide brake caliper onto brake rotor. Make sure that
rotor is between brake pads.
2. Align caliper with mounting holes. Secure caliper
with two (2) flange head screws. Torque screws from 35
to 40 ft−lb (48 to 55 N−m).
3. Connect brake line to caliper (Fig. 5):
A. Position brake line to caliper.
B. Place banjo washer on each side of brake line fit-
ting.
C. Install banjo bolt through brake line fitting and
banjo washers and then thread into caliper. Torque
banjo bolt from 108 to 132 in−lb (12.3 to 14.9 N−m).
4. Install wheel to vehicle (see Wheel Assembly in this
section).
5. Lower machine to ground.
WARNING
Failure to maintain proper wheel lug nut torque
could result in failure or loss of wheel and may
result in personal injury. Torque wheel lug nuts
from 80 to 90 ft−lb (109 to 122 N−m).
6. Torque wheel lug nuts in a crossing pattern from 80
to 90 ft−lb (109 to 122 N−m).
7. Bleed brakes (see Bleed Brake System in this sec-
tion).
CAUTION
After servicing brake system components, al-
ways check the brakes in a wide open, level area
that is free of other persons and obstructions.
8. After assembly is completed, check brake operation.
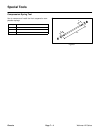
1. Brake caliper
2. Brake line
3. Banjo bolt
4. Banjo washer (2)
Figure 5
1
2
3
4
108 to 132 in−lb
(12.3 to 14.9 N−m)
Chassis