5. Wall Positioning Page
What is possible ?
• If there are still blocks available, these can be manually added to the configuration.
• Blockscanbemovedwithintheworkspace.
• Blocks can be rotated left or right.
• Blocks can be removed from the configuration.
• When moving the mouse over a block, the block number and the orientation angle will pop up.
5.4.3.10 Save a design
How to save ?
1. Click on the Save this design icon ( ).
If the design already has a name. The design will be saved on that name.
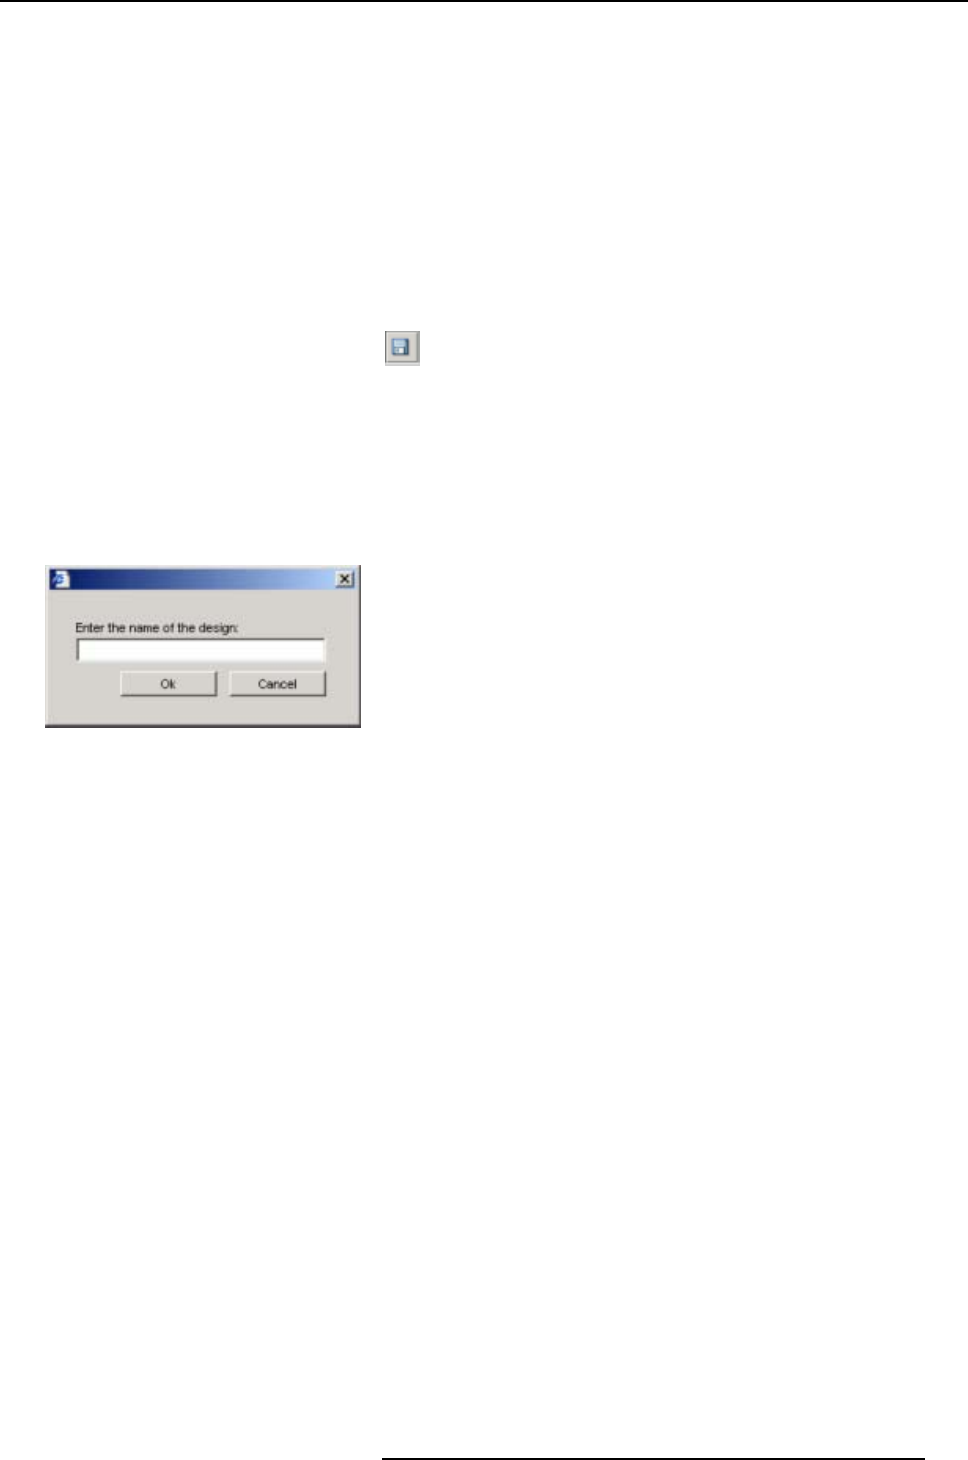
Otherwise, a pop up window will appear. (image 5-41)
2. Enter a name for the design.
3. Click on OK.
The design will be saved.
Image 5-41
Save file, enter name
5.4.4 Add blocks to a design
What is possible ?
As long as there are blocks available in one of the 4 recipients, these blocks can be placed on any free
place in the work space.
How to place block by block ?
1. Click on a recipient to select a string (1). (image 5-42)
Note: Only the recipients with a background color and value higher than 0 are possible.
The first free block of the selected string will be selected.
Or,
click in the list below the recipients for a specific block.
2. Hold down the Shift button while clicking with the left mouse butto
n on the center or near the center
(within the shaded area) of a grid where the block has to be placed (2). When clicking outside this grid,
the block will be centered around another point.
The first free block of the selected string will be placed on the selected position (see blue outline on
image 5-42).
If the block cannot be placed on that center, the software wi
ll search for the next free position.
E.g. when clicking on the indicated place (image 5-43), the software should place the block on the
place of the red outline, but due to the blue block it is not possible. Now the software will search for the
first possible free place (red shaded area).
The software will follow a well defined way to find a free place (green loop). (image 5-44)
R5976380 XLITE TOOLSET 16/03/2005
59
